
When developing a project like this, there are many aspects that have to be taken into consideration to go from concept to the actual build. This page will walk you through our process, outlining each step and educating not only our financial supporters, but also teaching our creative students who might want to design and resource their own builds. |
||


|
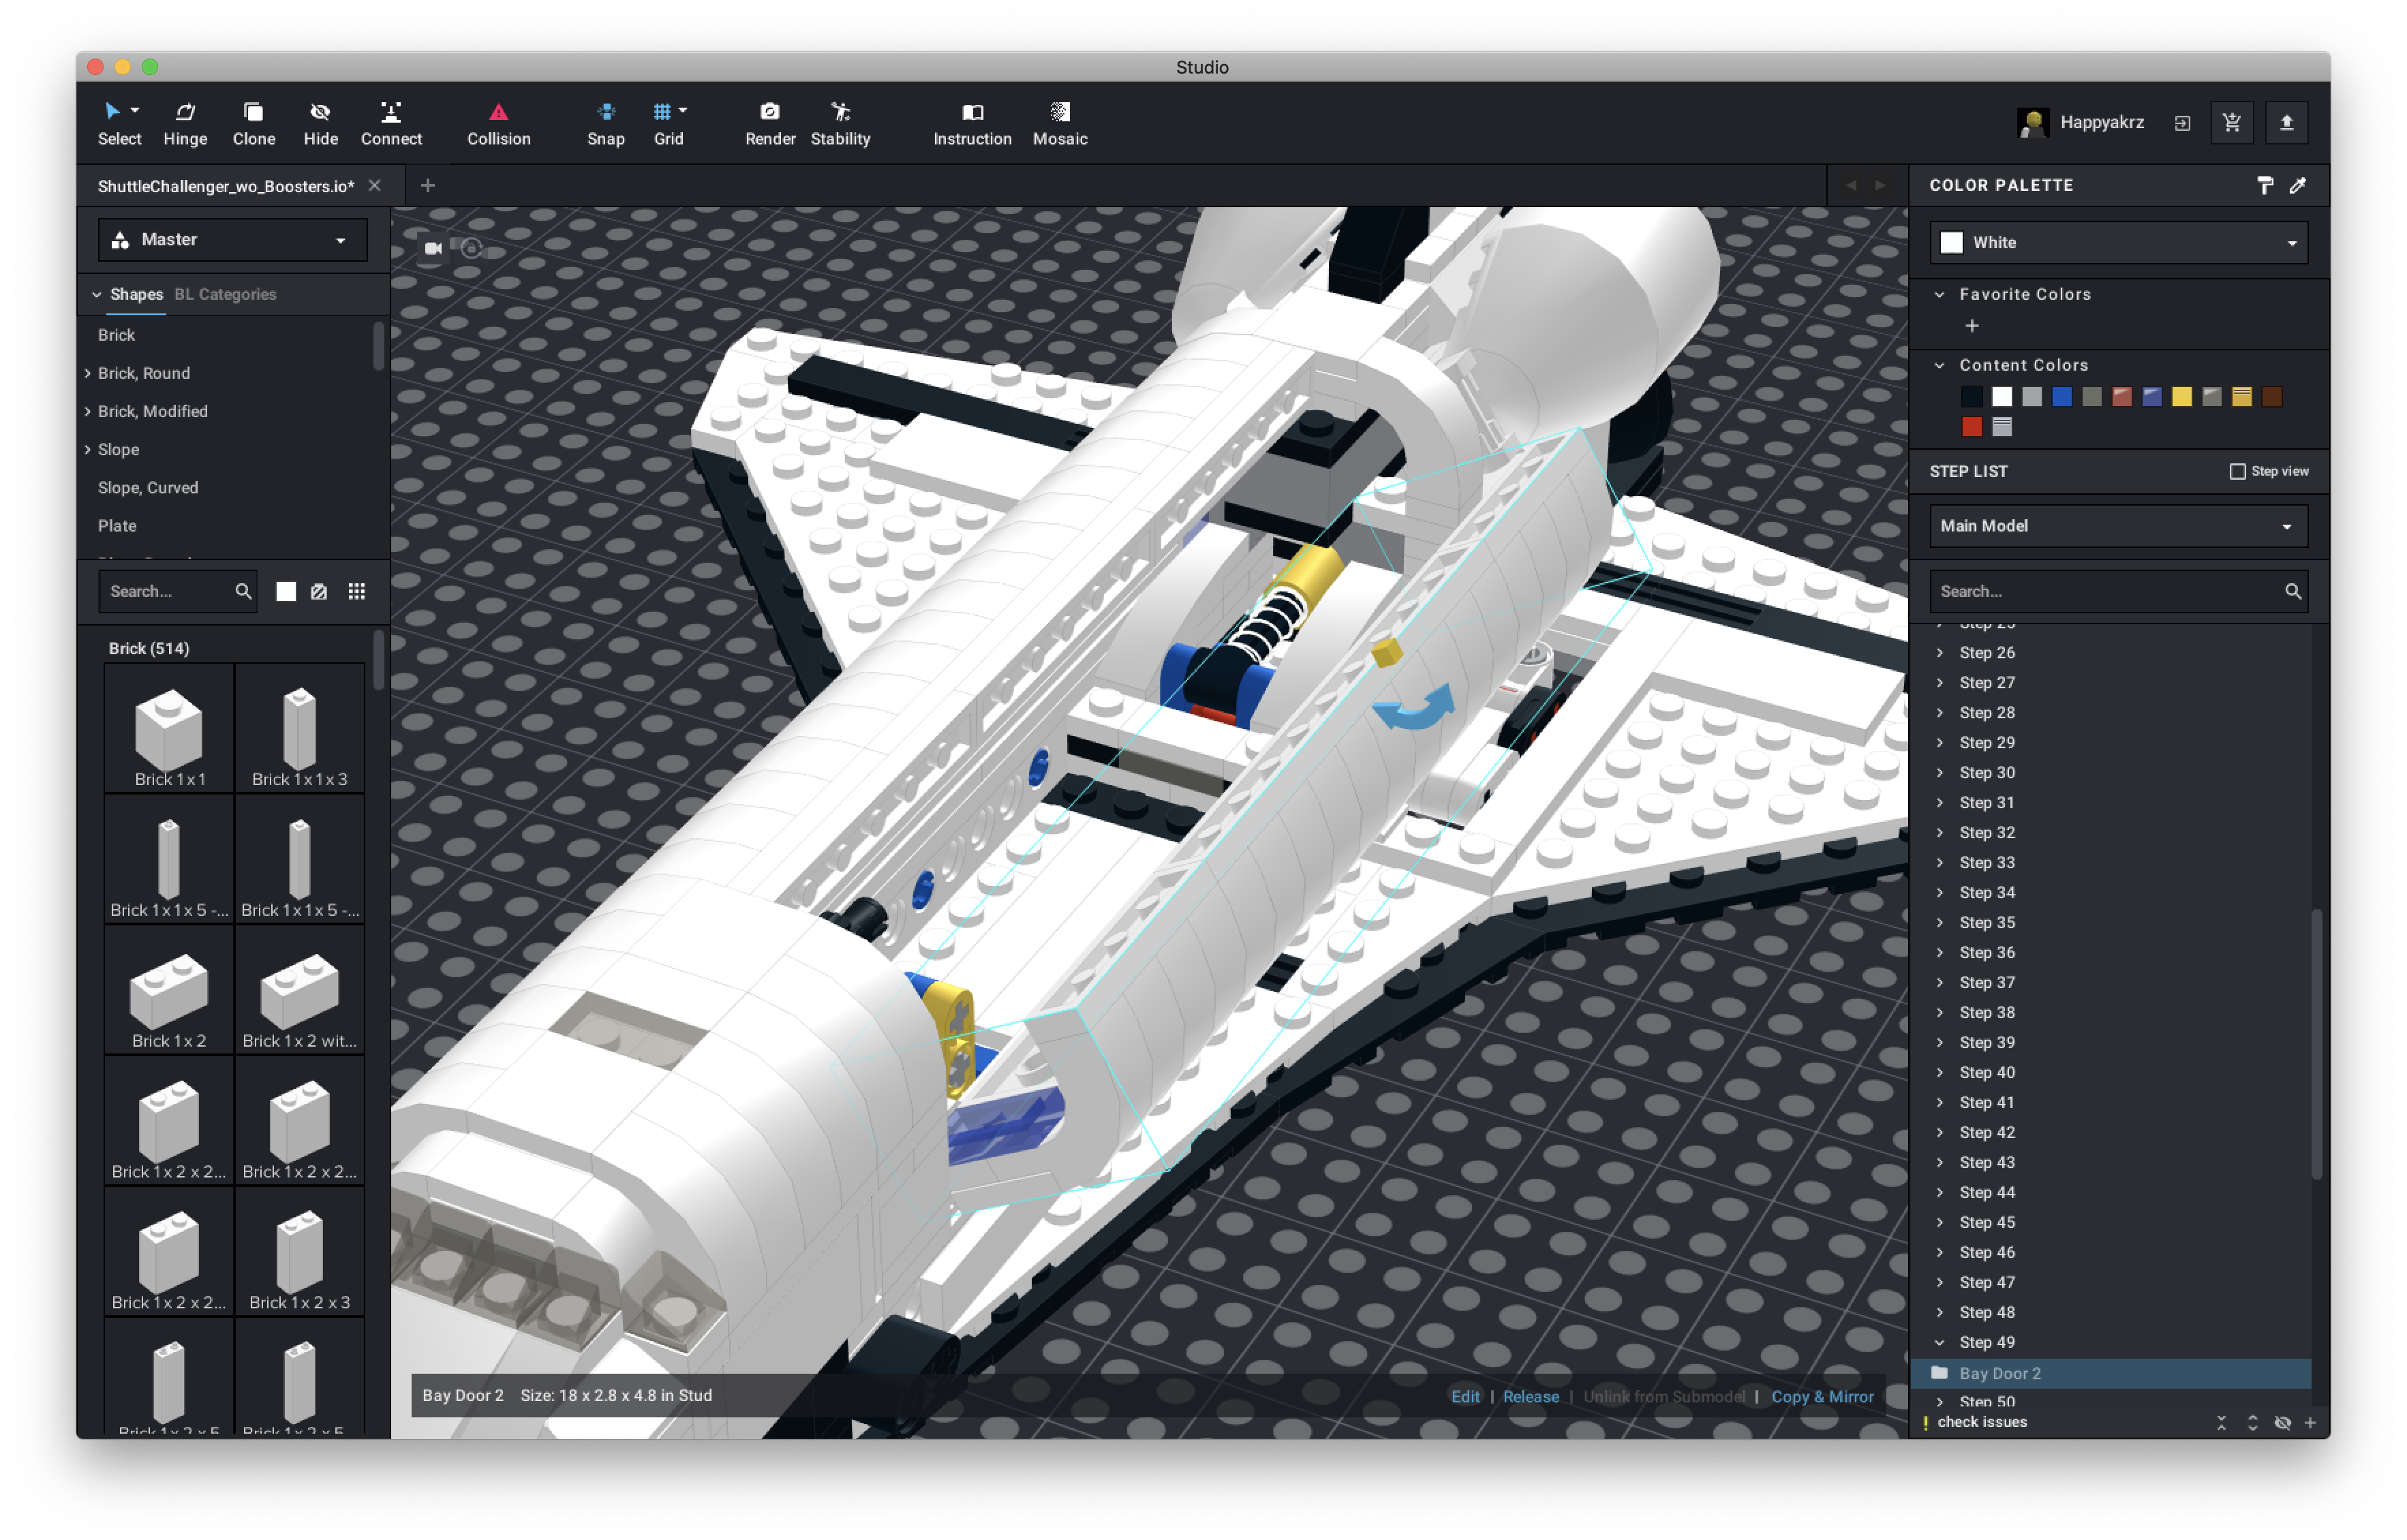
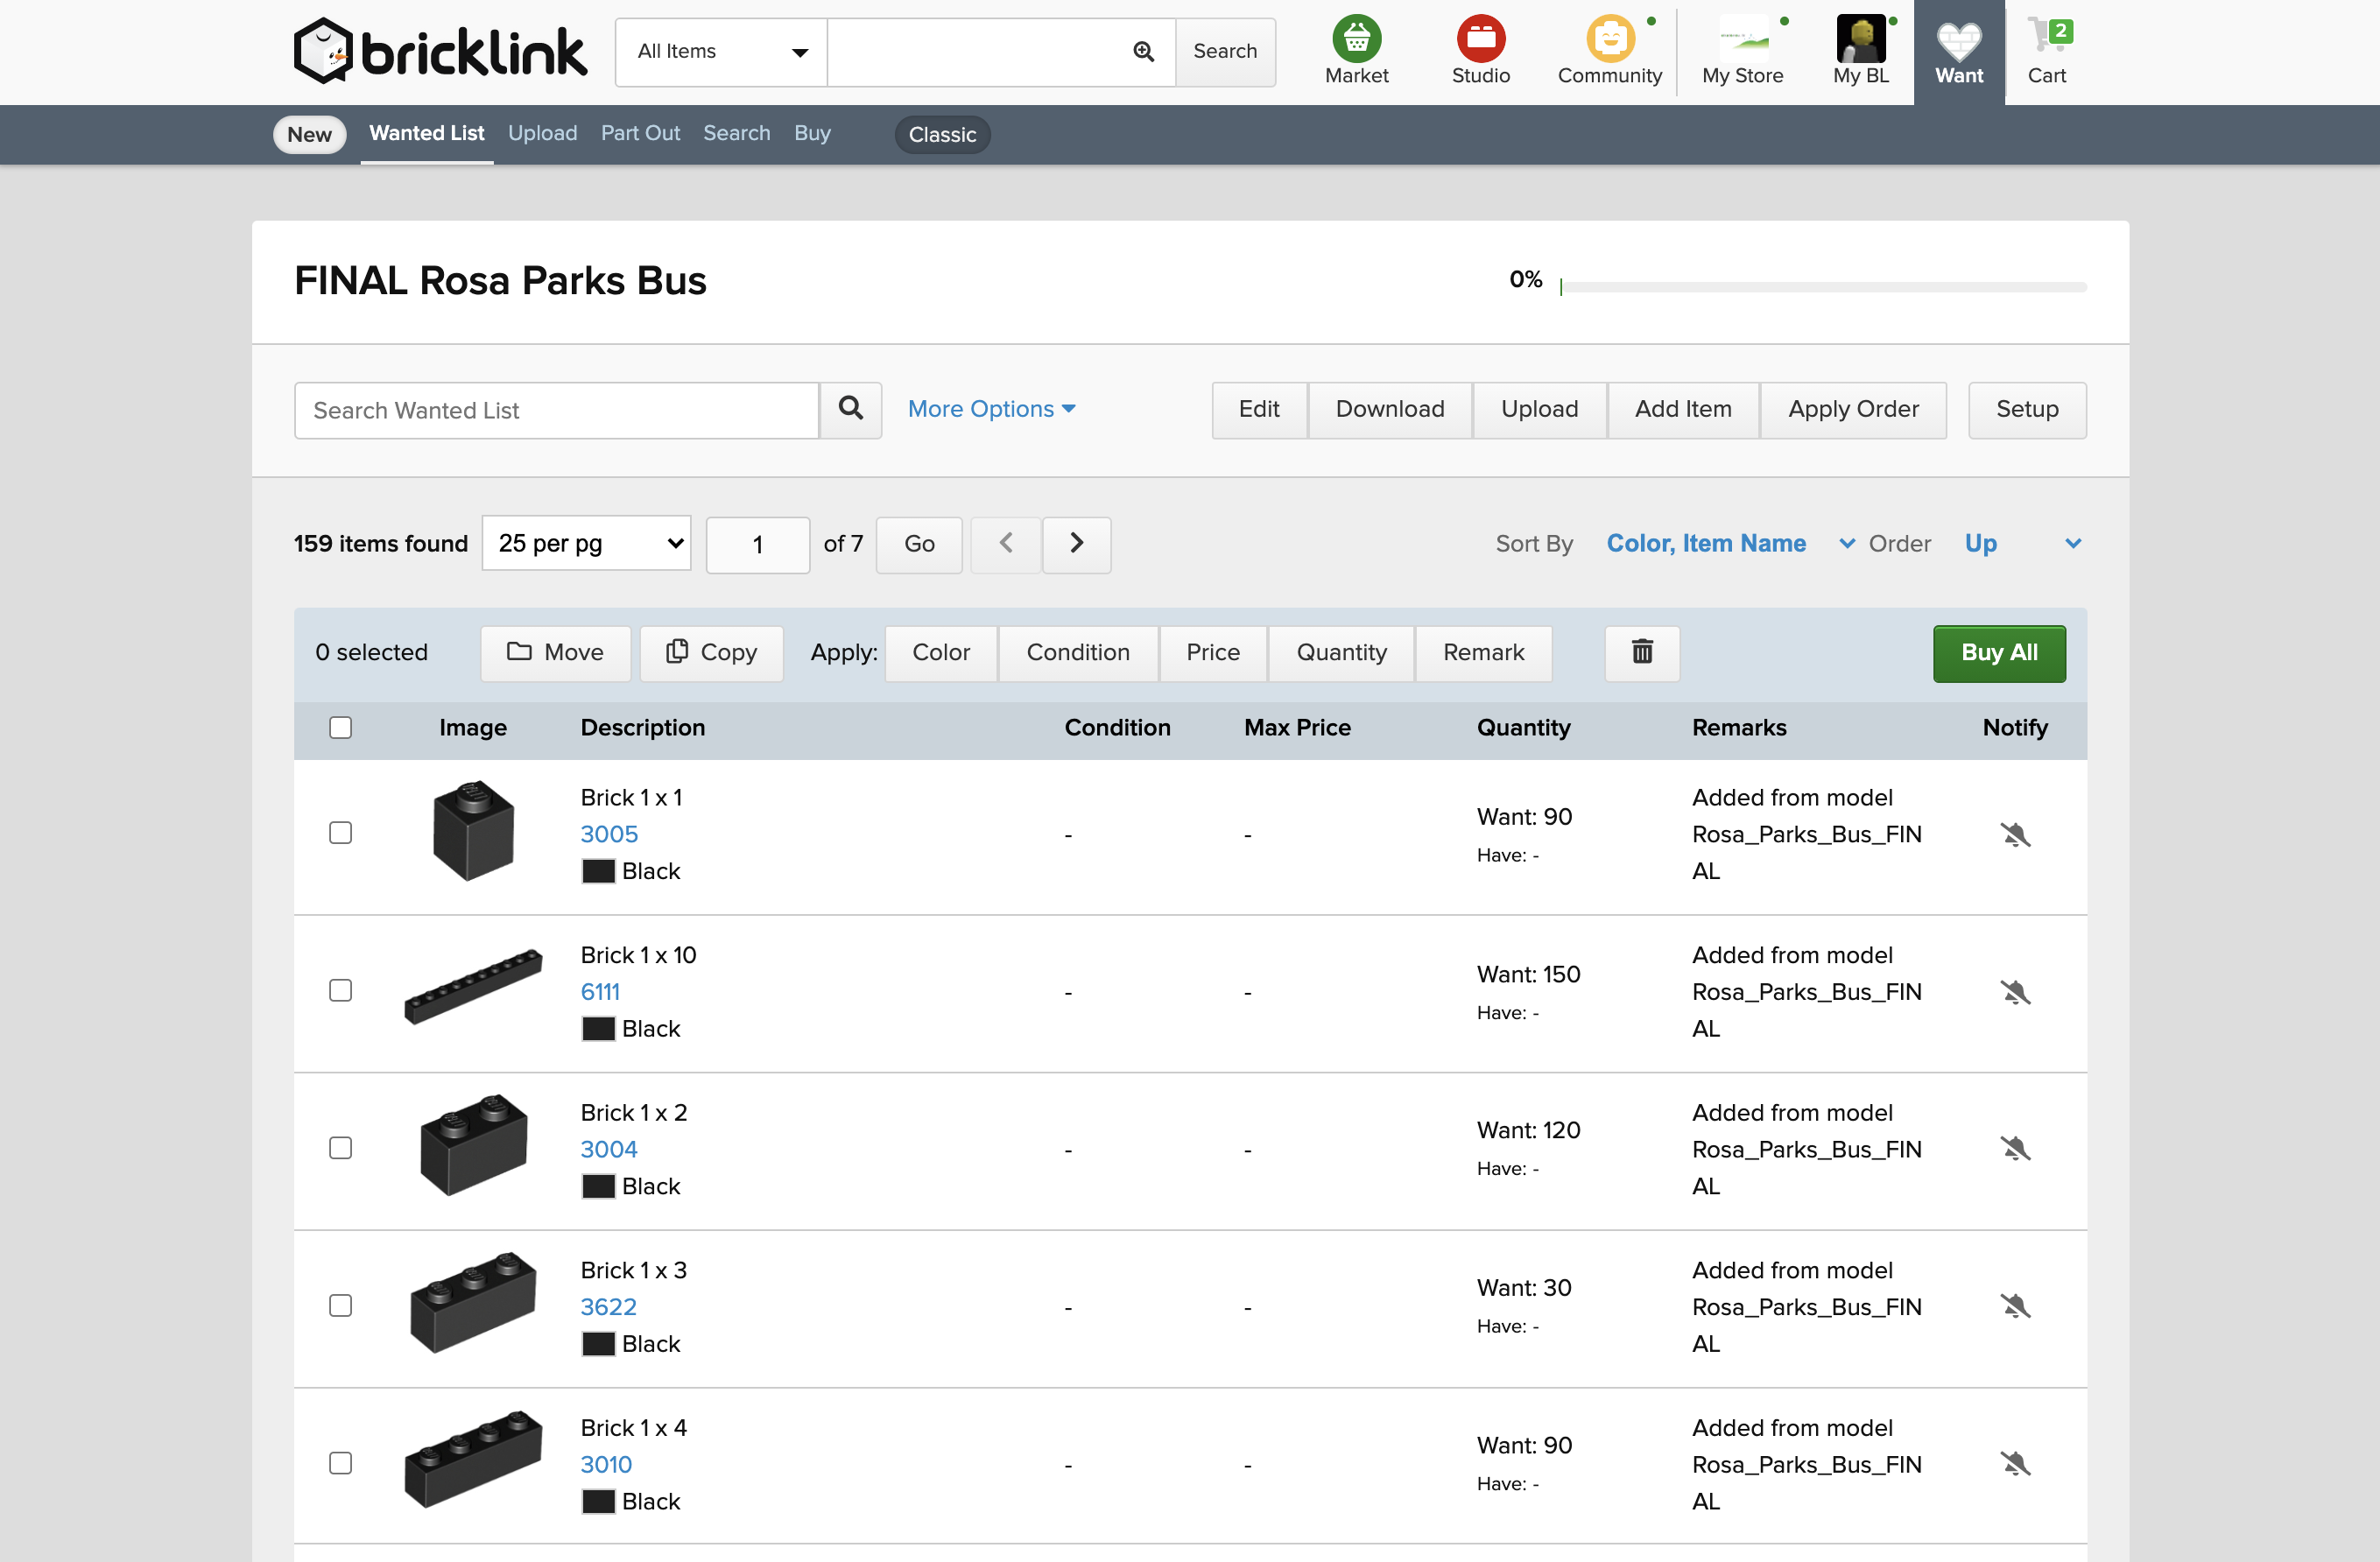
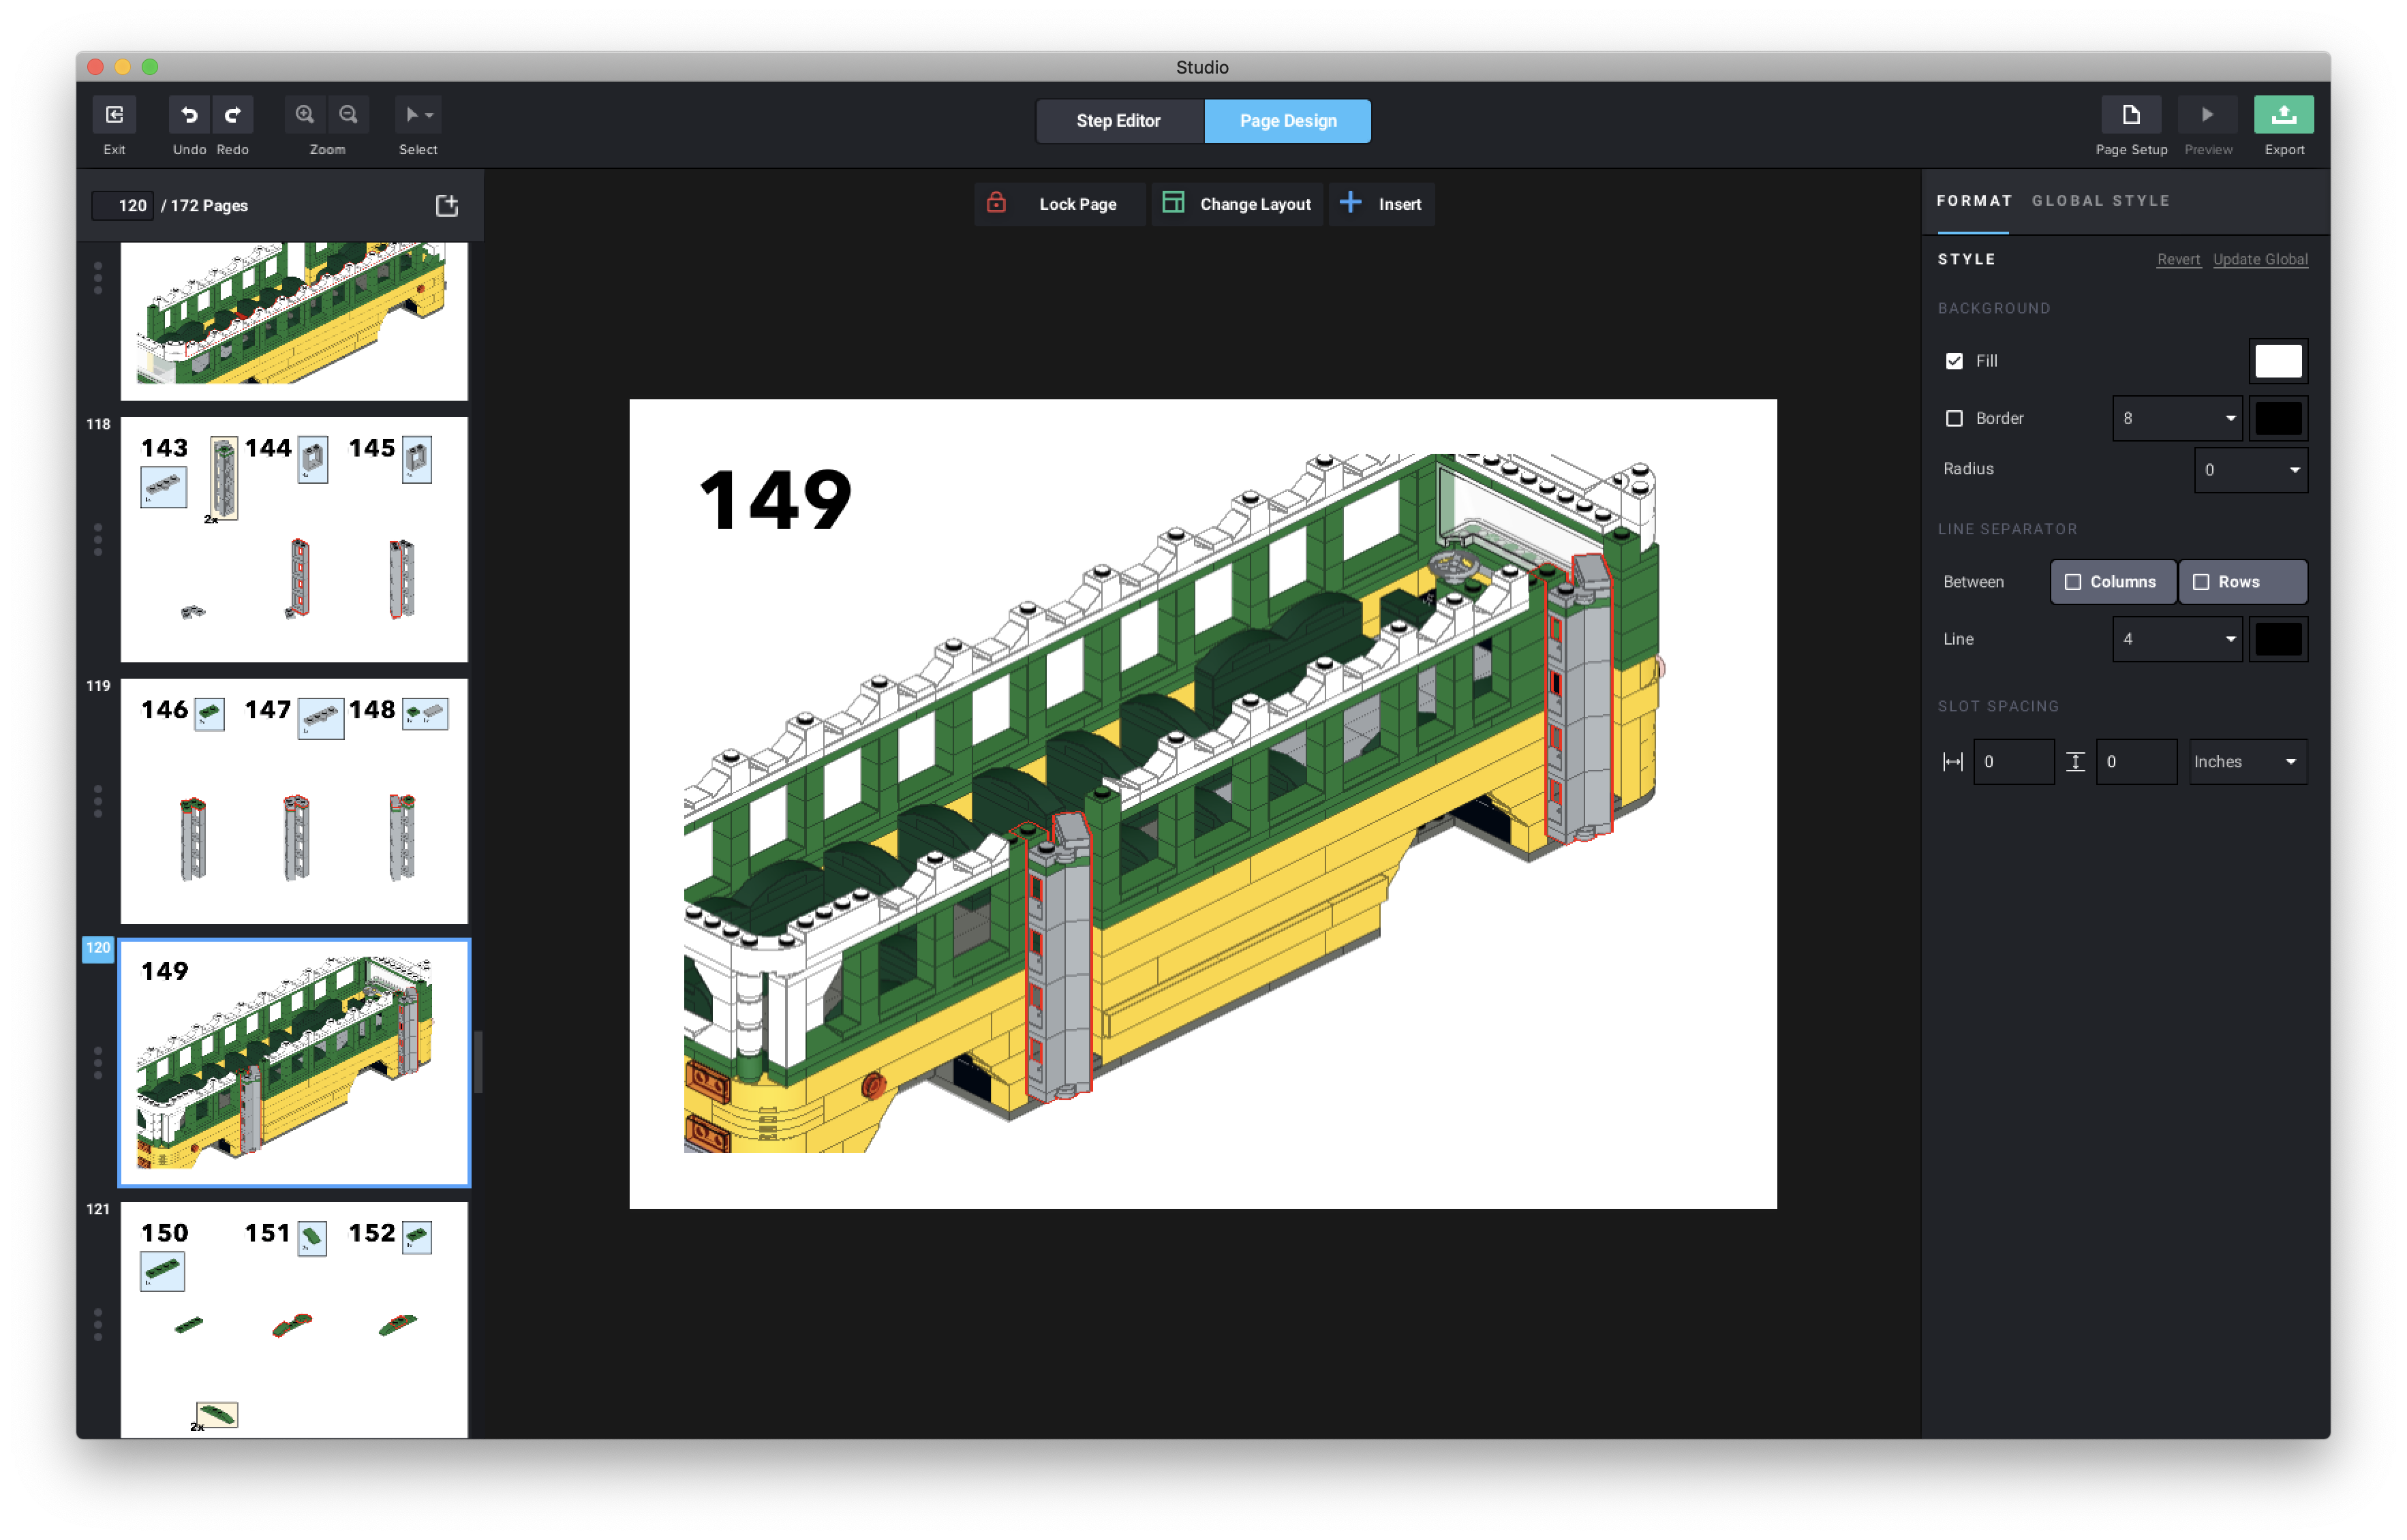
Design It (or Find It)At the beginning of this year's program, I needed to come up with eleven kits that would fit in nicely with the monthly themes of the After School program at Grant. After reviewing the readacrossamerica.org website, we were able to define the concepts we wanted to tackle, and fortunately, I knew of four kits designed by other LEGO Master Builders, leaving me only seven to develop from scratch. Once the concept is decided upon, I begin to build a rough draft of the kit digitally, in a free software application, Stud.io, available for download on Mac or PC. Not only does Stud.io include every LEGO part ever created, but it has a highly polished rendering engine to produce hyper-realistic images of the virtual kits. When the design has been fine-tuned and I feel that a realistic build can be accomplished, I finalize the design in Studio and upload the digital version to Bricklink. This first step can take anywhere from a few hours to several days. |
|
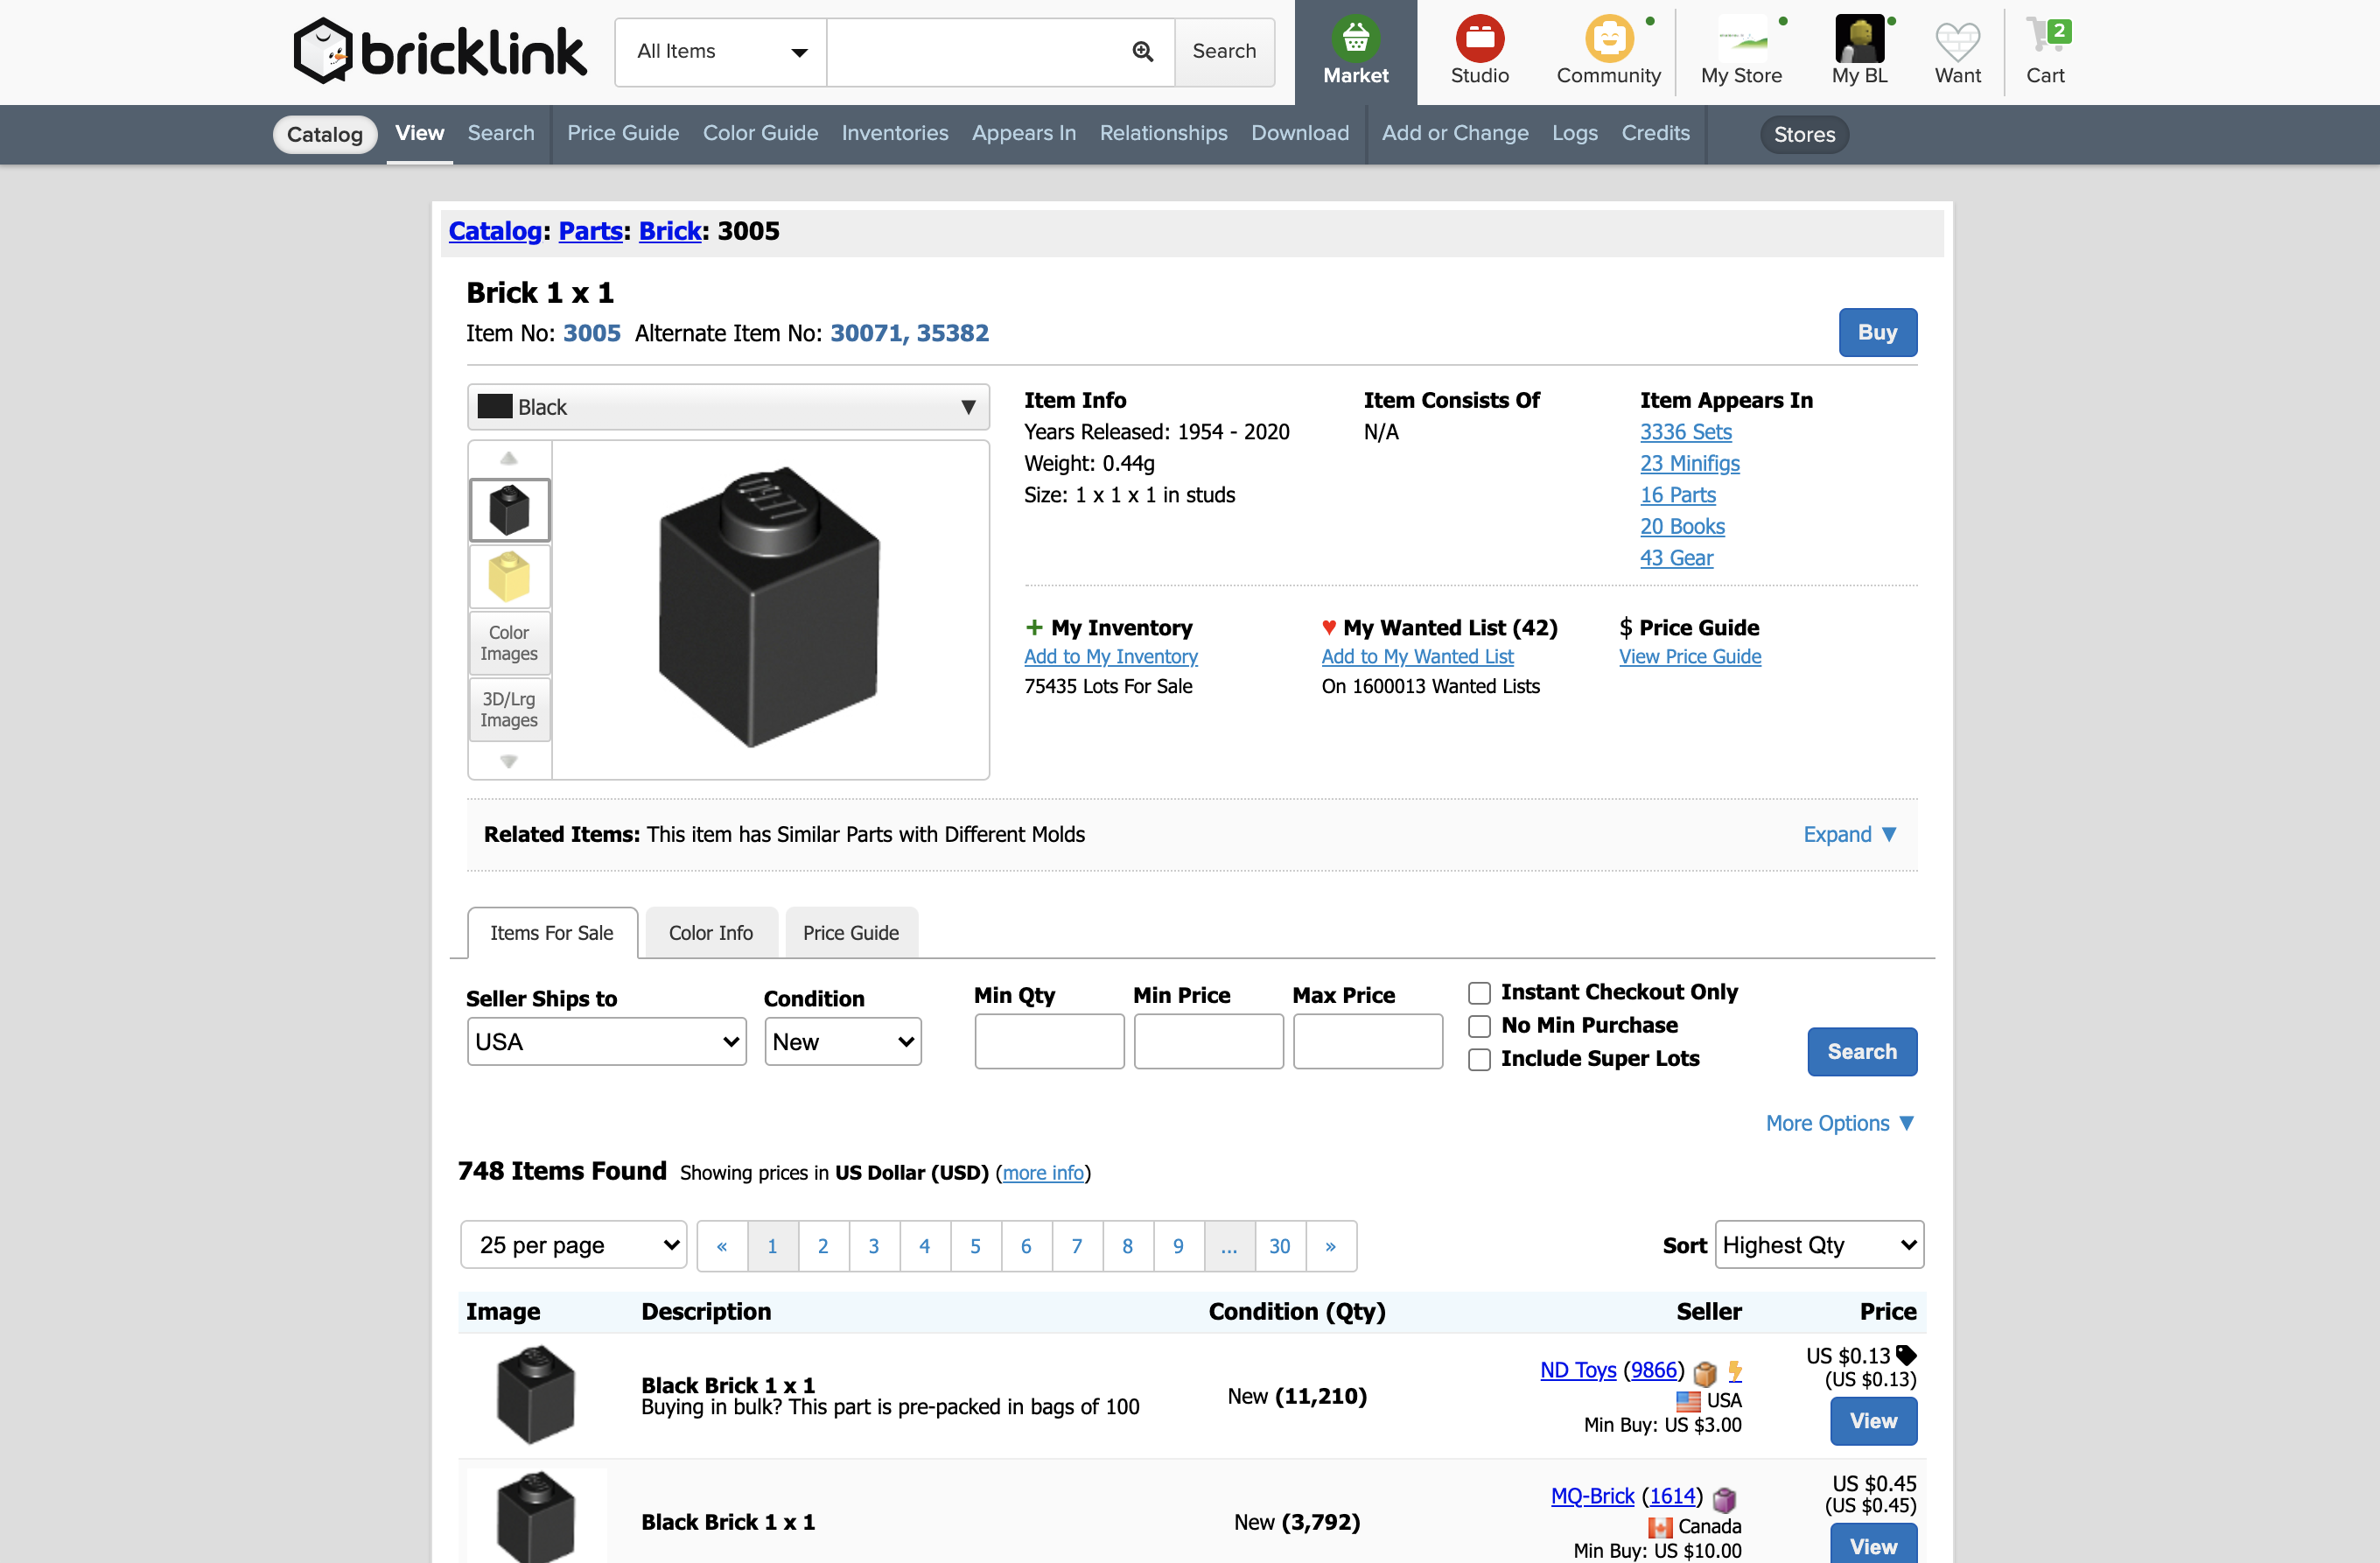
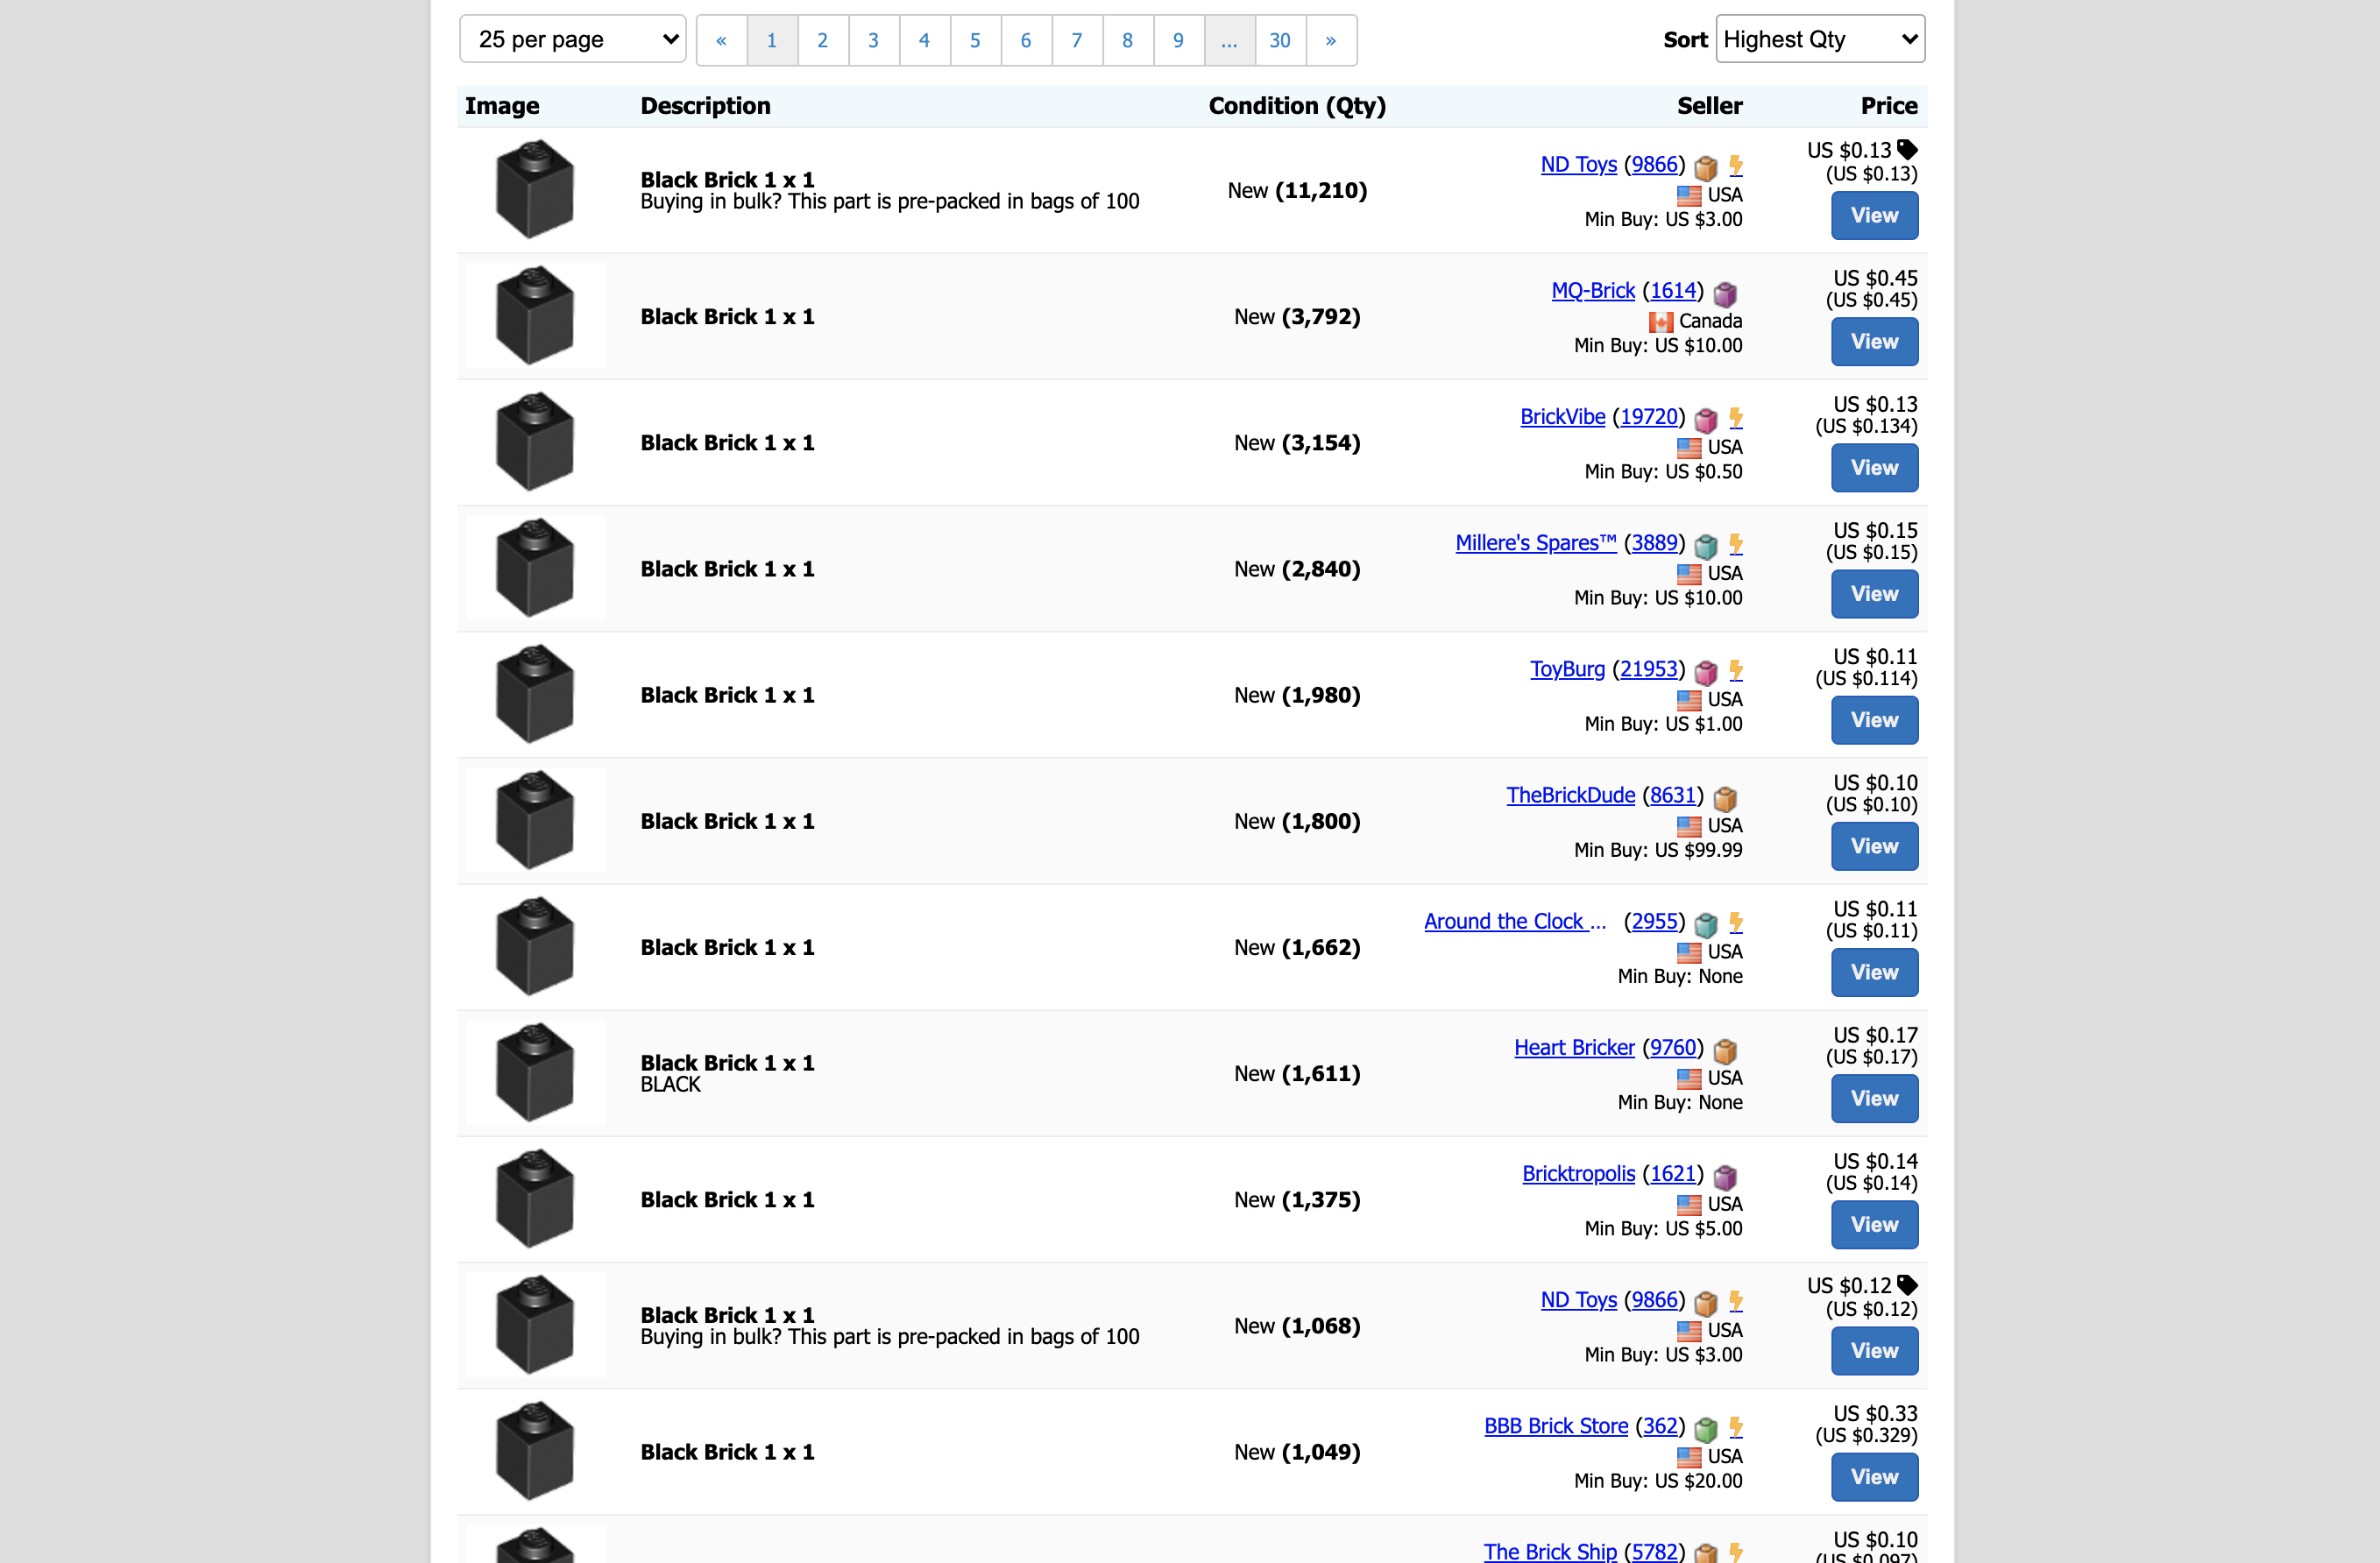
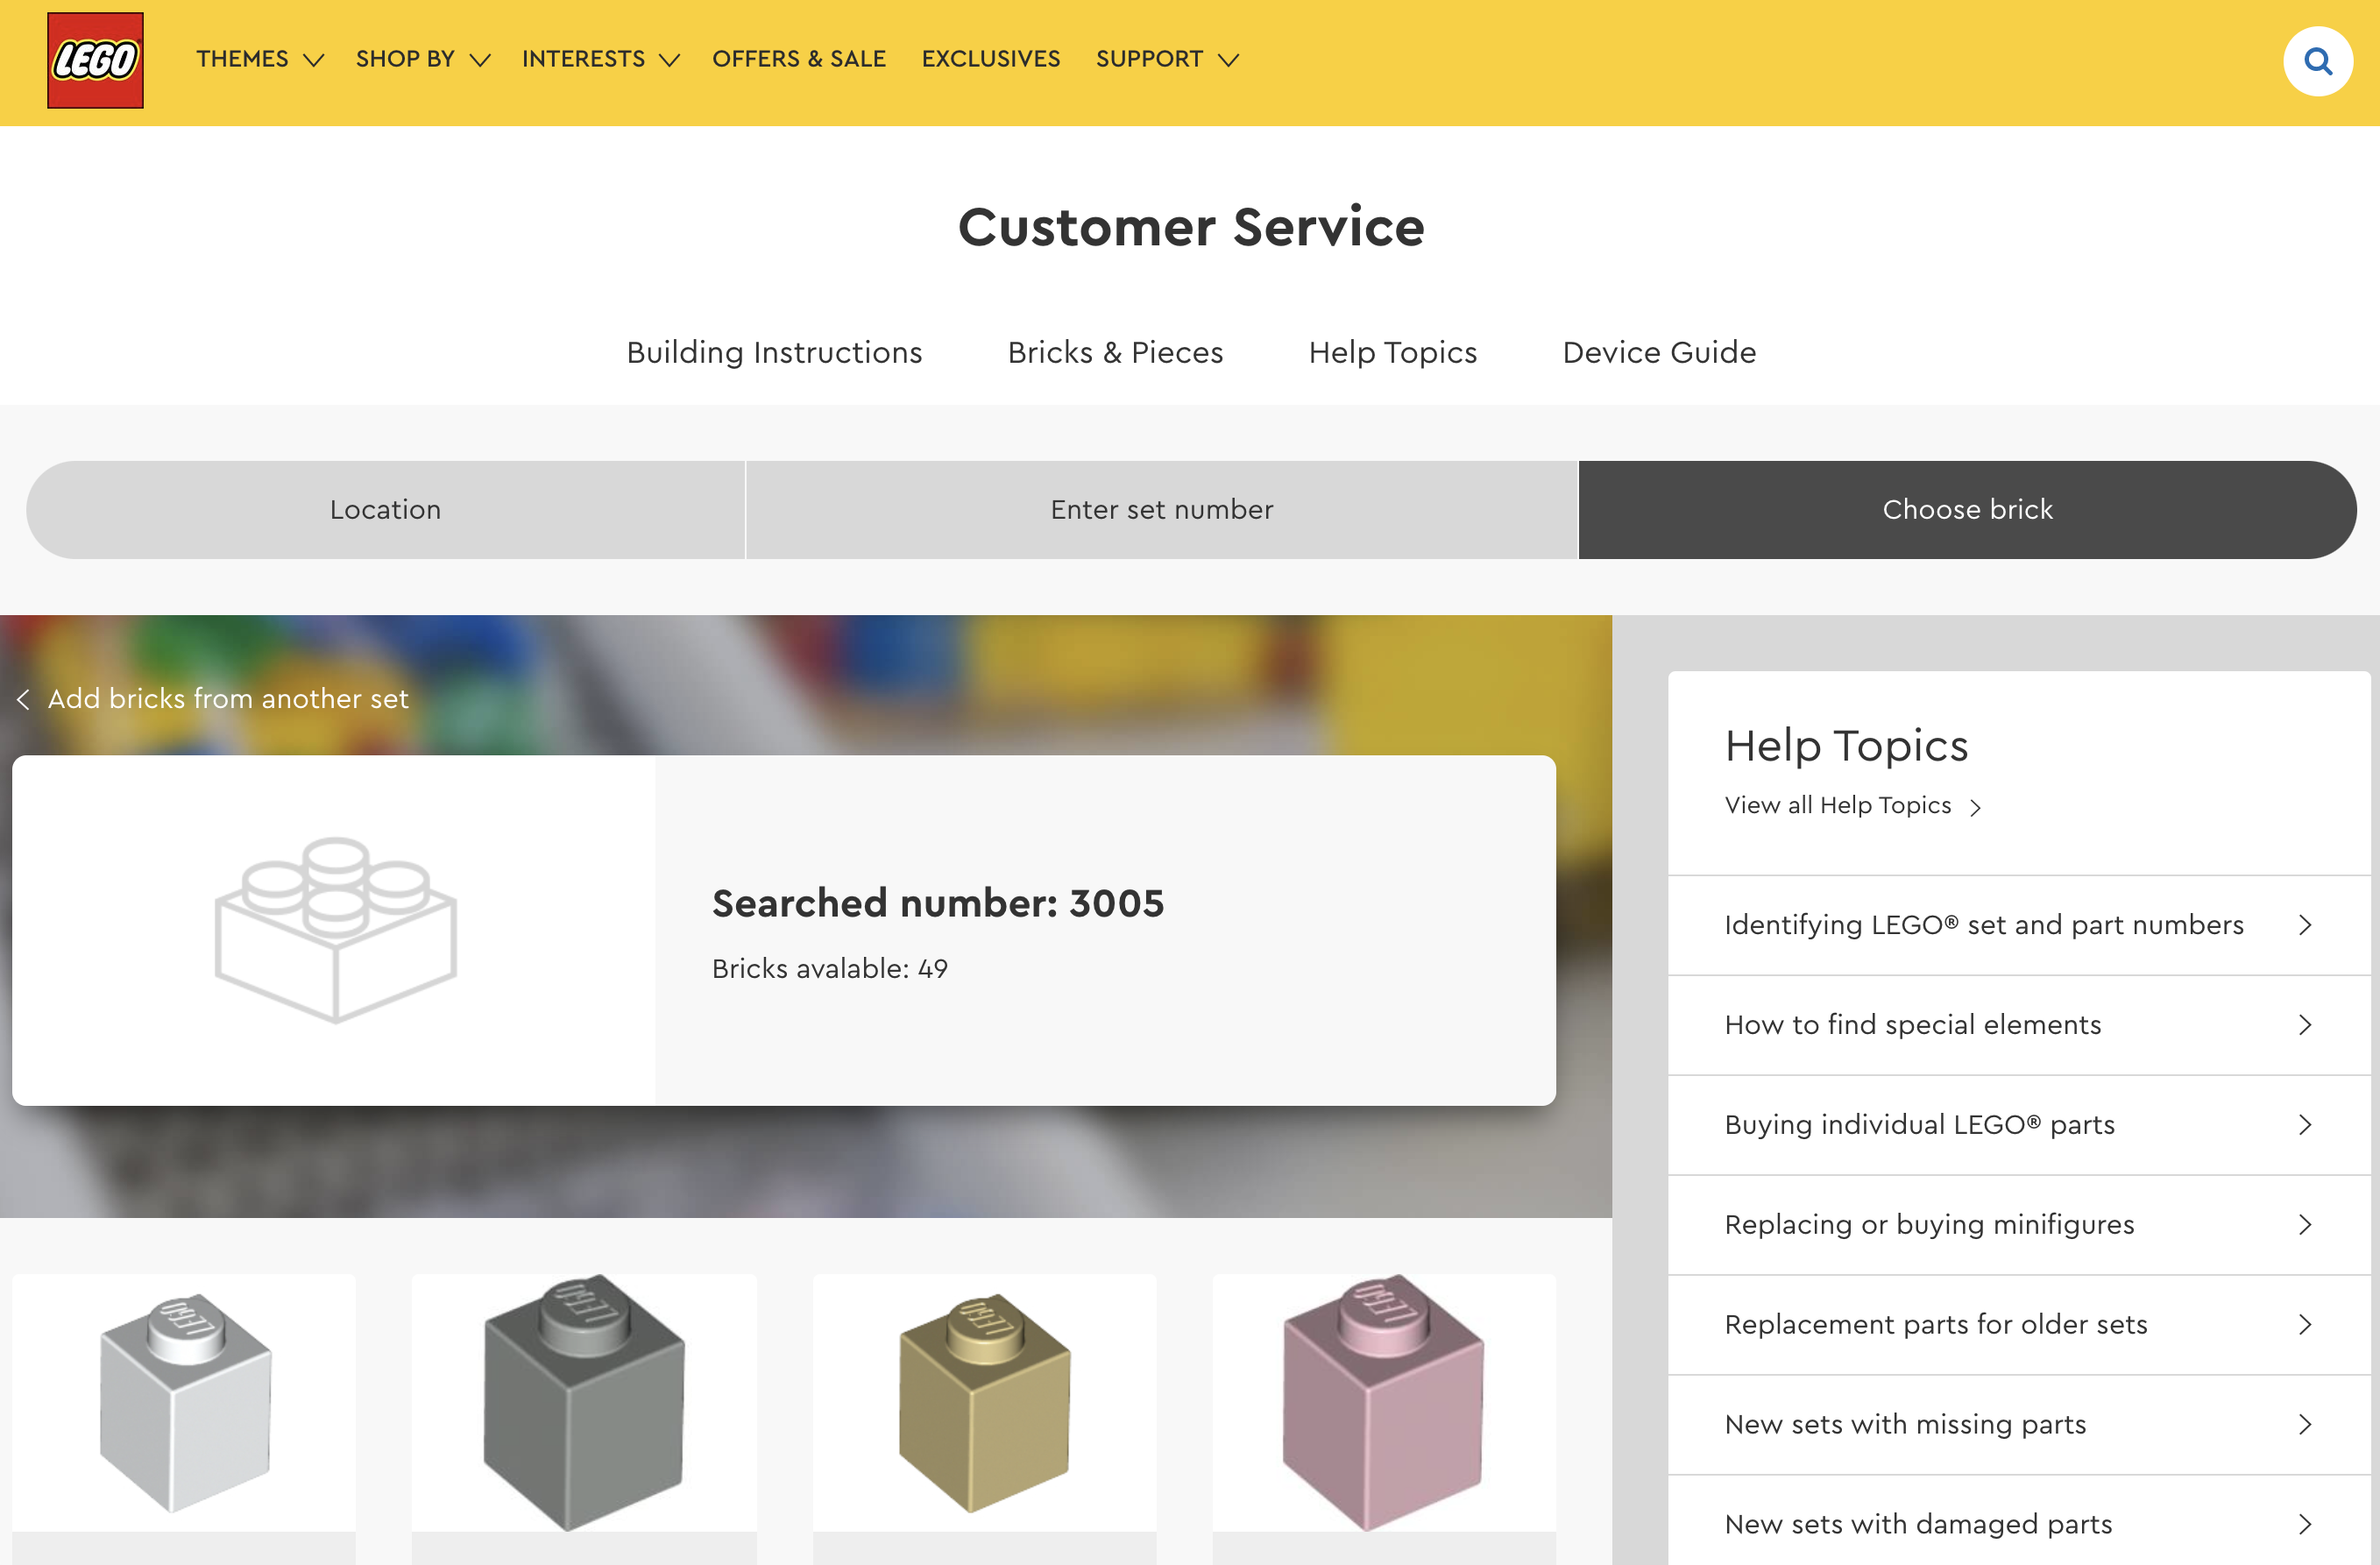
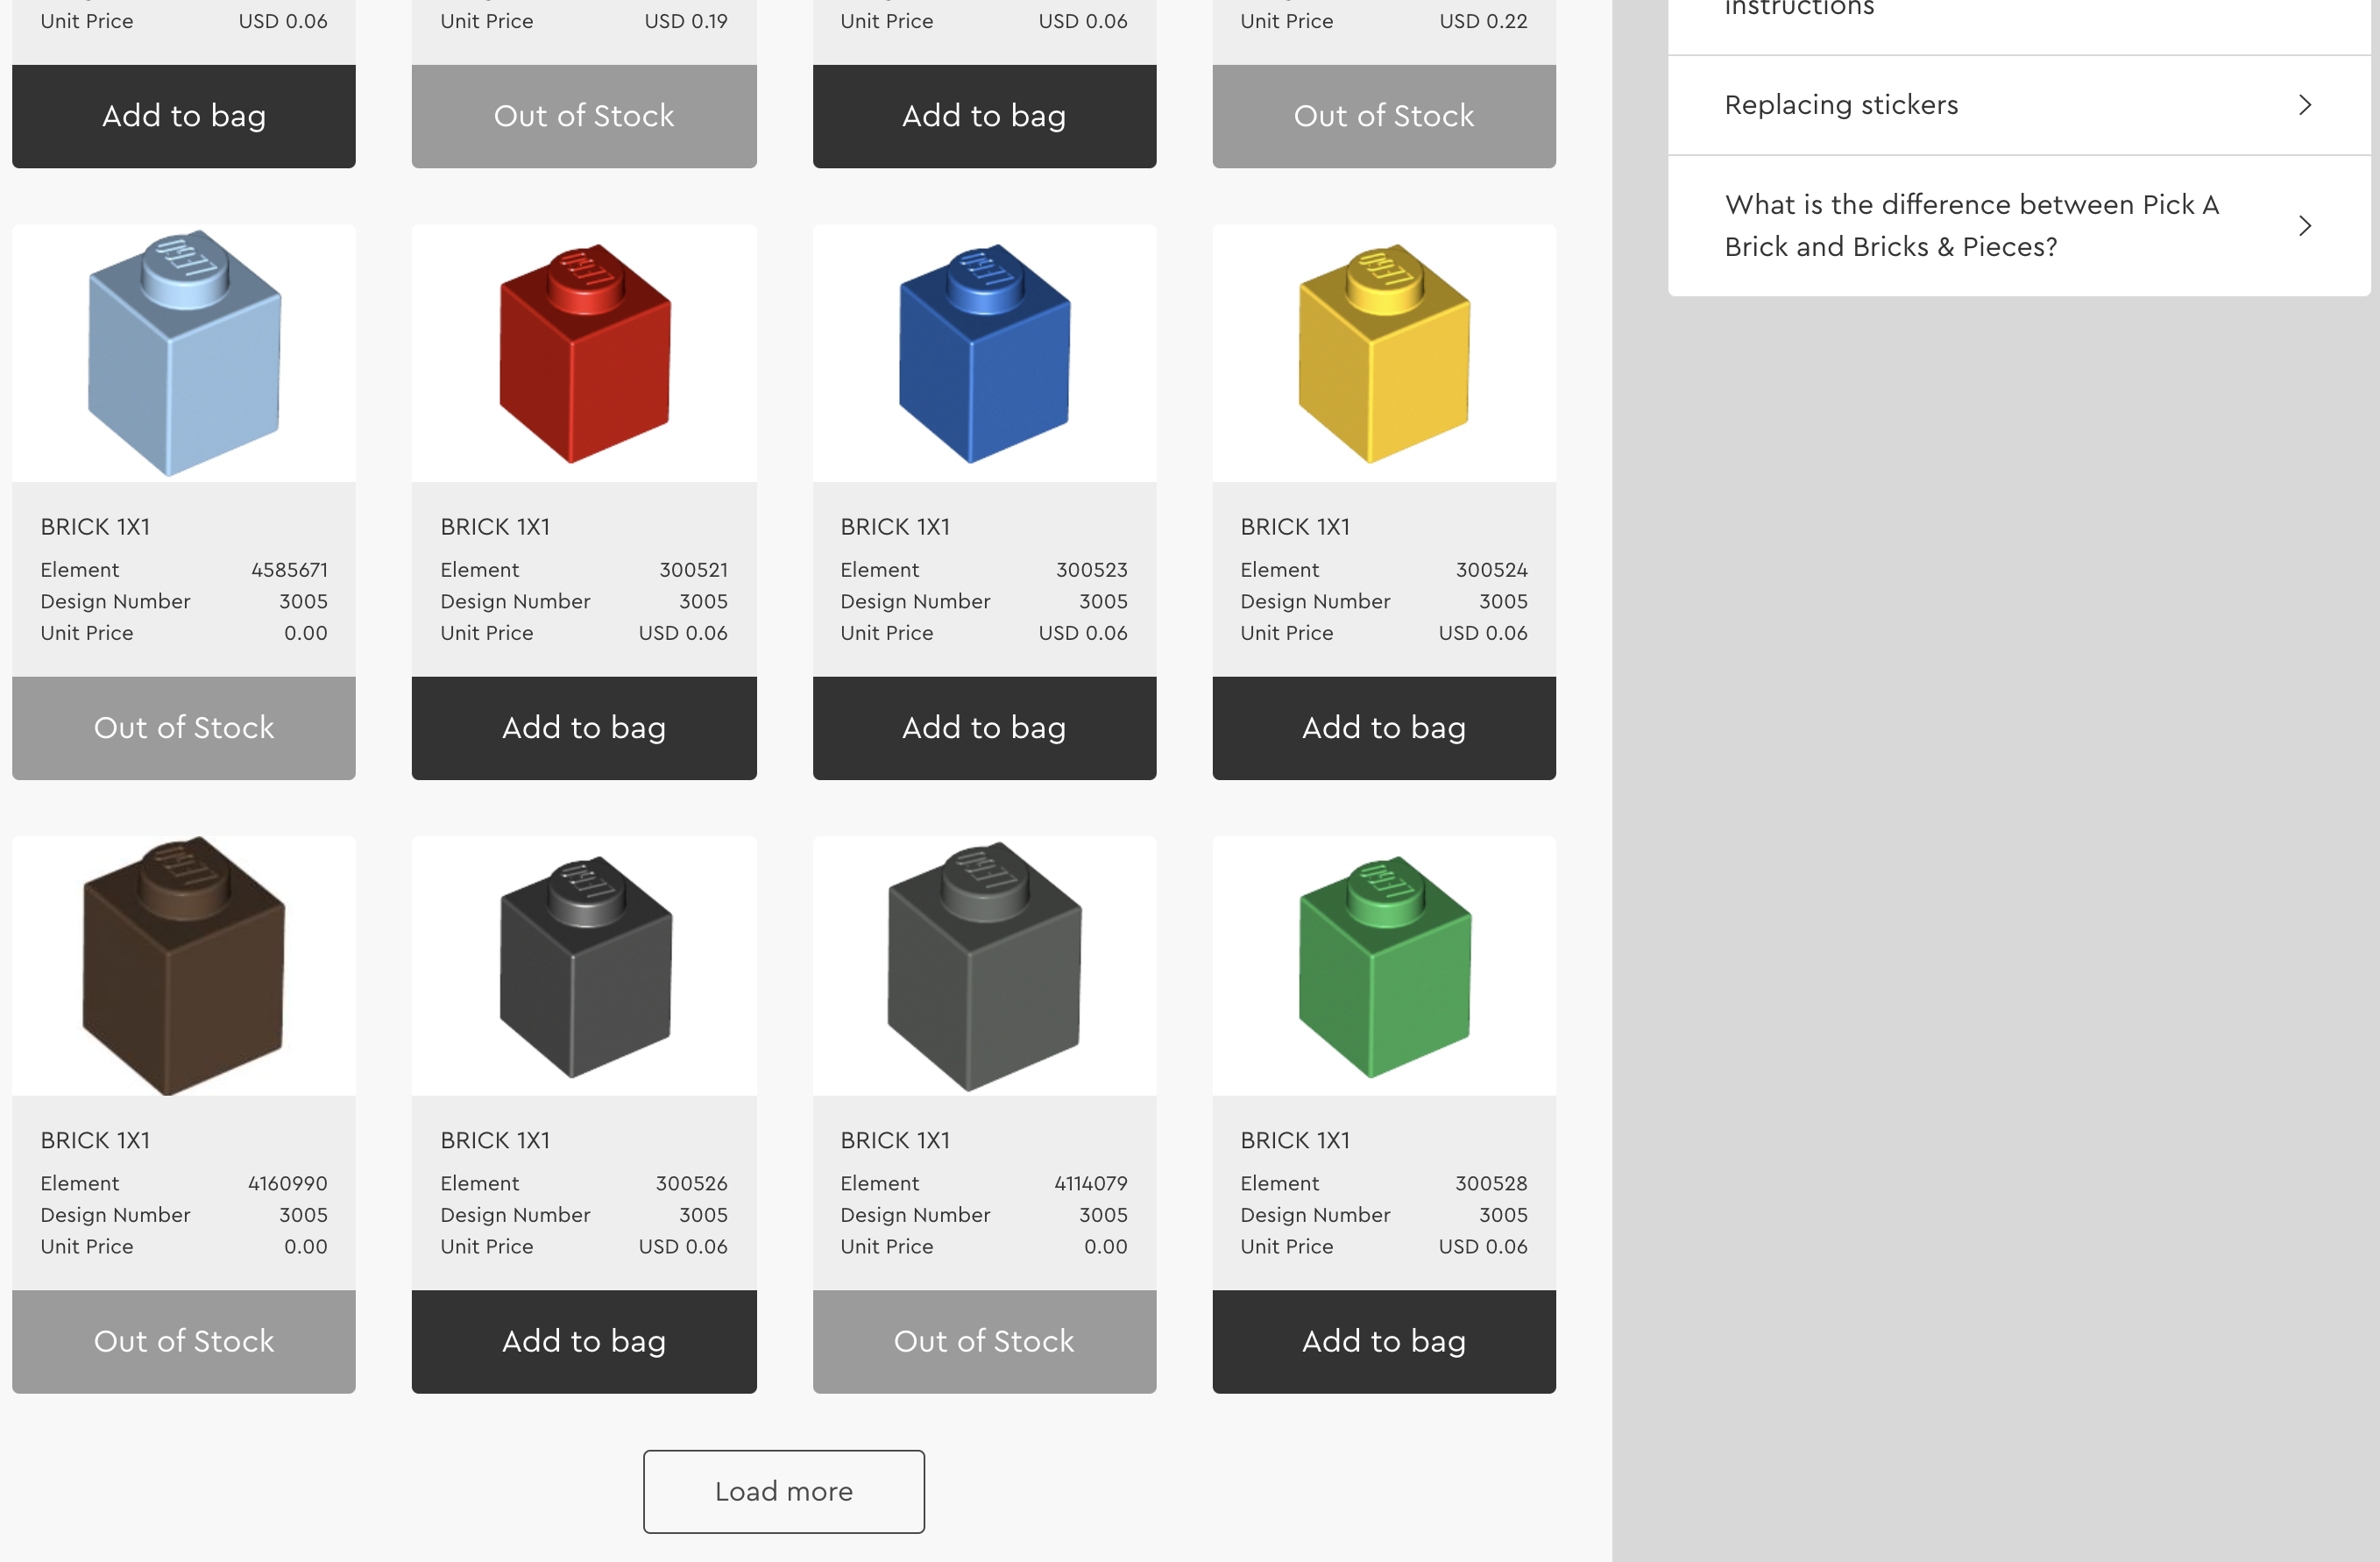
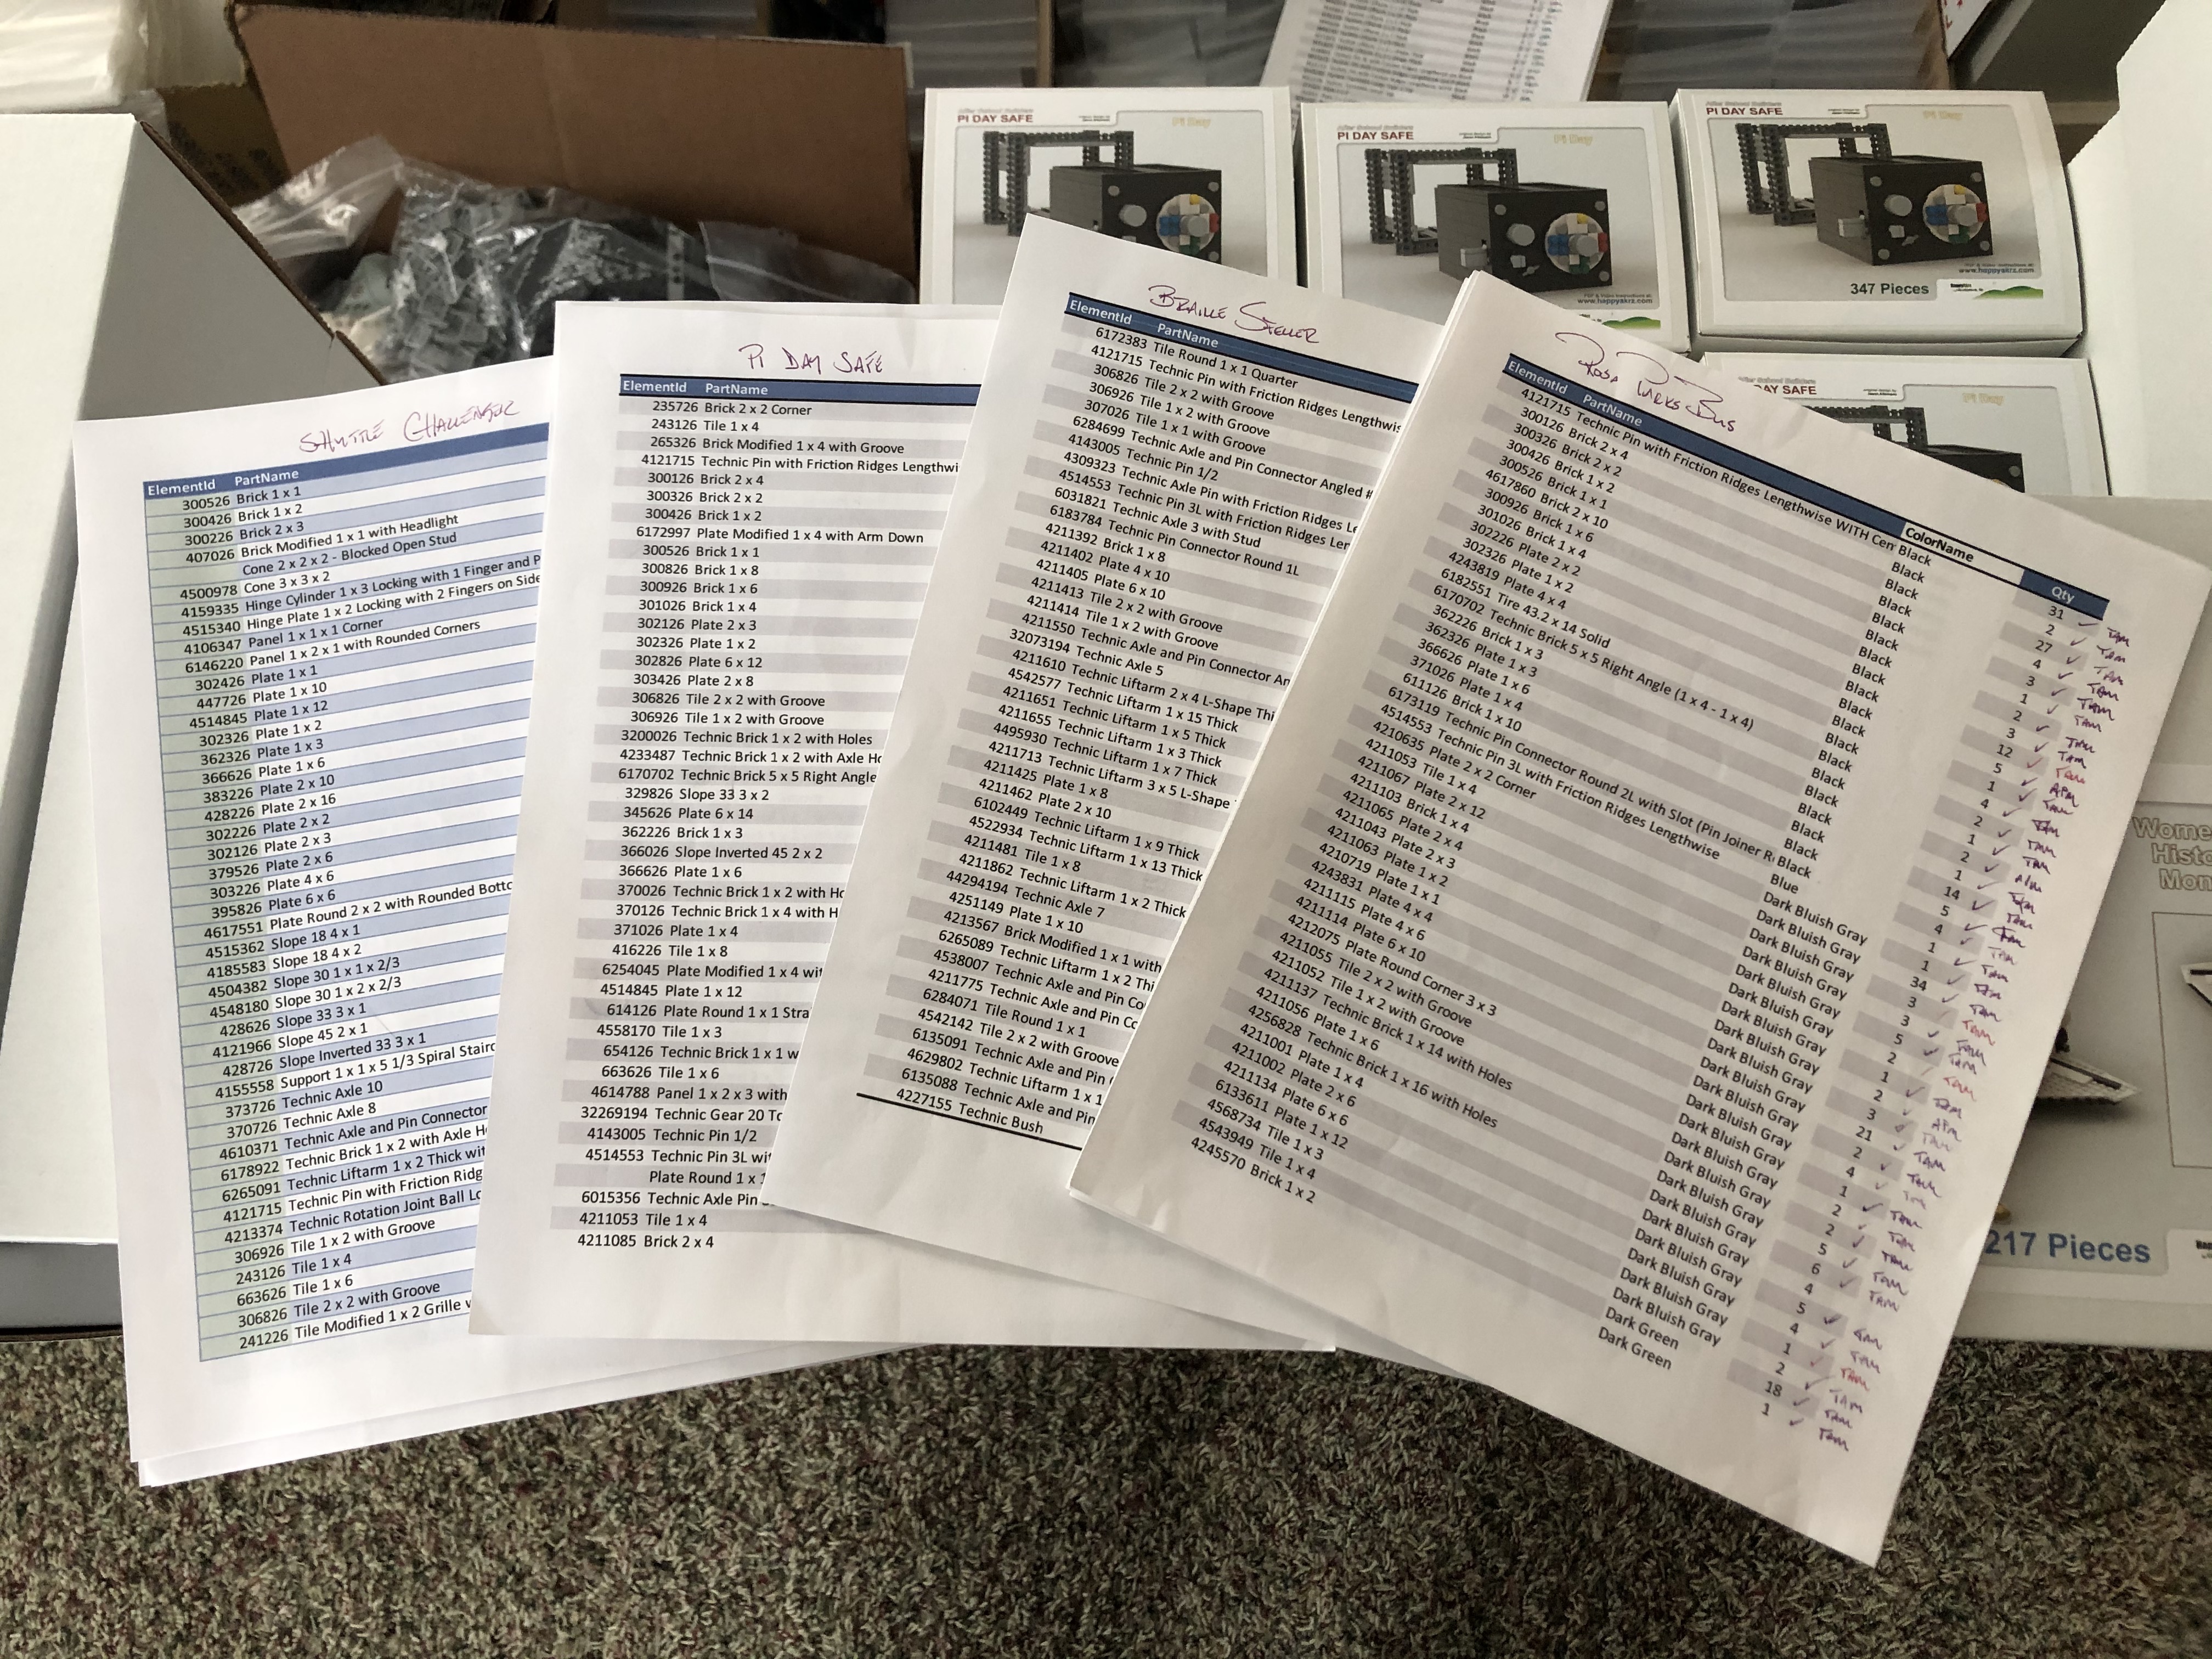
Resourcing the PartsThere are thousands of unique LEGO parts in dozens of vibrant colors, so finding the best fit for each kit can be a little difficult at times. Fortunately, there is an online resource for LEGO enthusiasts called, Bricklink.com that offers New and Used parts from 10,000+ vendors all over the world. Bricklink offers not only the variety of parts and colors, but a competitive pricing format that helps to keep costs at a reasonable level. This step begins one of most important, and financially crucial steps of the MOC (My Own Creation) Building Process -- Finding the best-priced parts at the fewest number of stores to save on shipping costs. No one store will have everything you're looking to buy, but keeping that shopping list down to the smallest number of stores can be a challenge. I also order a lot of parts directly from the LEGO factory in Denmark at amazing prices. Once the parts are ordered, we build the PDF instructions while we wait for delivery. |

|
|
|
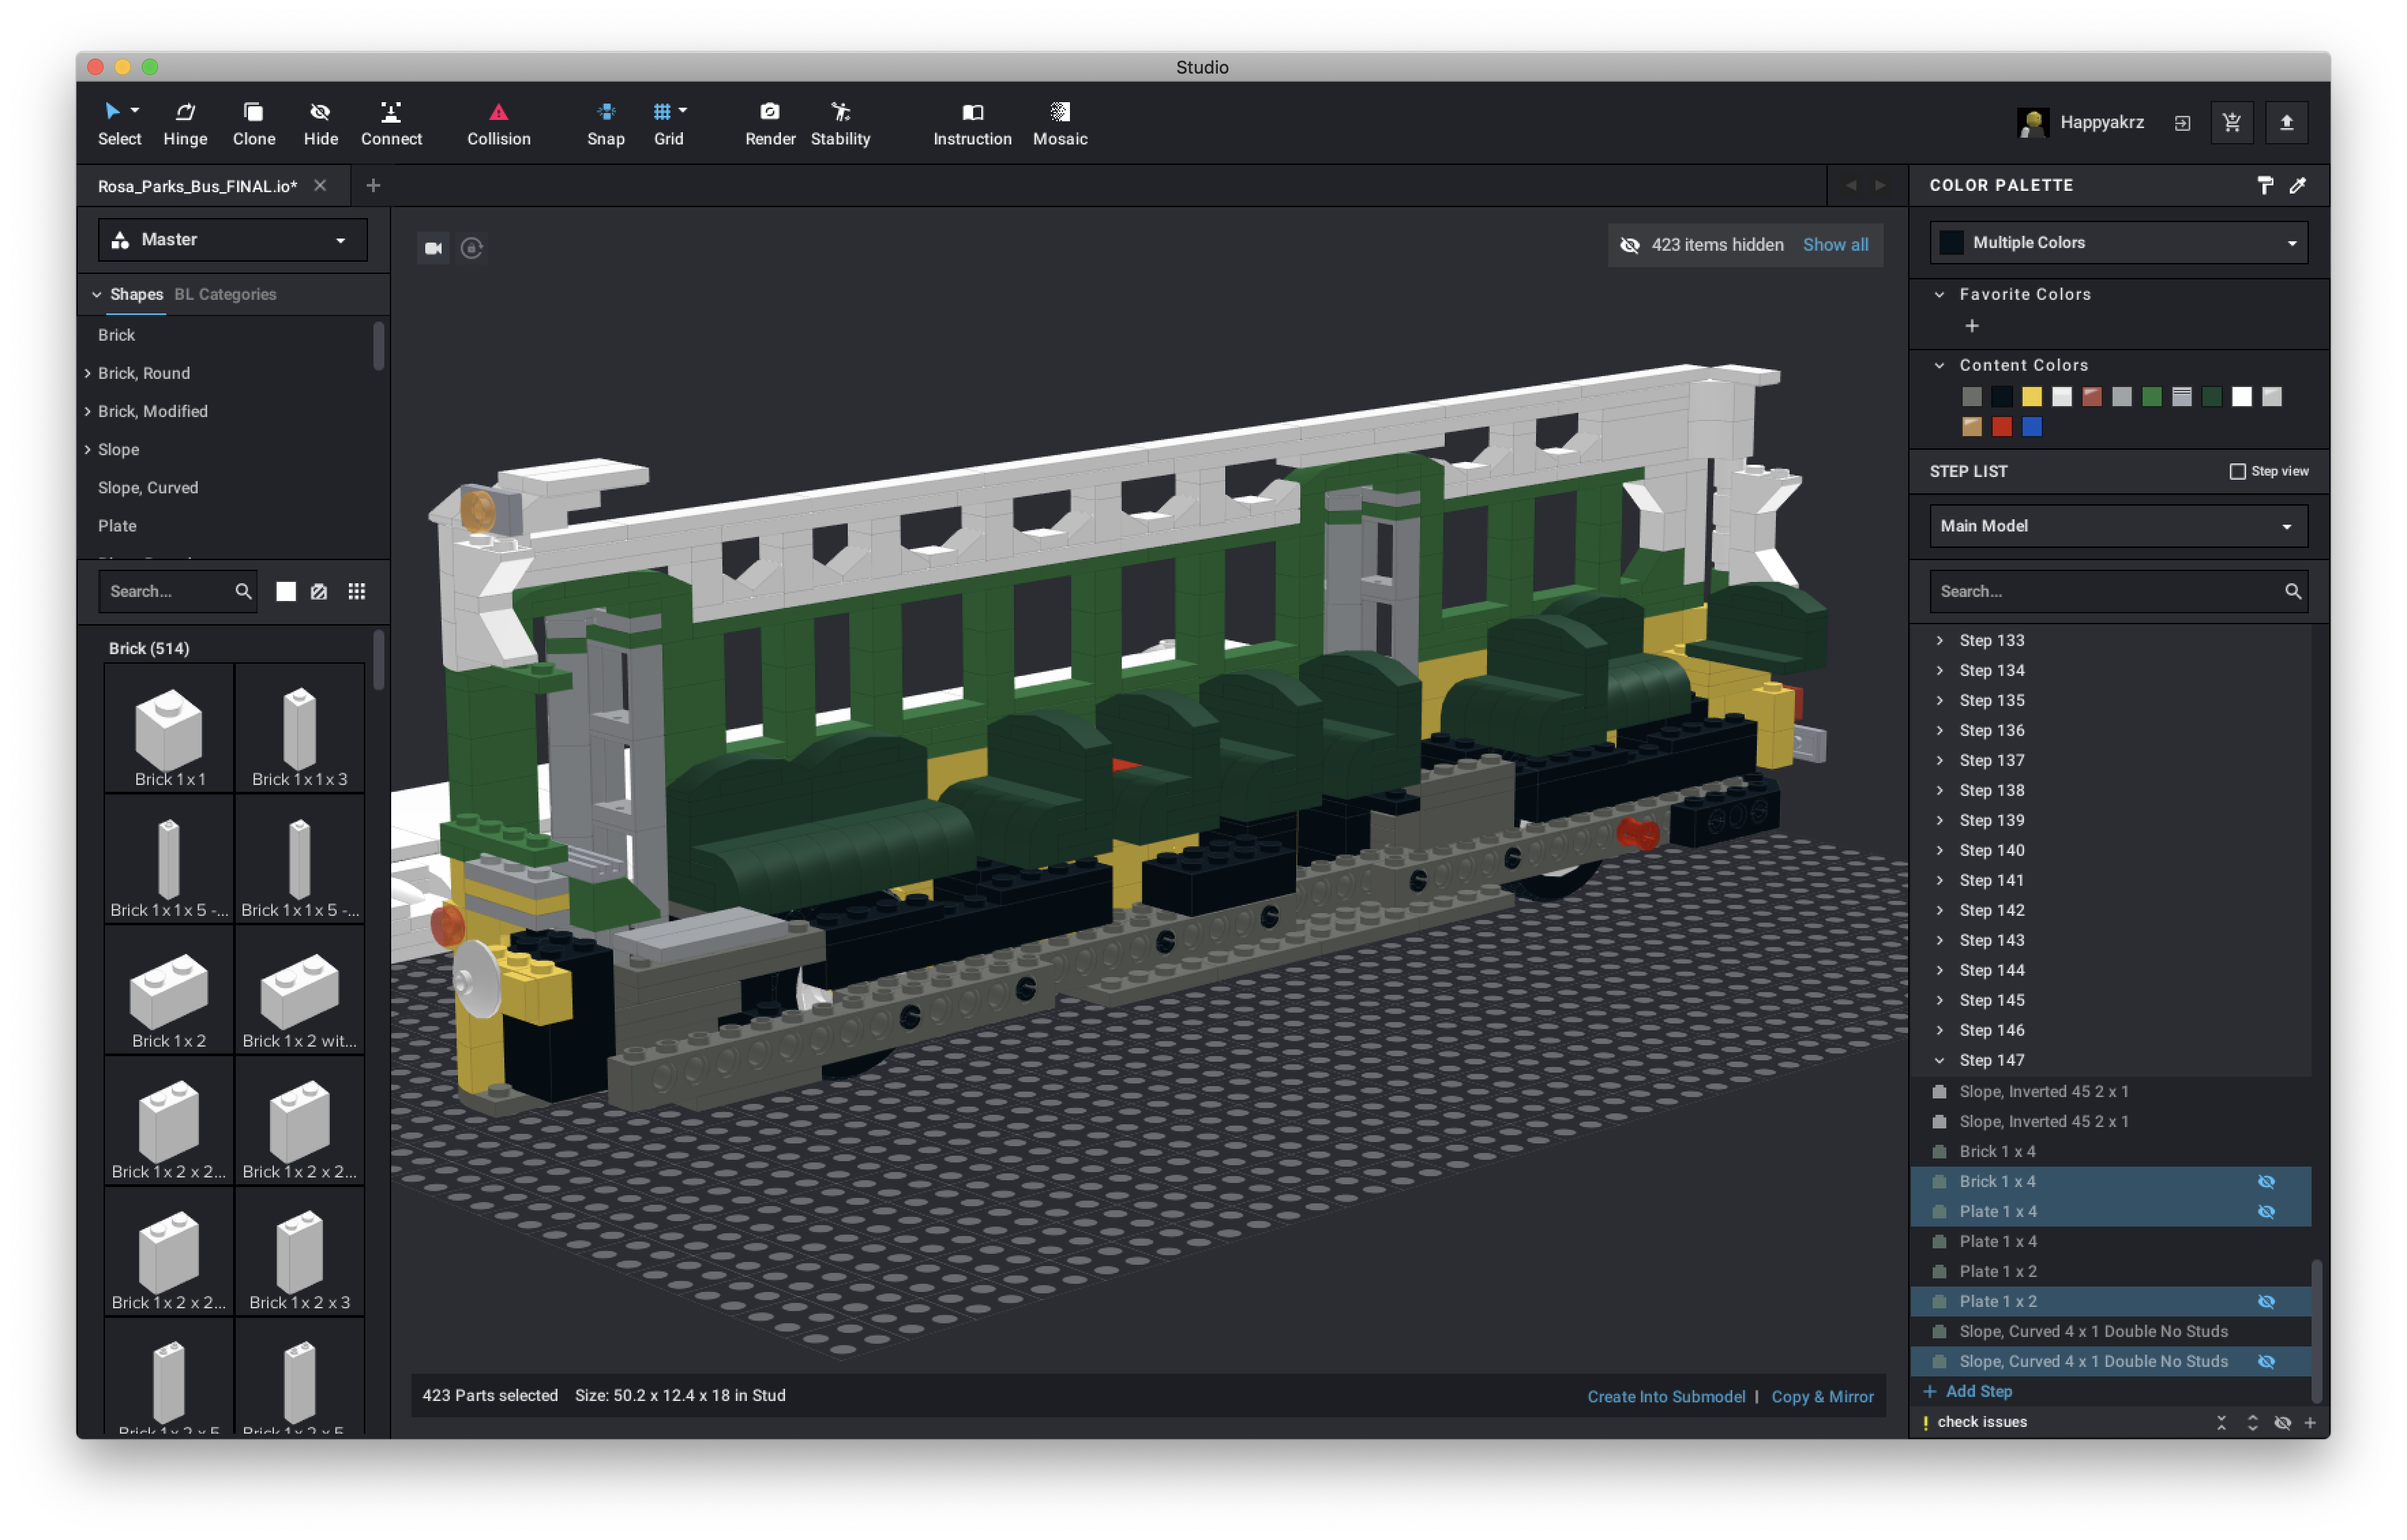
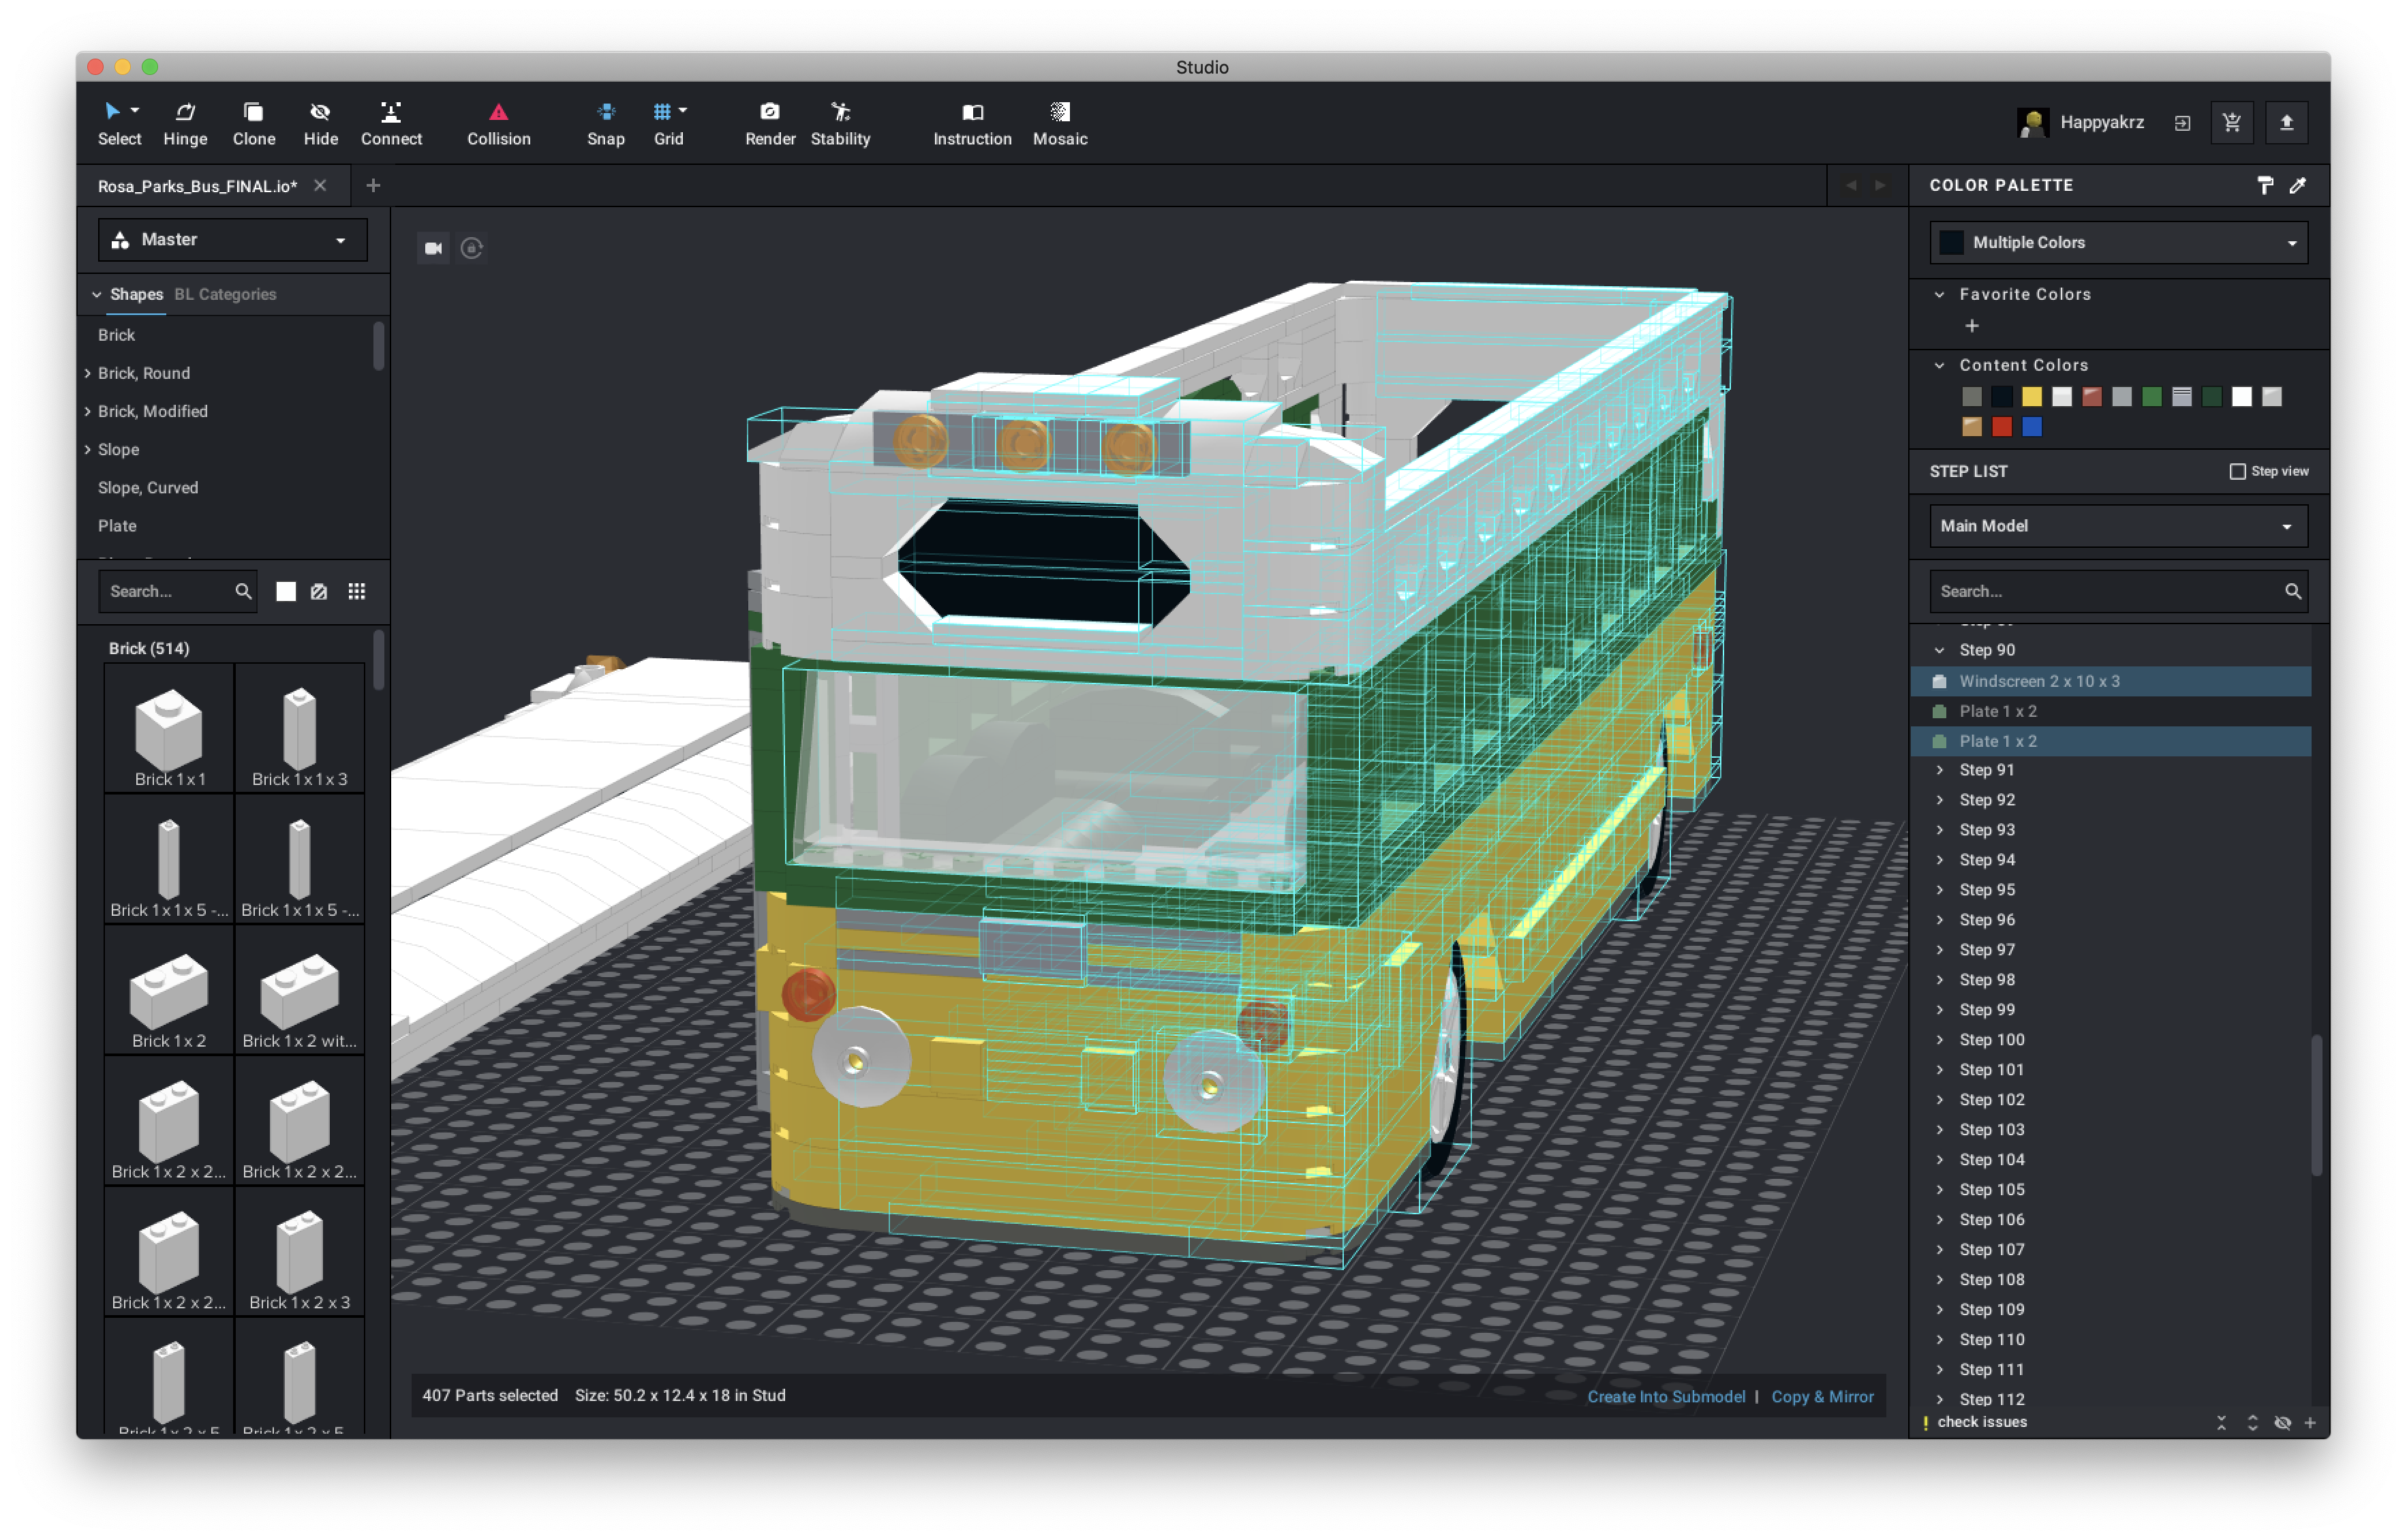
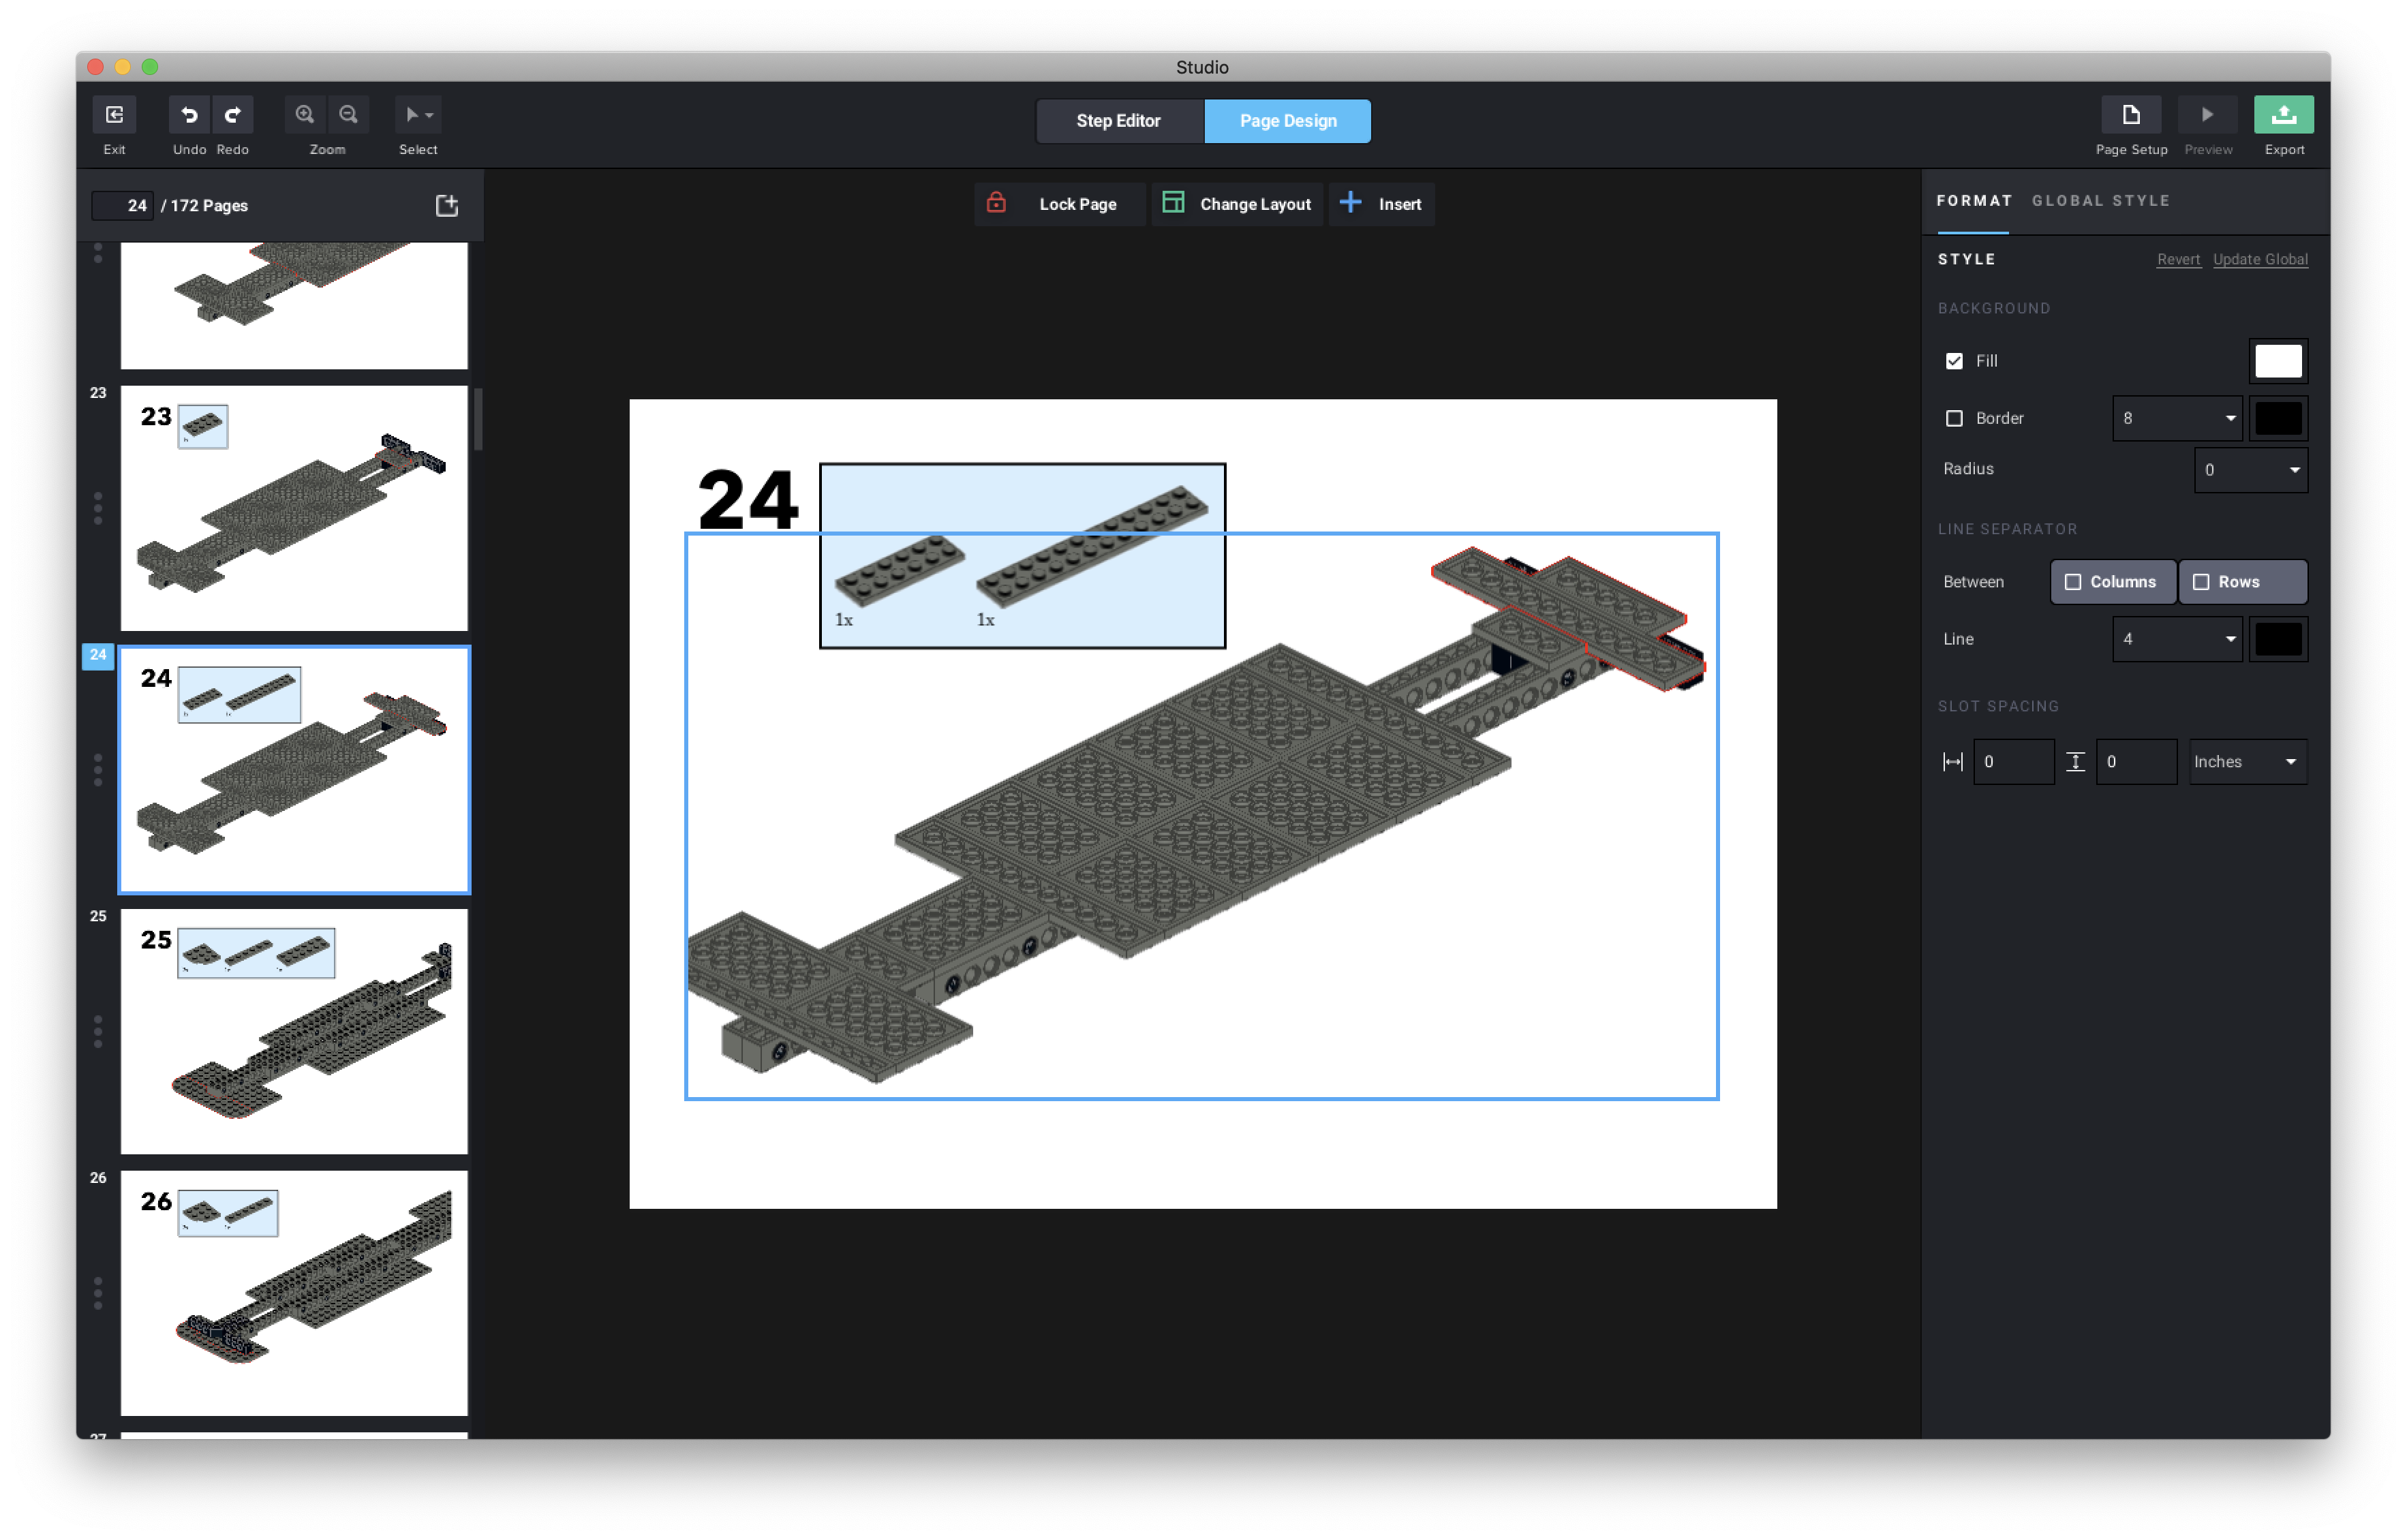
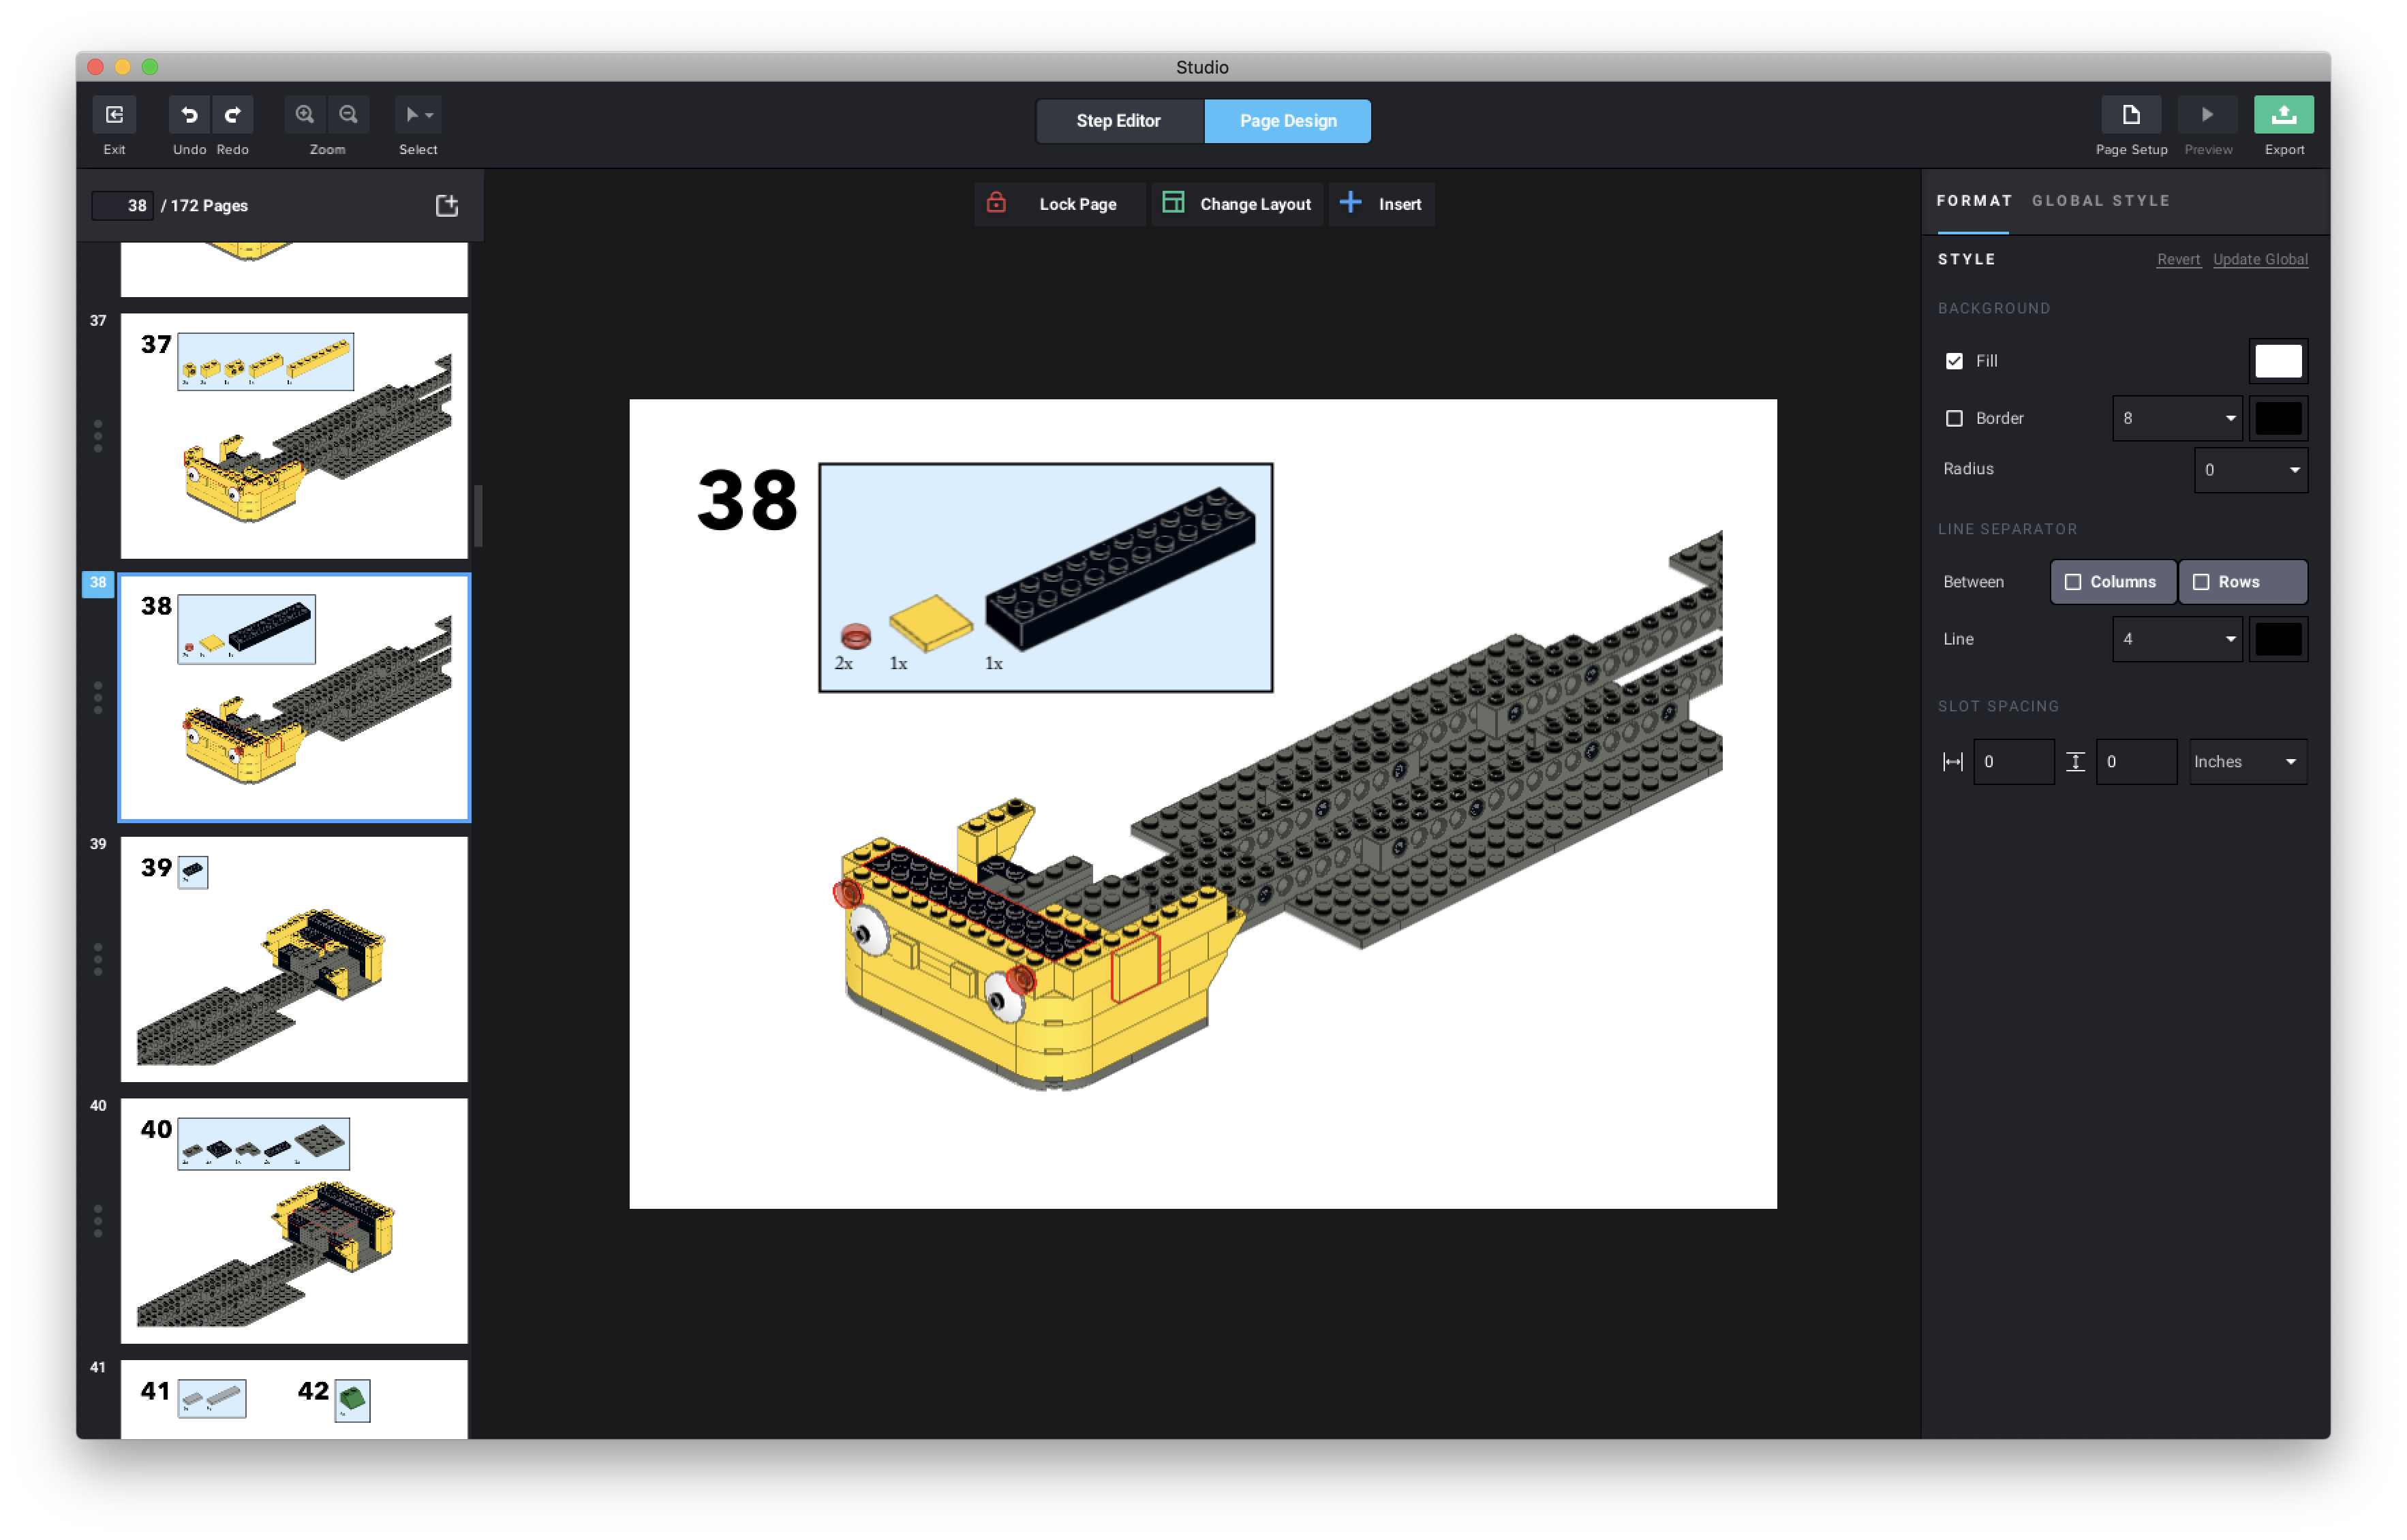
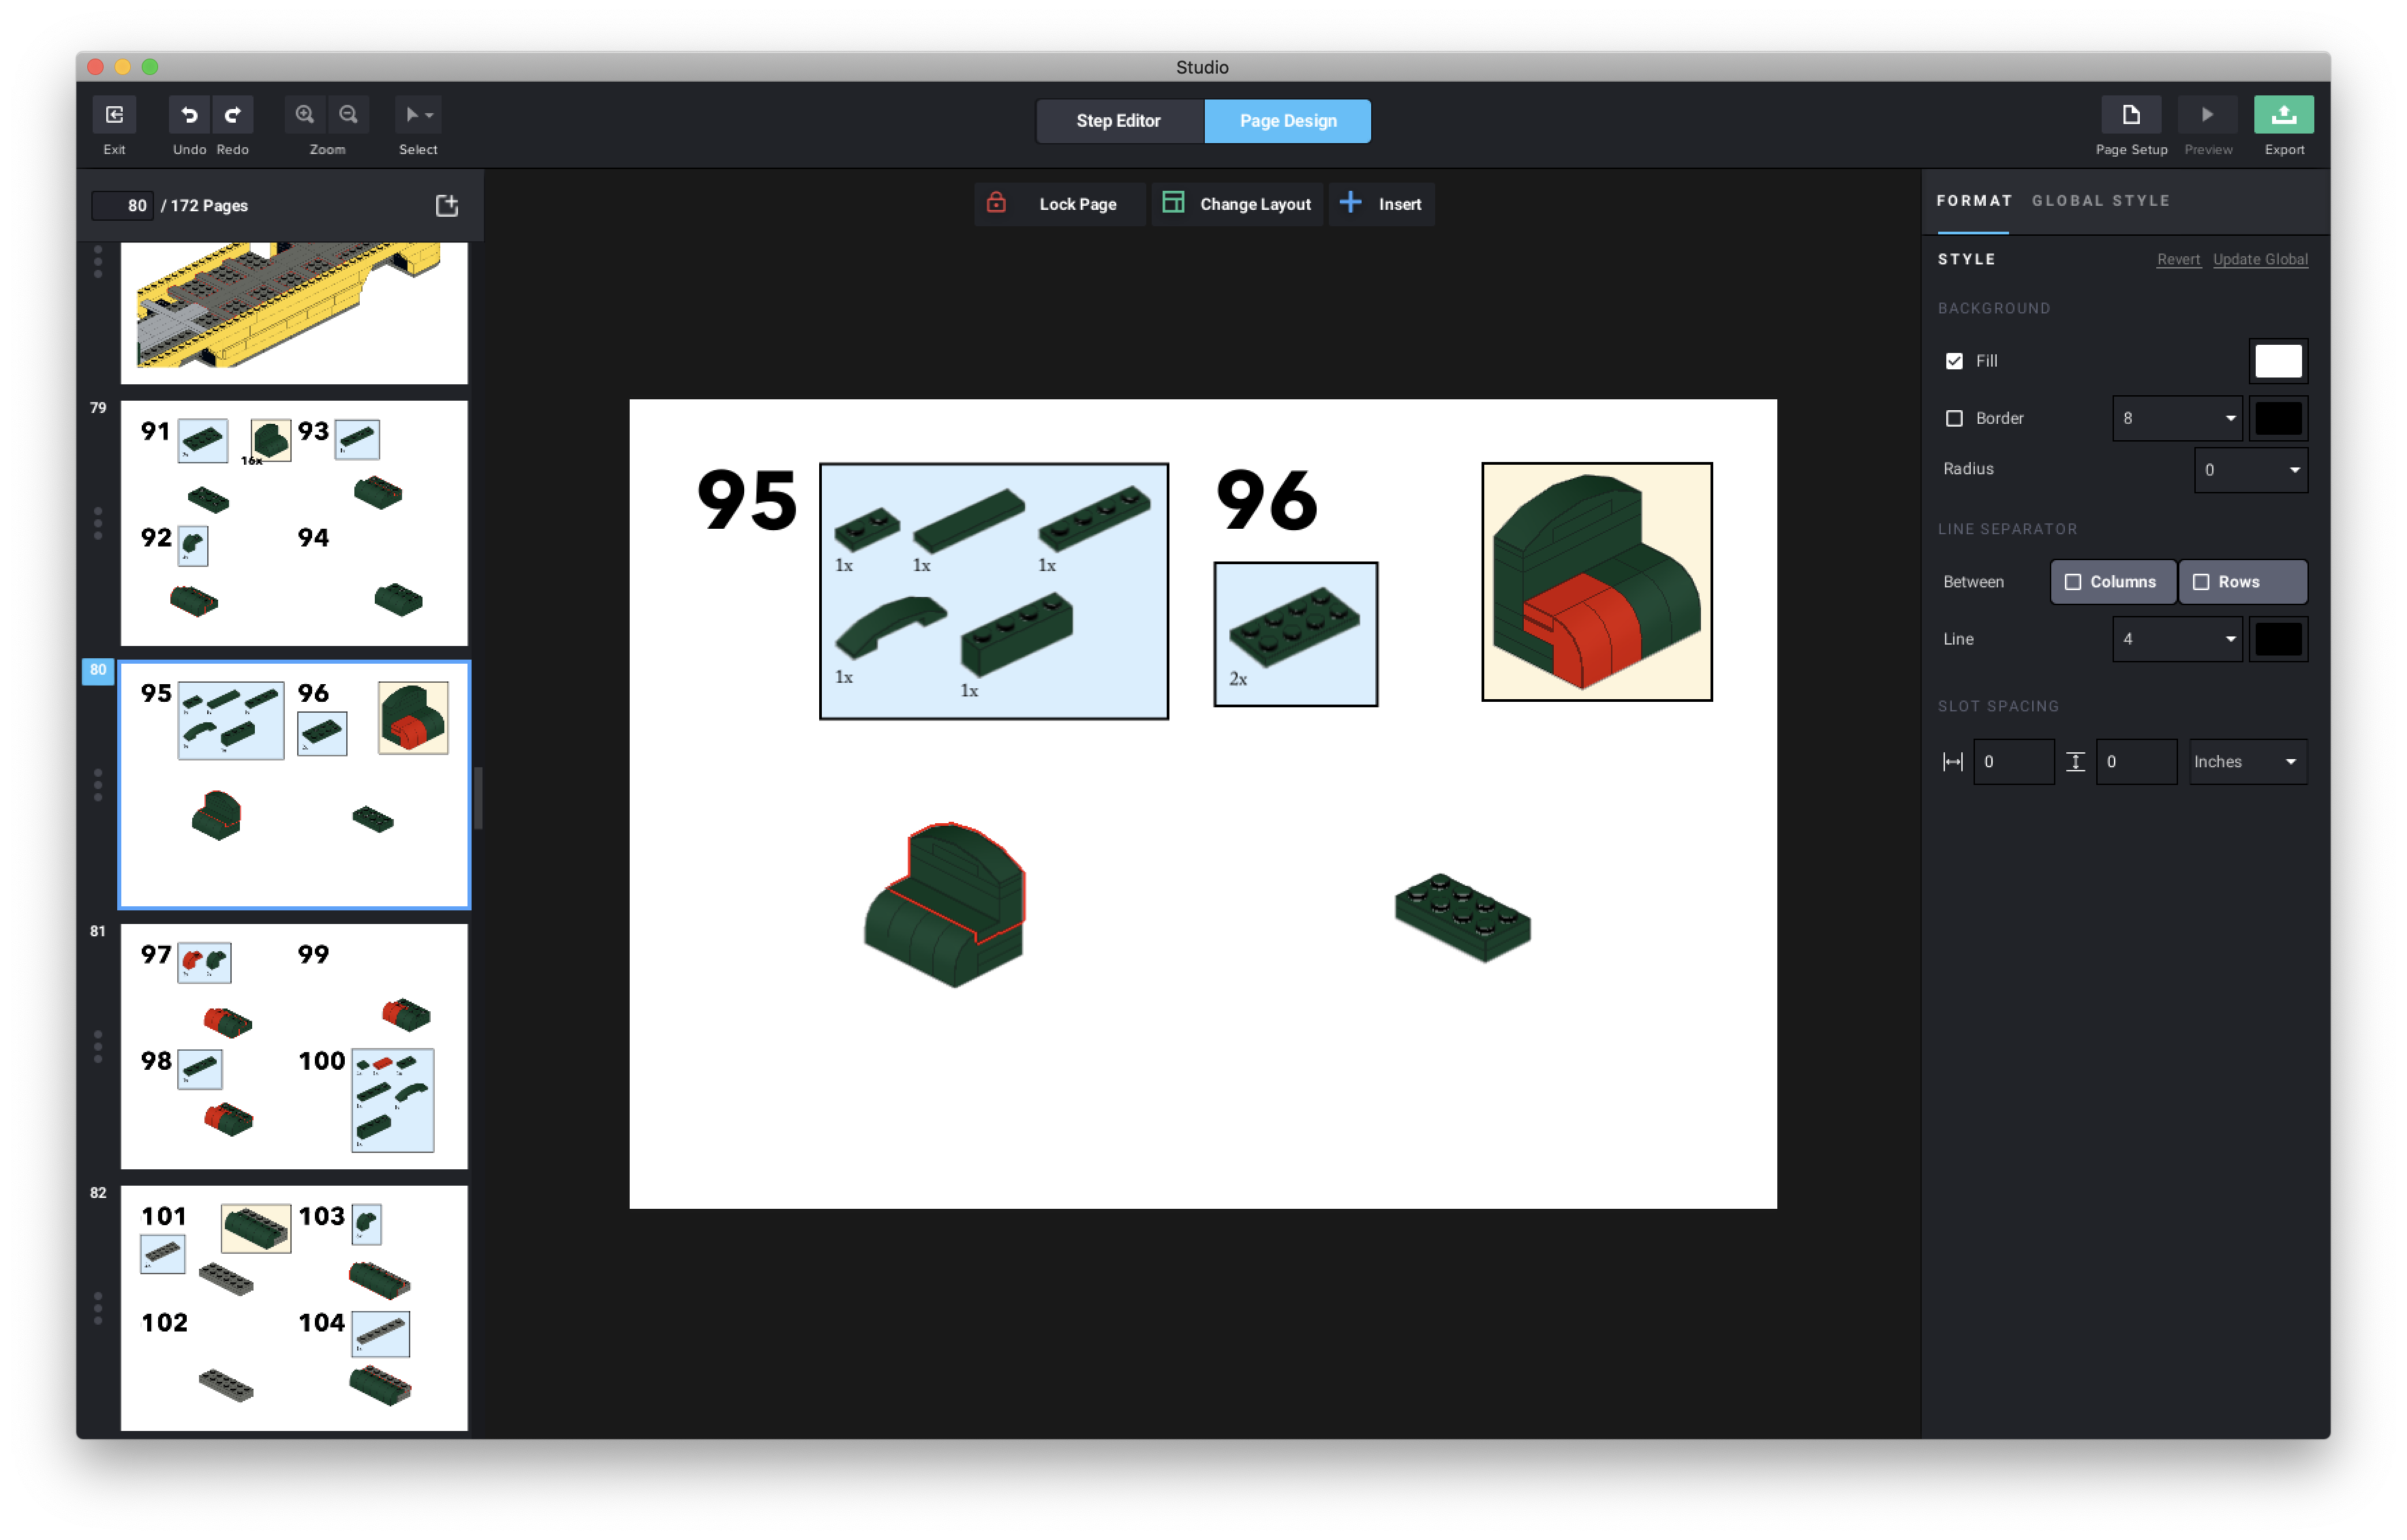
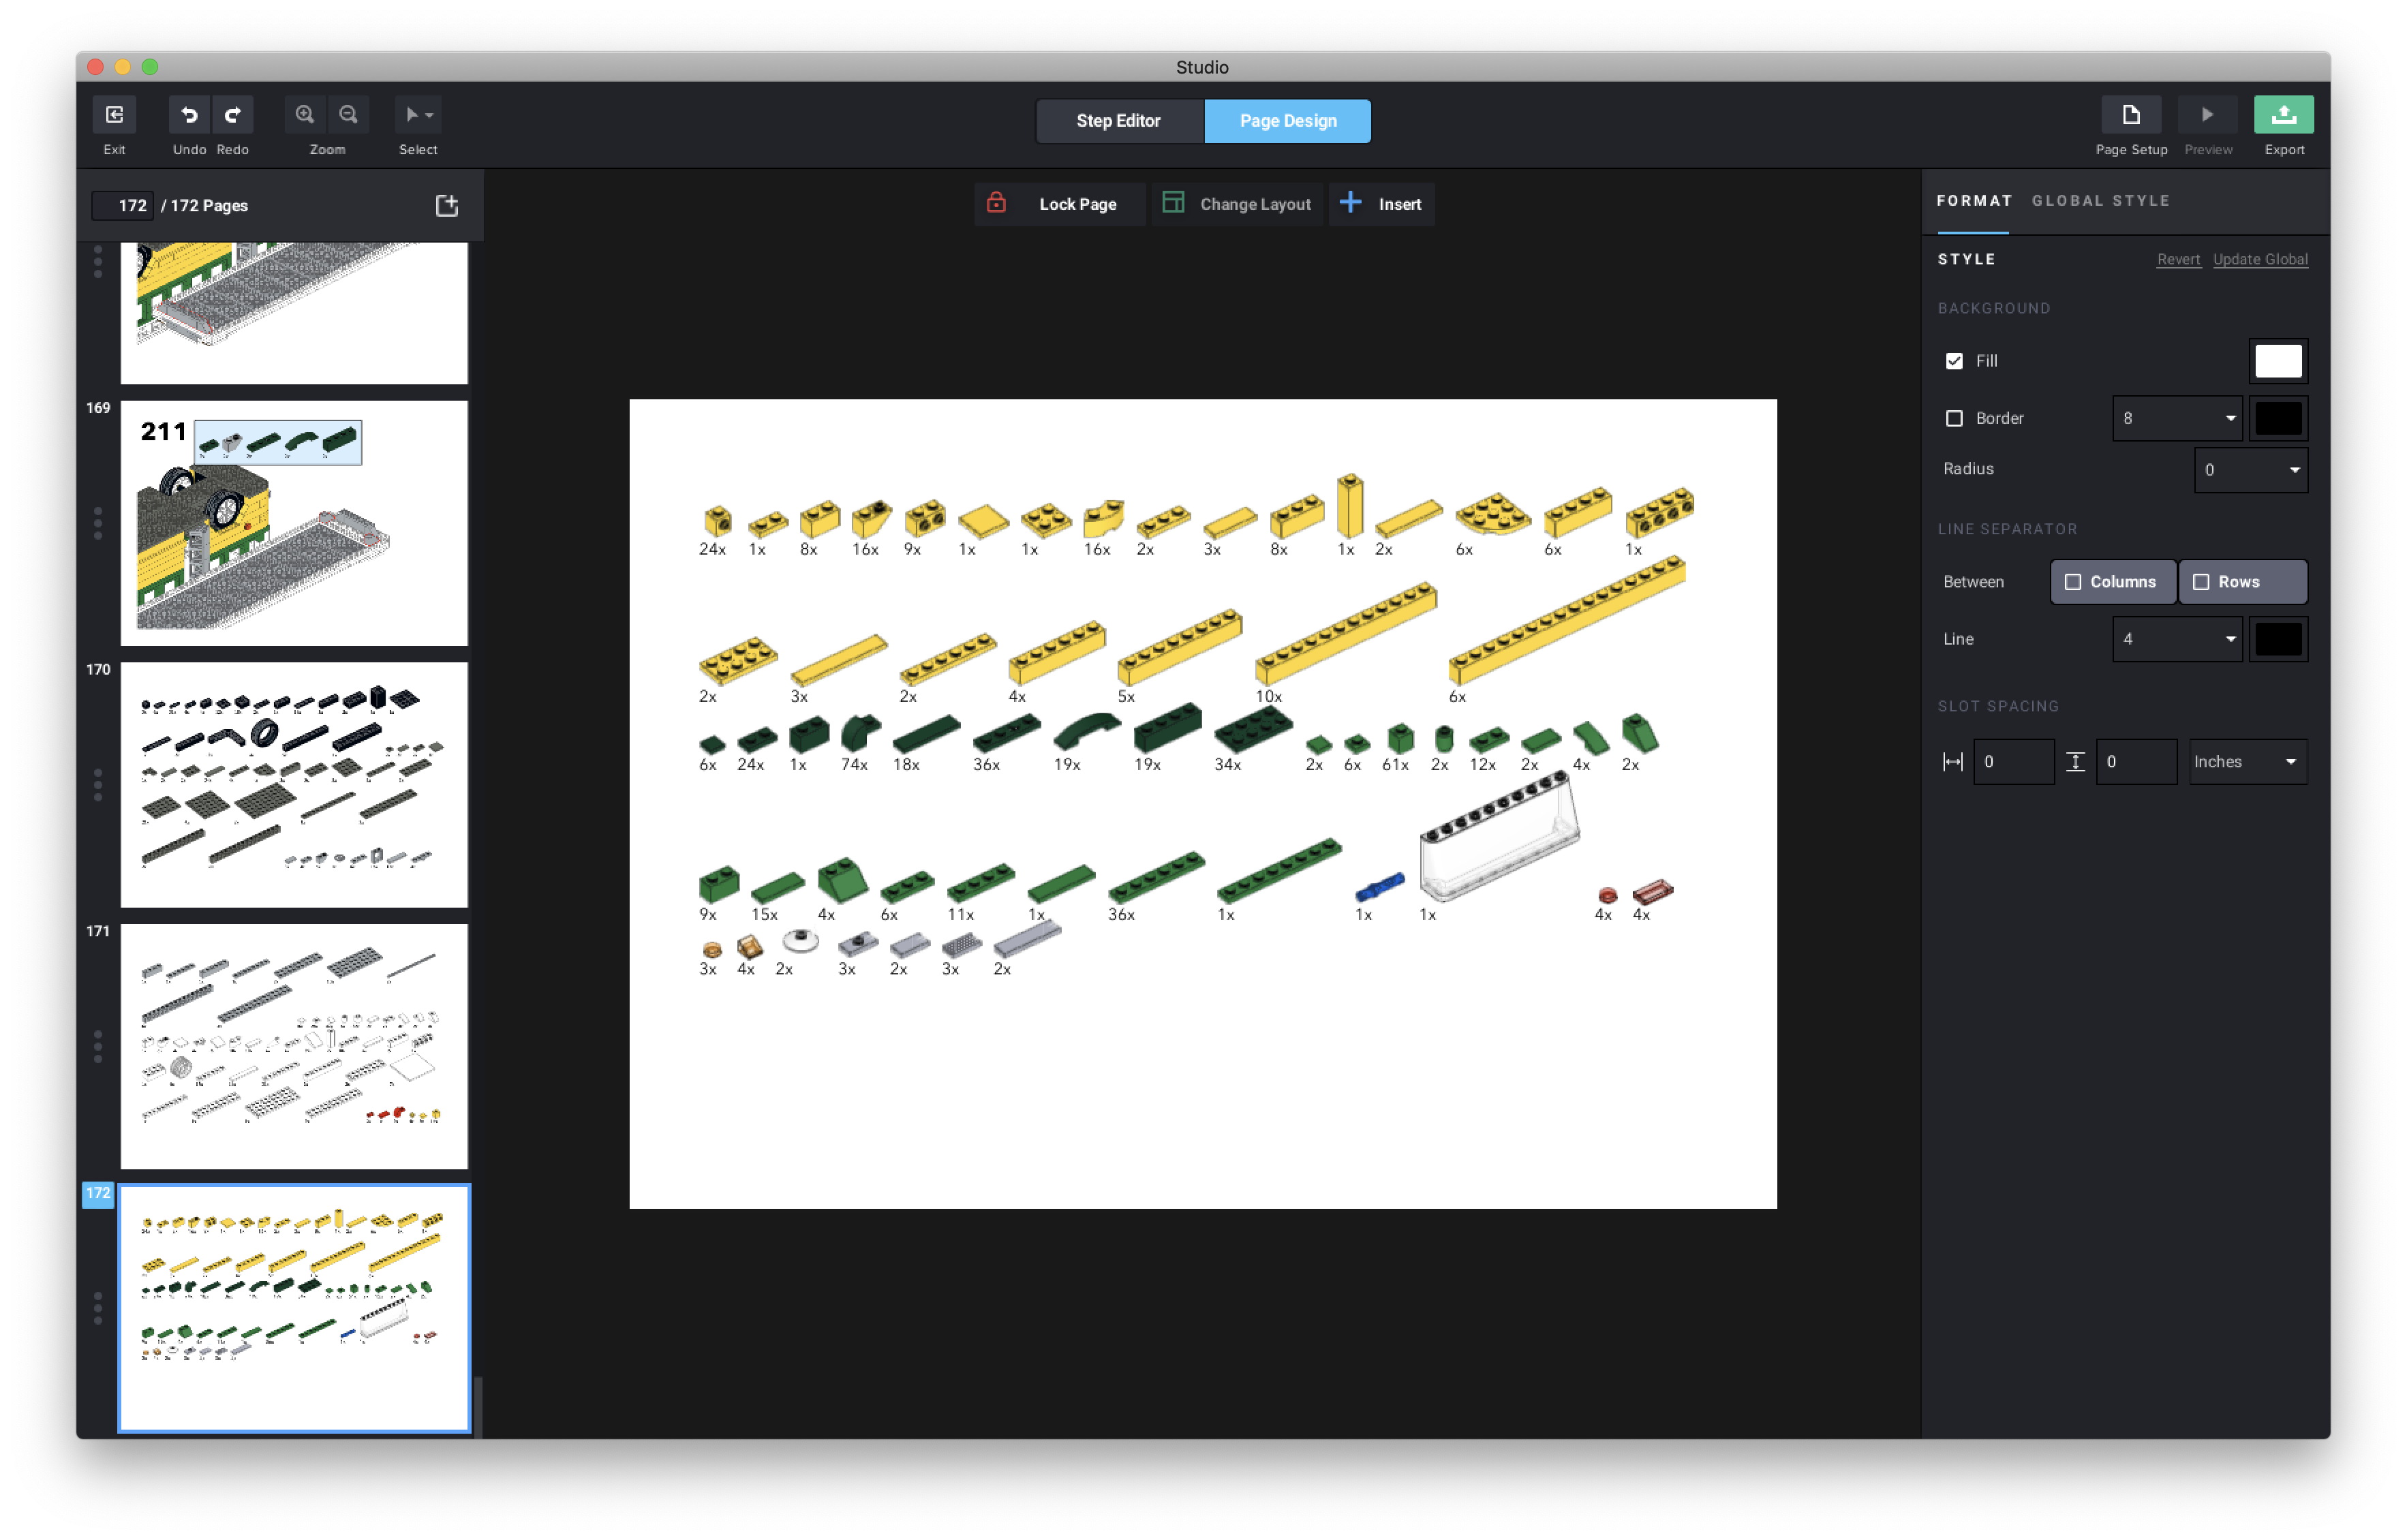
Developing the InstructionsIt's one thing to cobble together a kit that looks cool and fun to build in a digital environment where physical laws don't apply. It's quite another thing to develop realistic instructions that others (especially kids aged 10 to 14) can follow and successfully build that kit. While I'm waiting on parts to arrive -- I love hearing the mail truck coming down my street, as does my dog, Hopper -- I work in the Stud.io app to build step-by-step instructions for each build. Some kits are easy, simply working from the bottom to the top. Others are much more involved, working from the inside out and potentially involving gears and physical supports that wouldn't otherwise make much common sense to the build.
And like all LEGO build instructions, they need to be clean and easy to read, involving almost no text -- just a list of the parts needed for each step and a clear indication of where those parts are to be added to the build. |
|
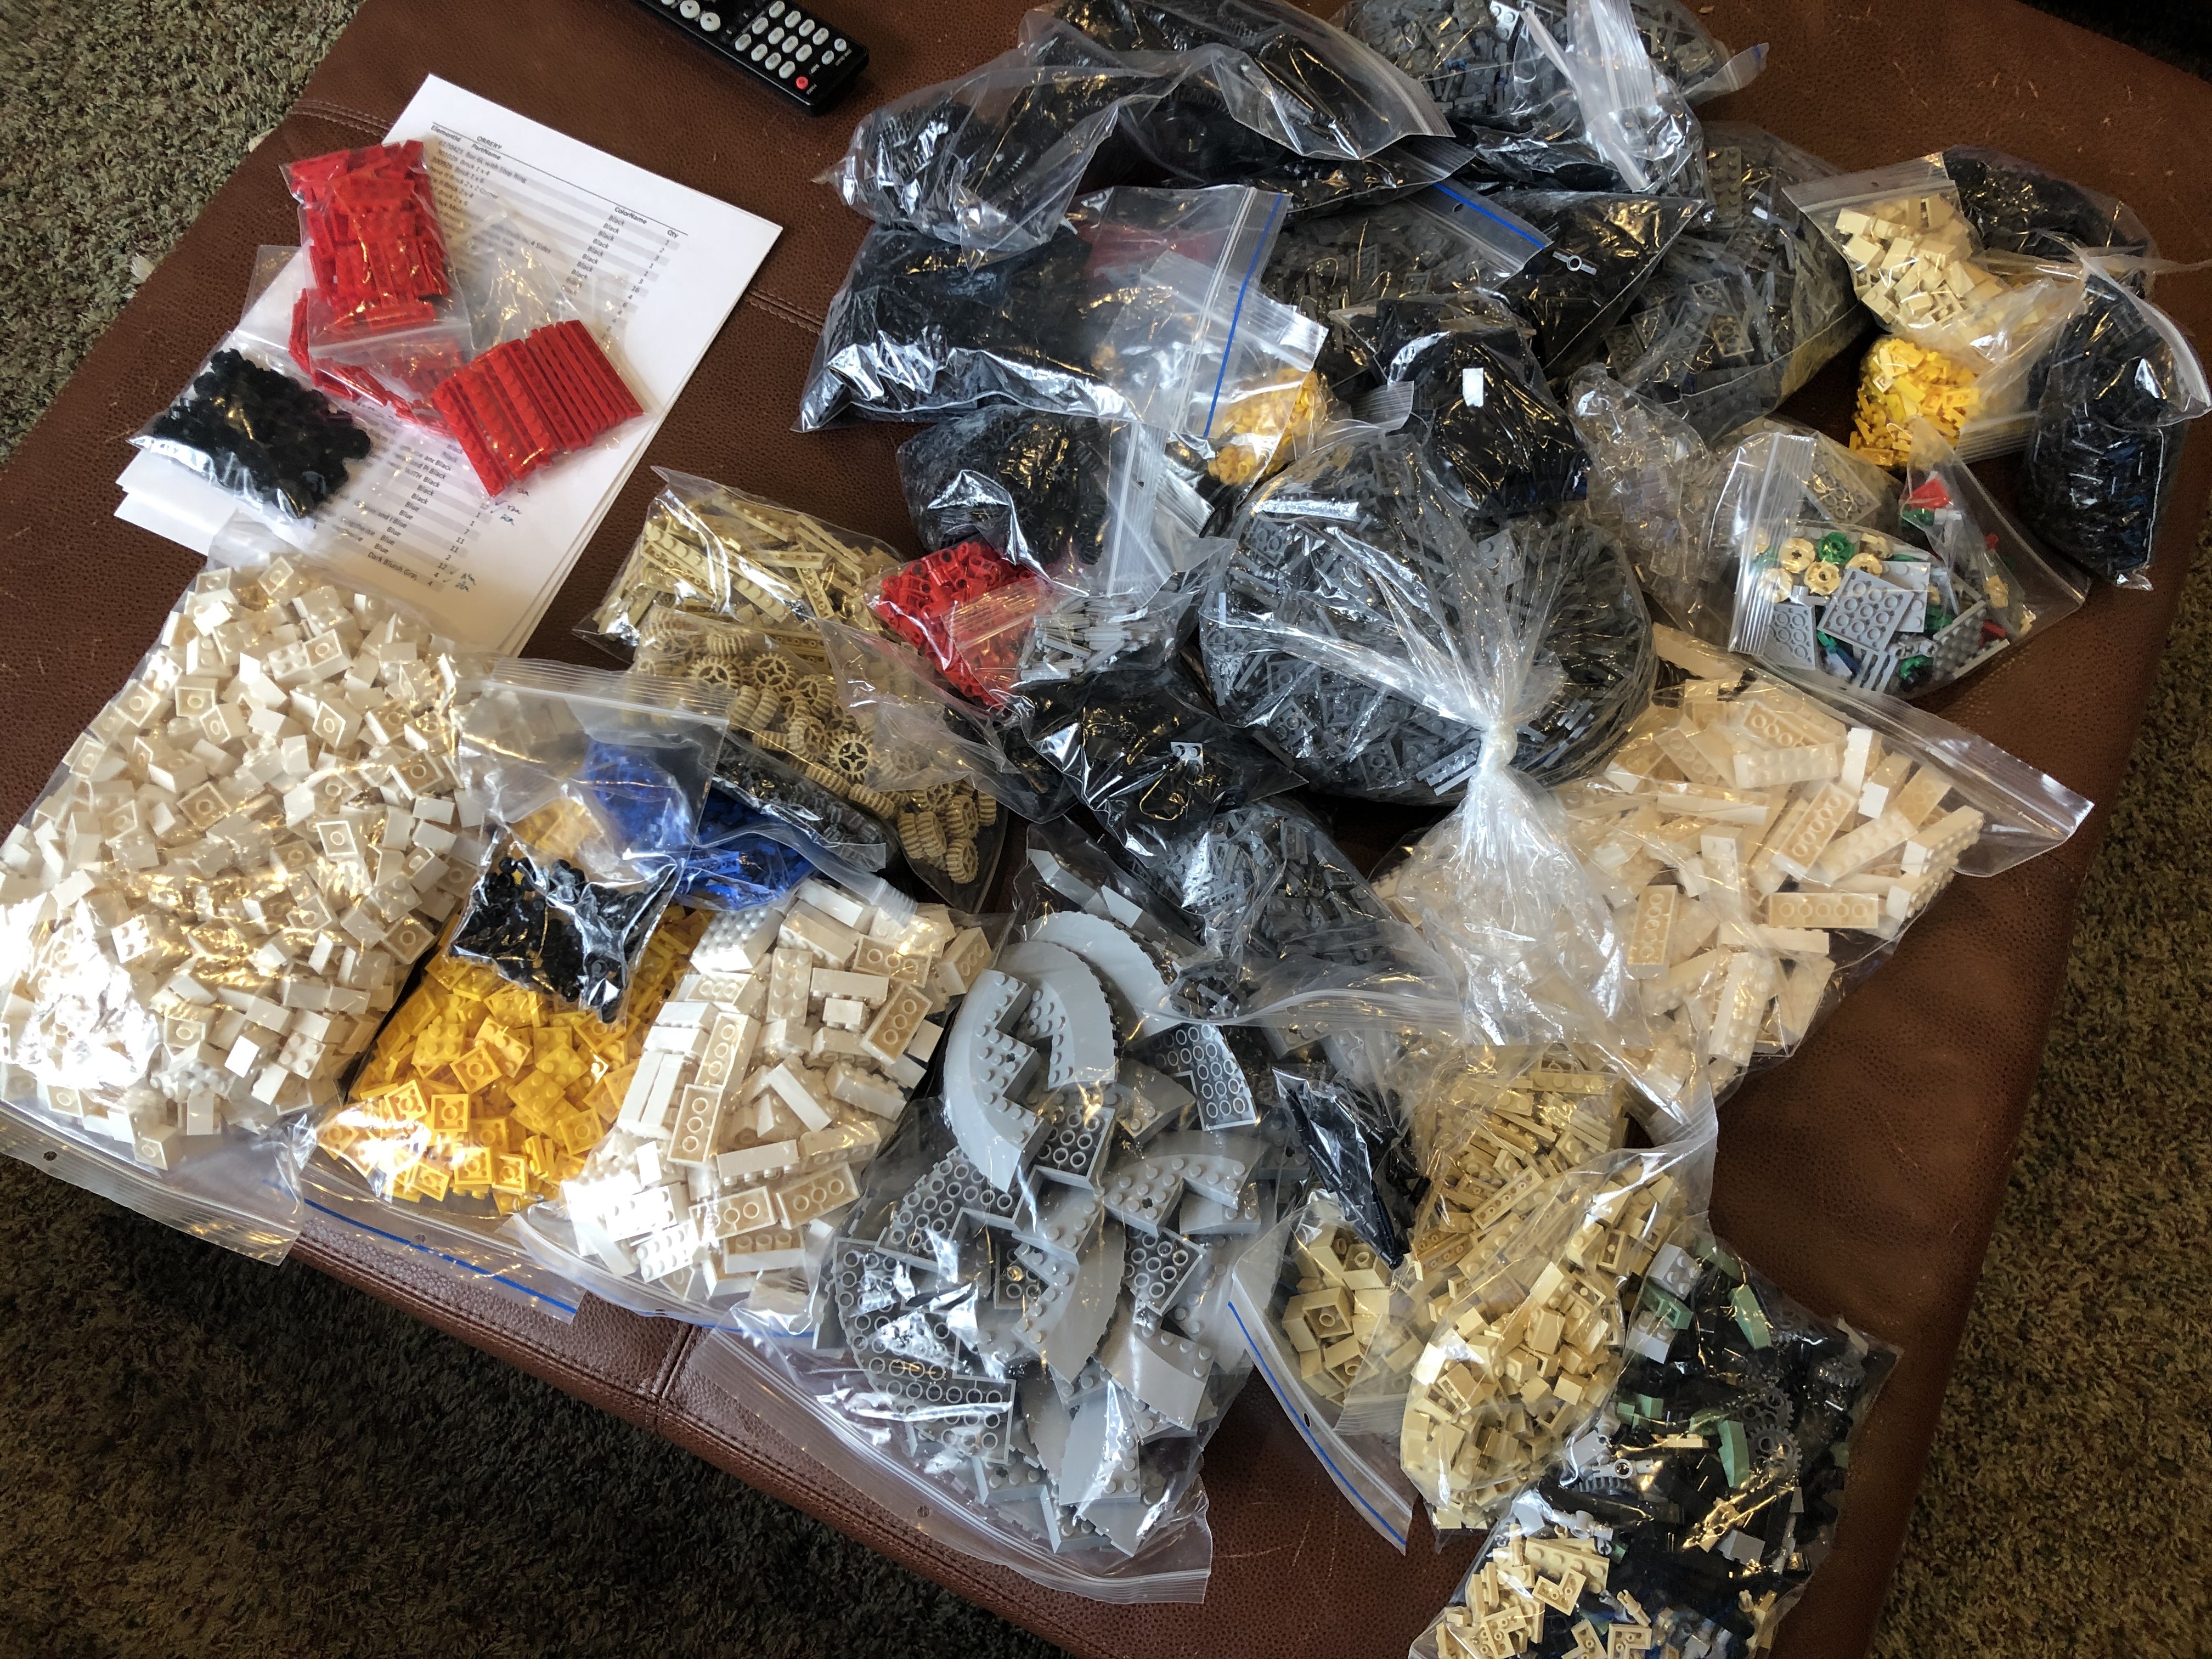
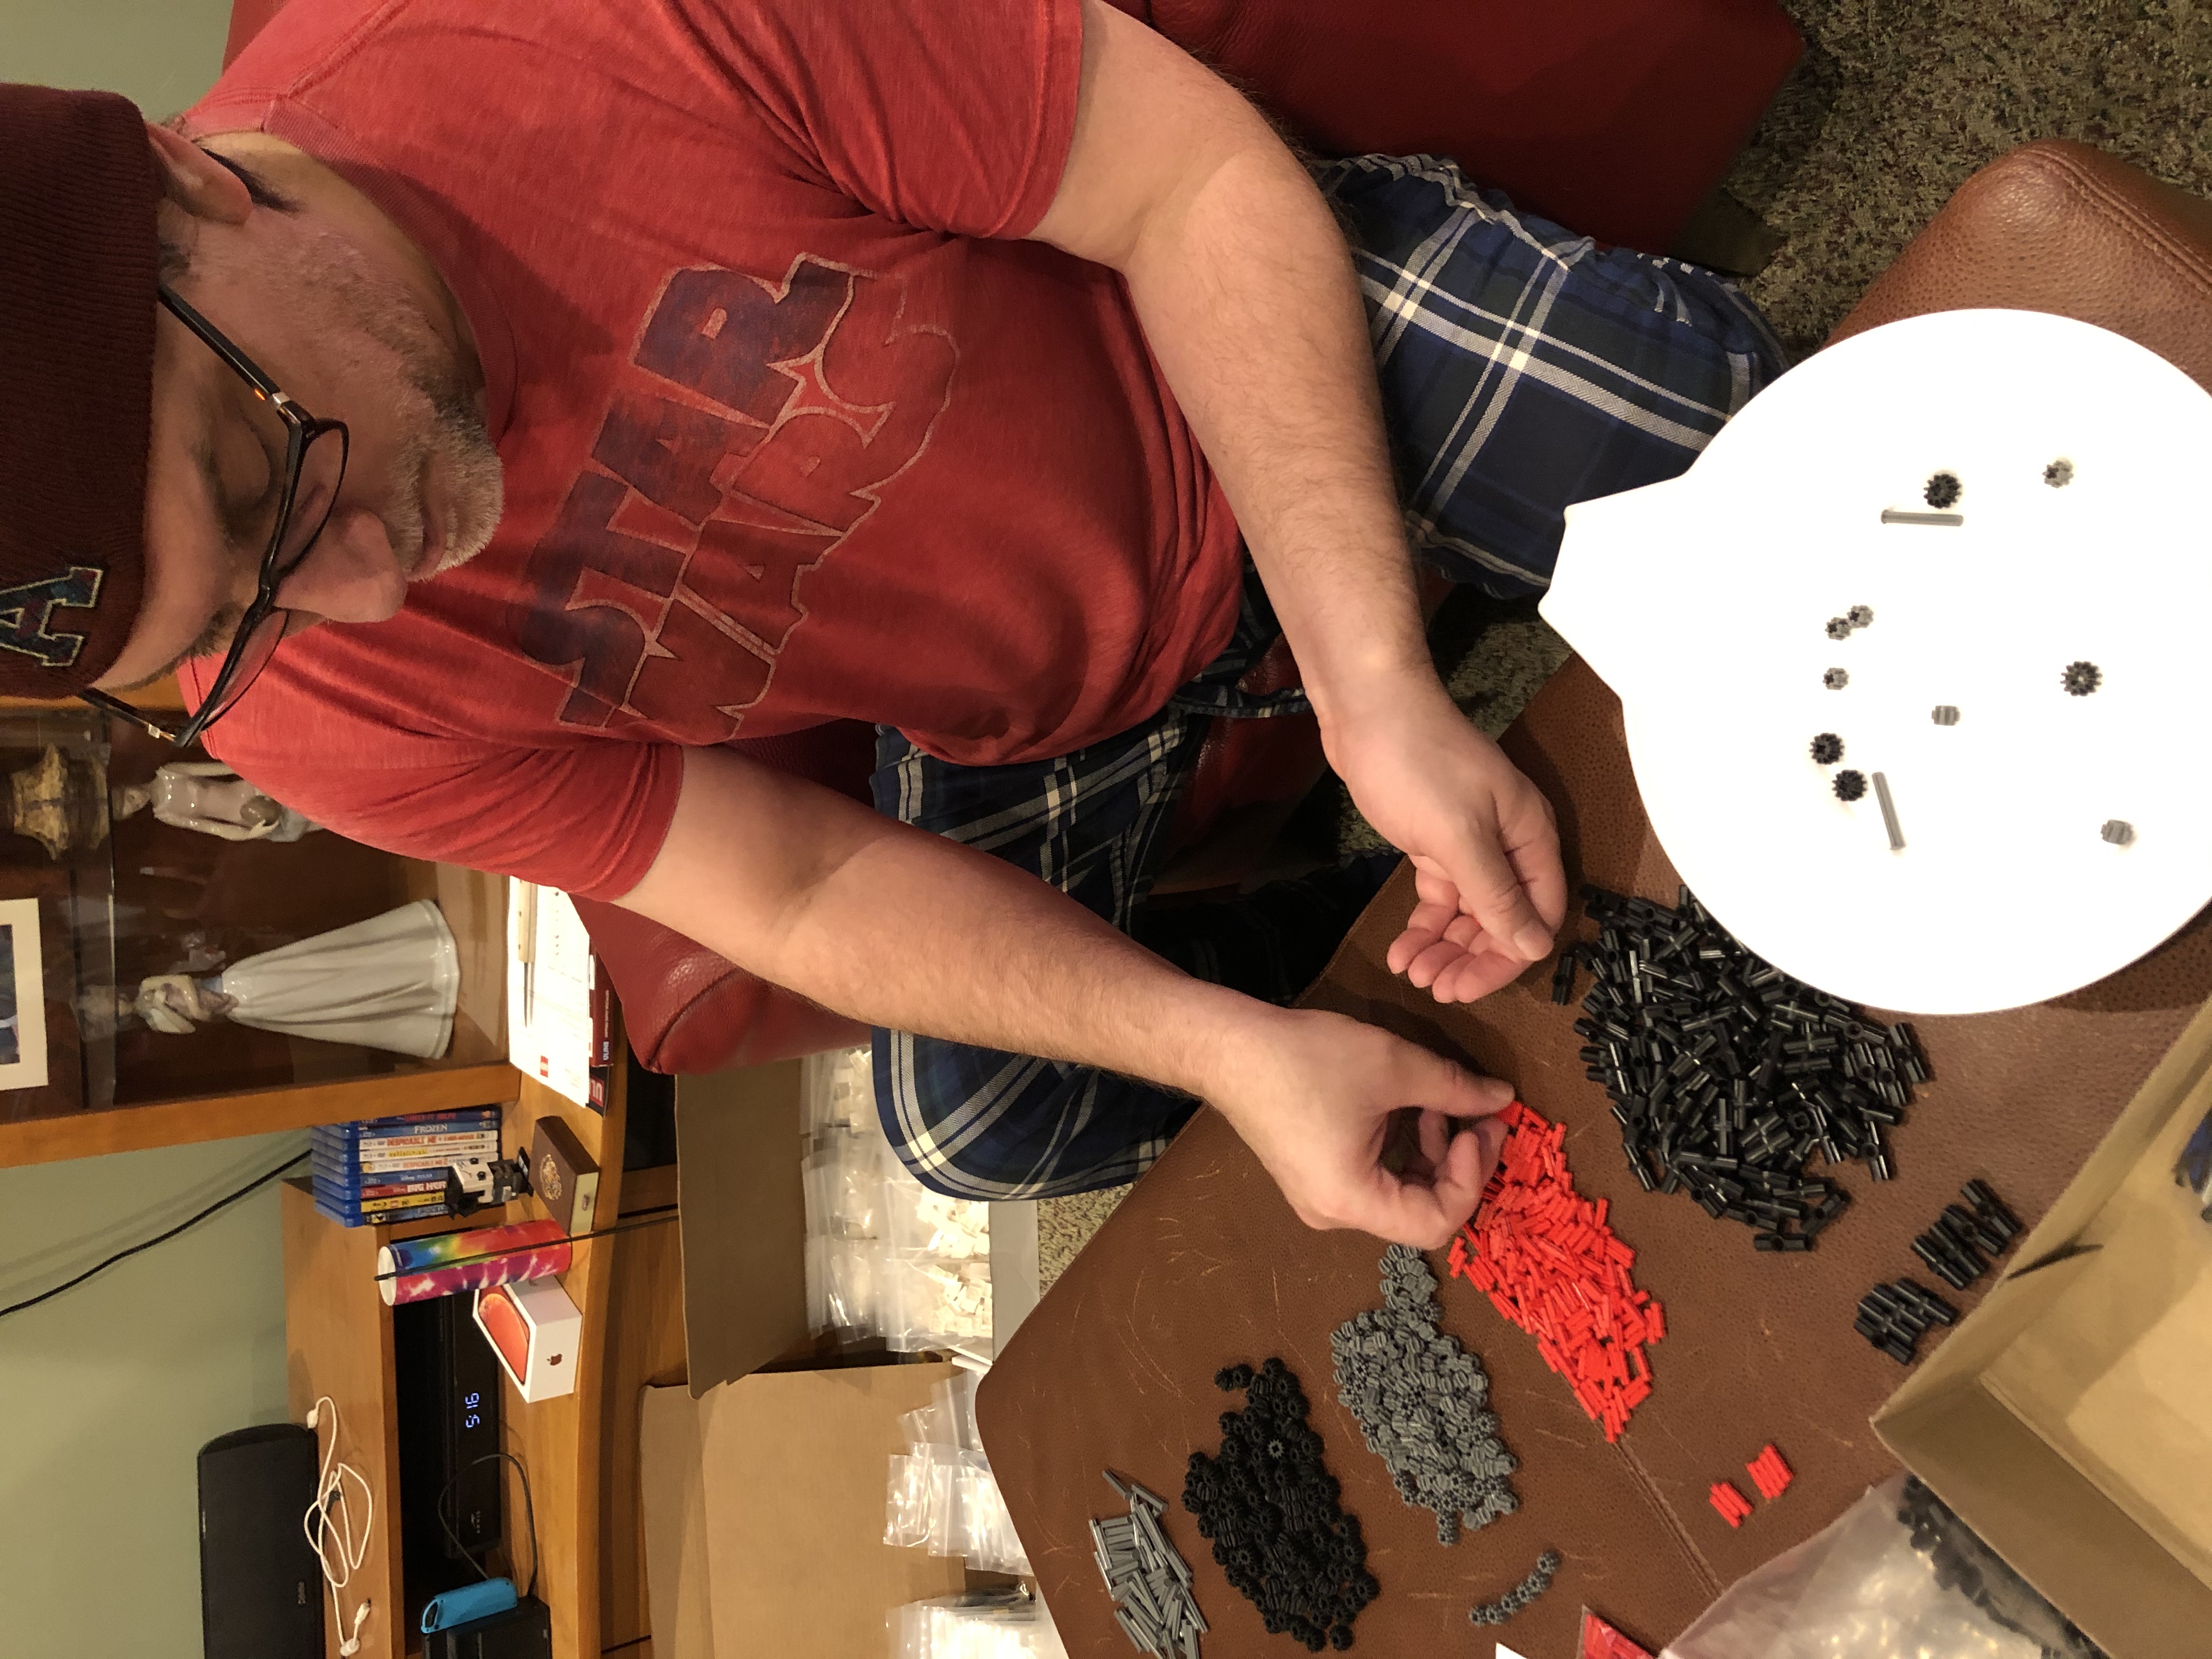
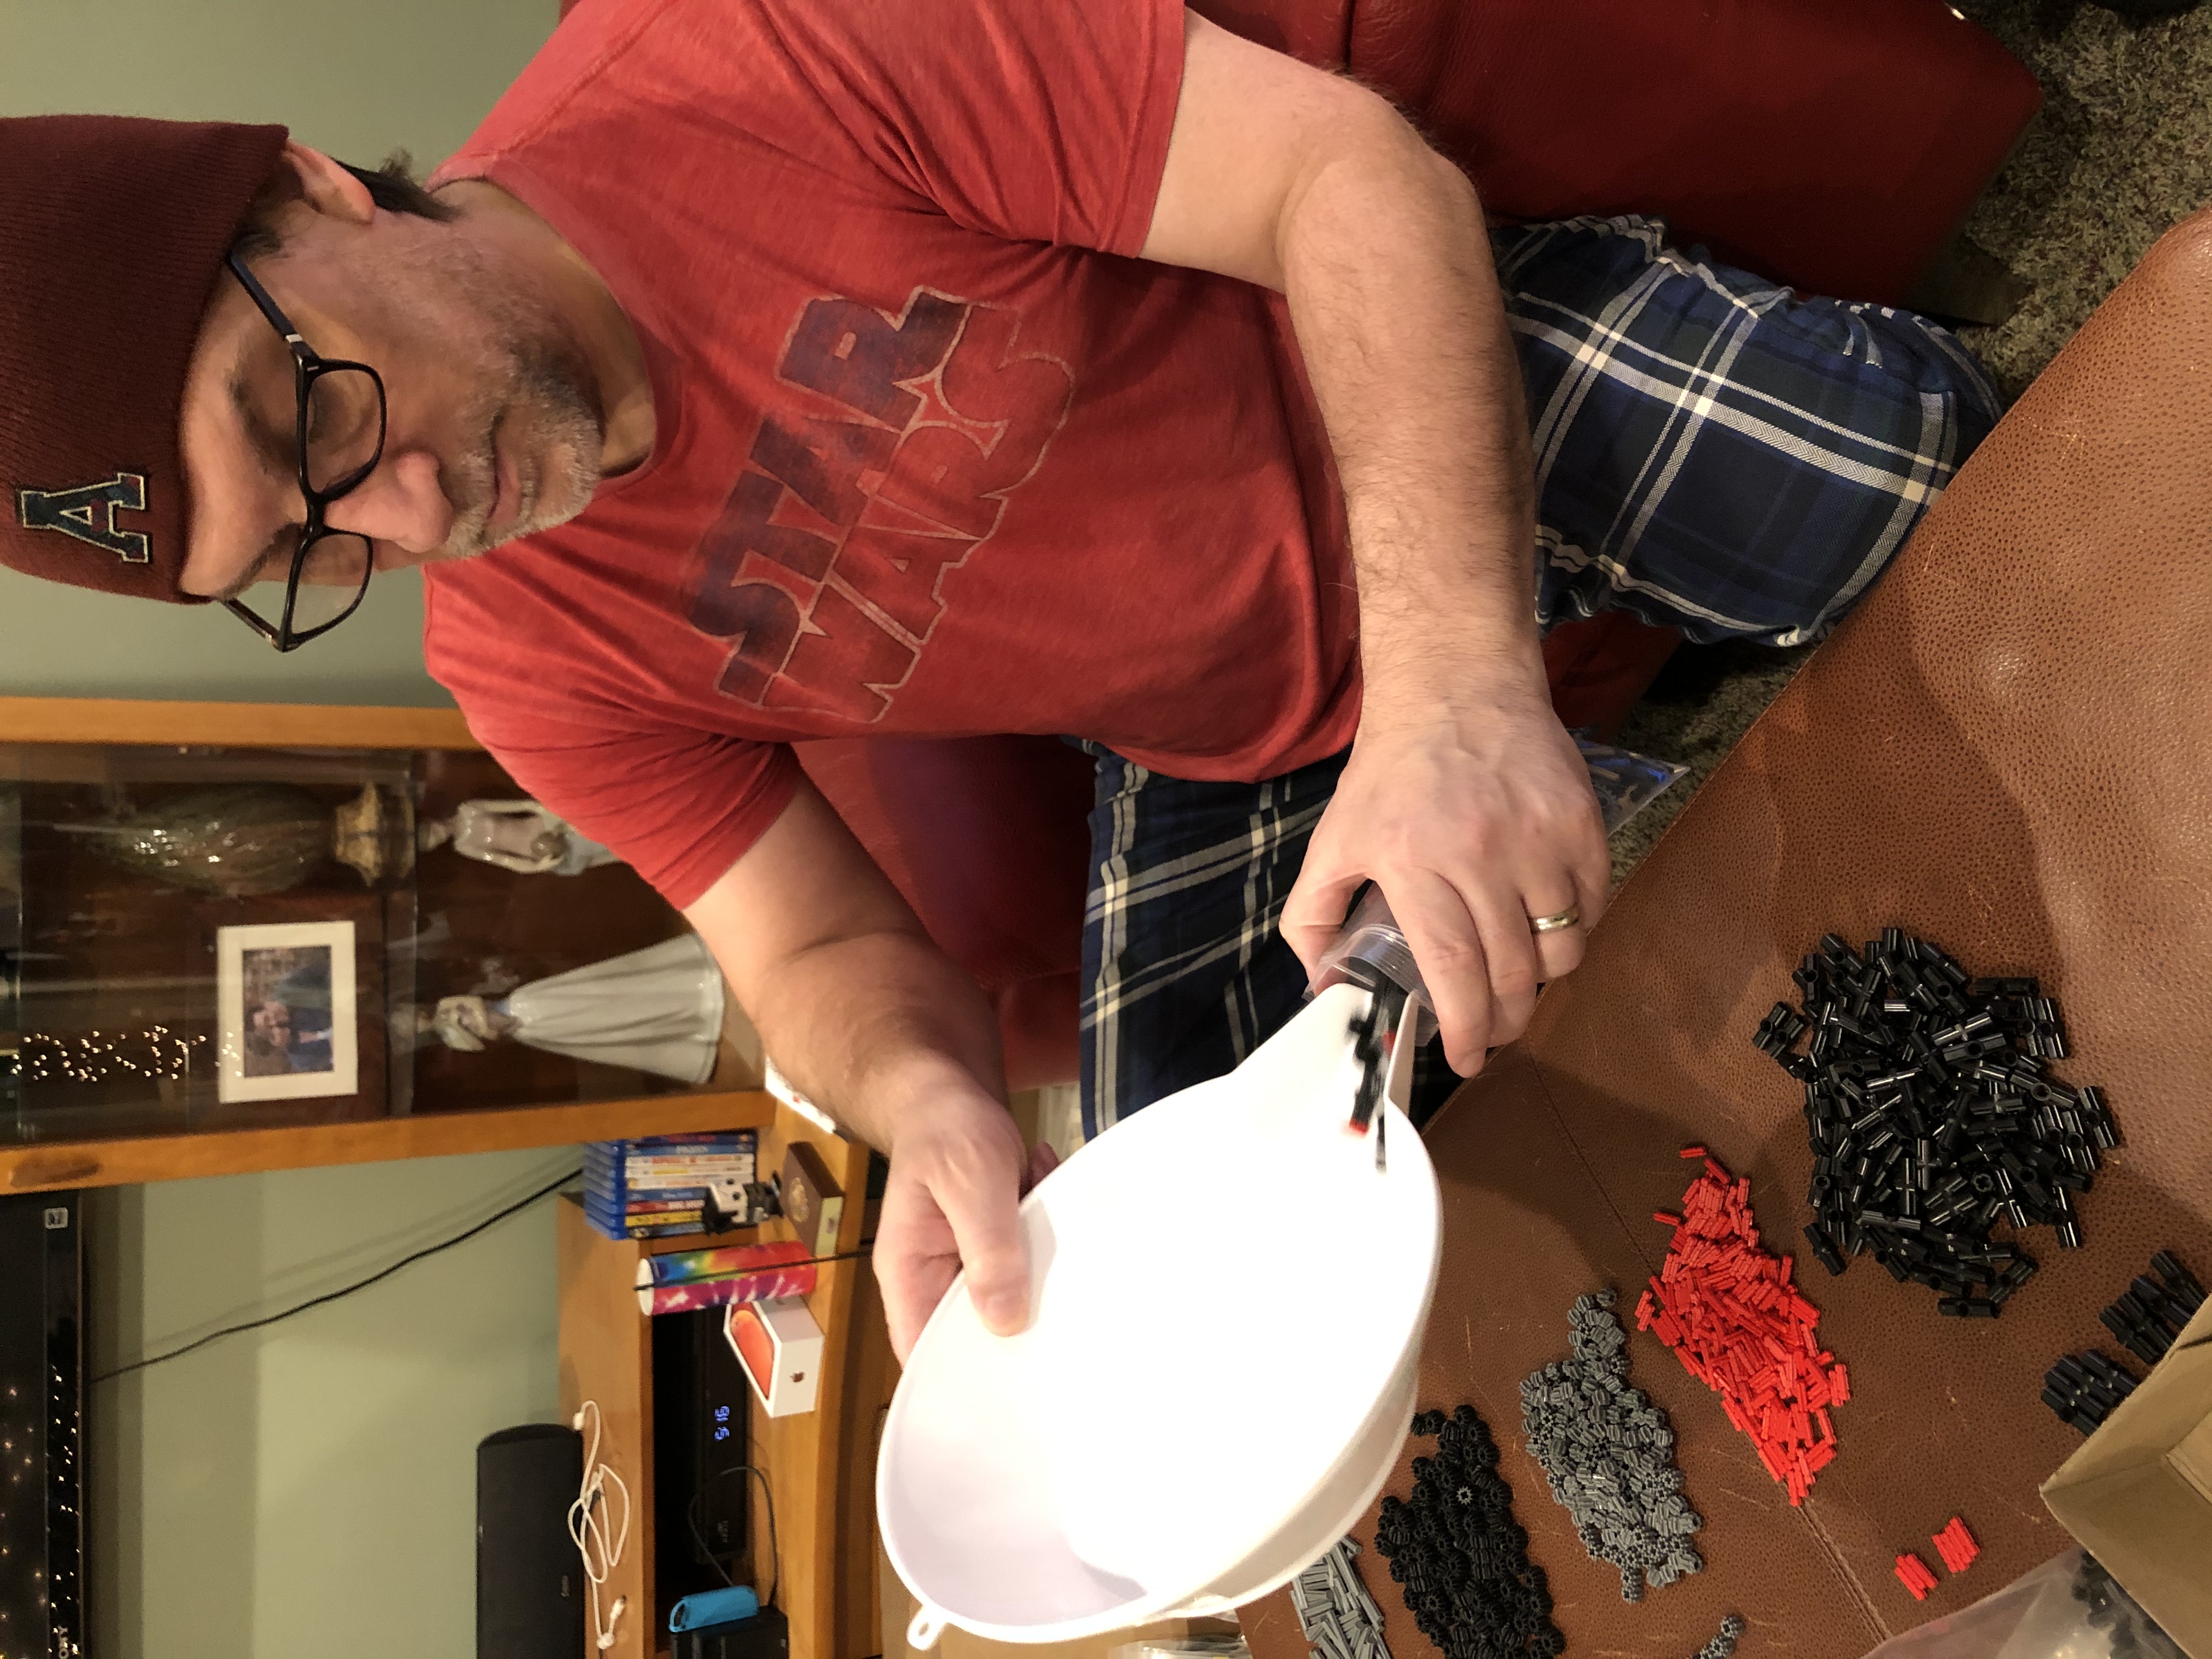
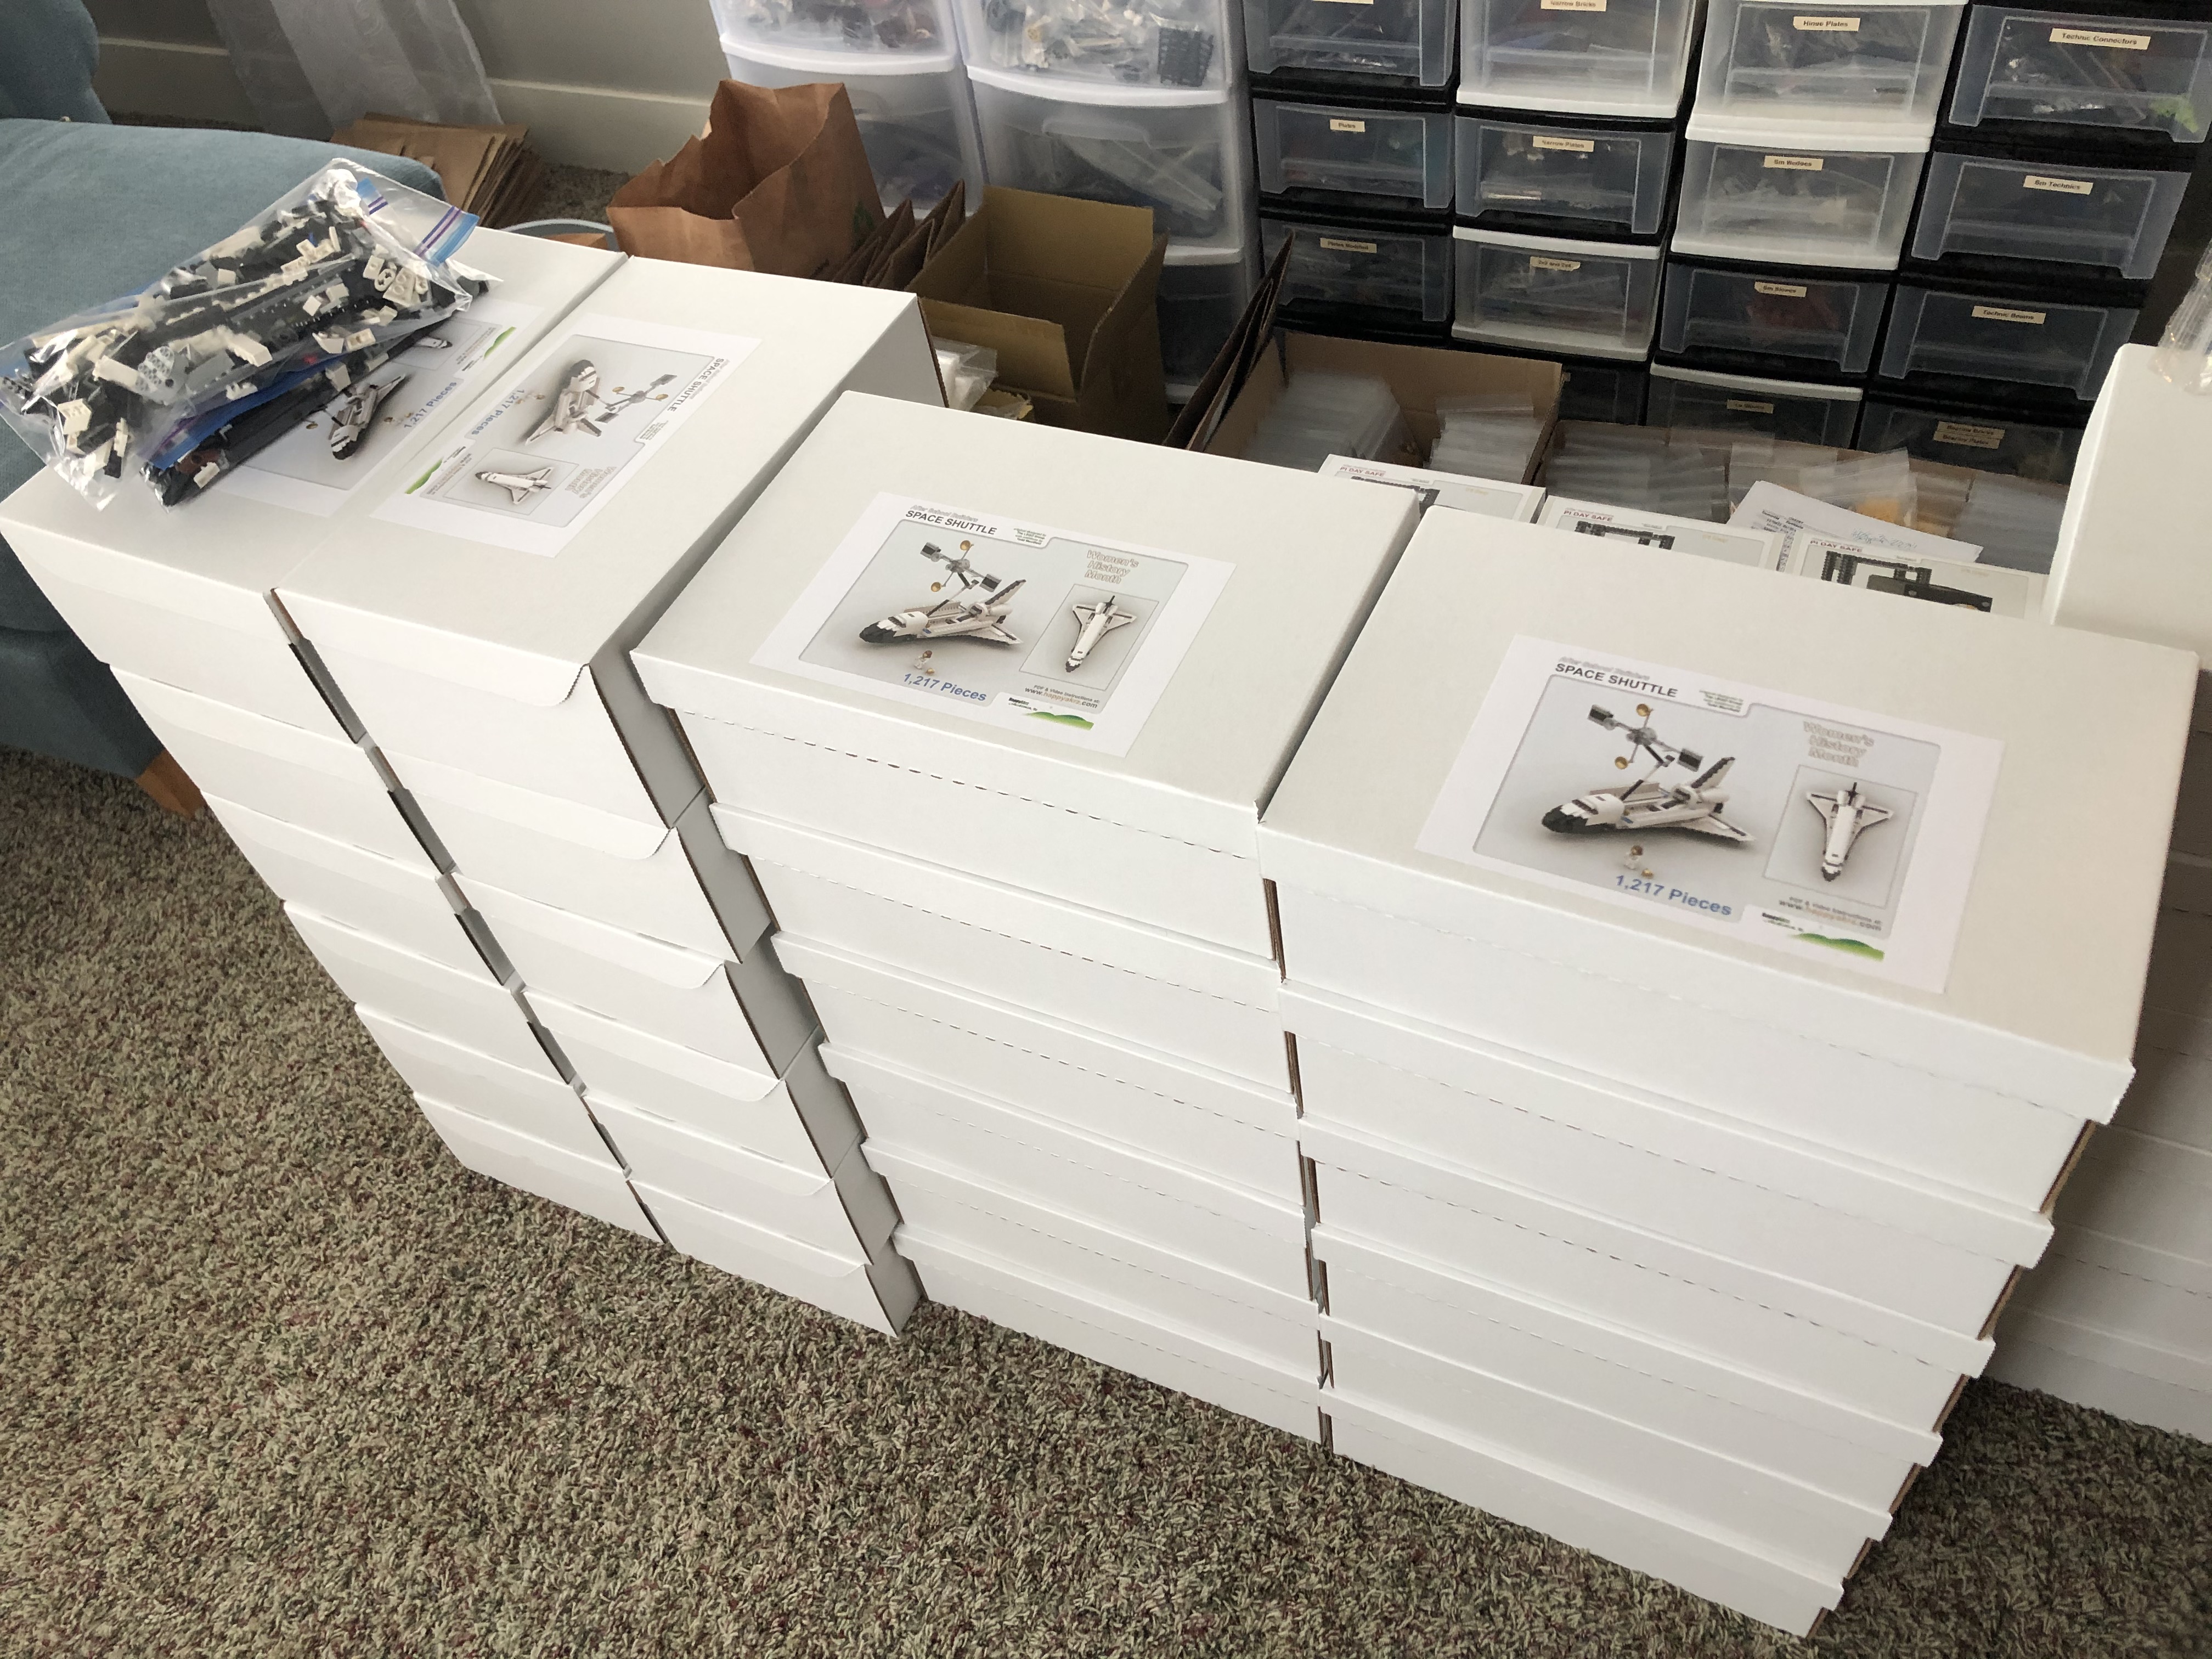
Parting Out the KitsThis year's program involves 30 students (15 elementary & 15 middle schoolers), so for every kit designed, I have to purchase 30 times the number of parts necessary. For some kits, there are over 1,500 parts which means that when the mail carrier starts to deliver my LEGO orders, I lose every extra square foot of floor space in my house with boxes and bags of parts. I create a master part list for each kit, with the quantity of each part that needs to be added. After sorting the parts into the same relative categories (plates, bricks, wedges, technics, etc.), we can start to dispense the parts into bags which will eventually be added to the final boxes. Keeping track of thousands of pieces, for multiple kits, is no simple task, but with a little organization and a little more quality control, we get everything bagged and boxed. This is a pain-staking process, but very satisfying when the kit is complete and nearly ready for delivery to the kids at the schools. |

|
|


|
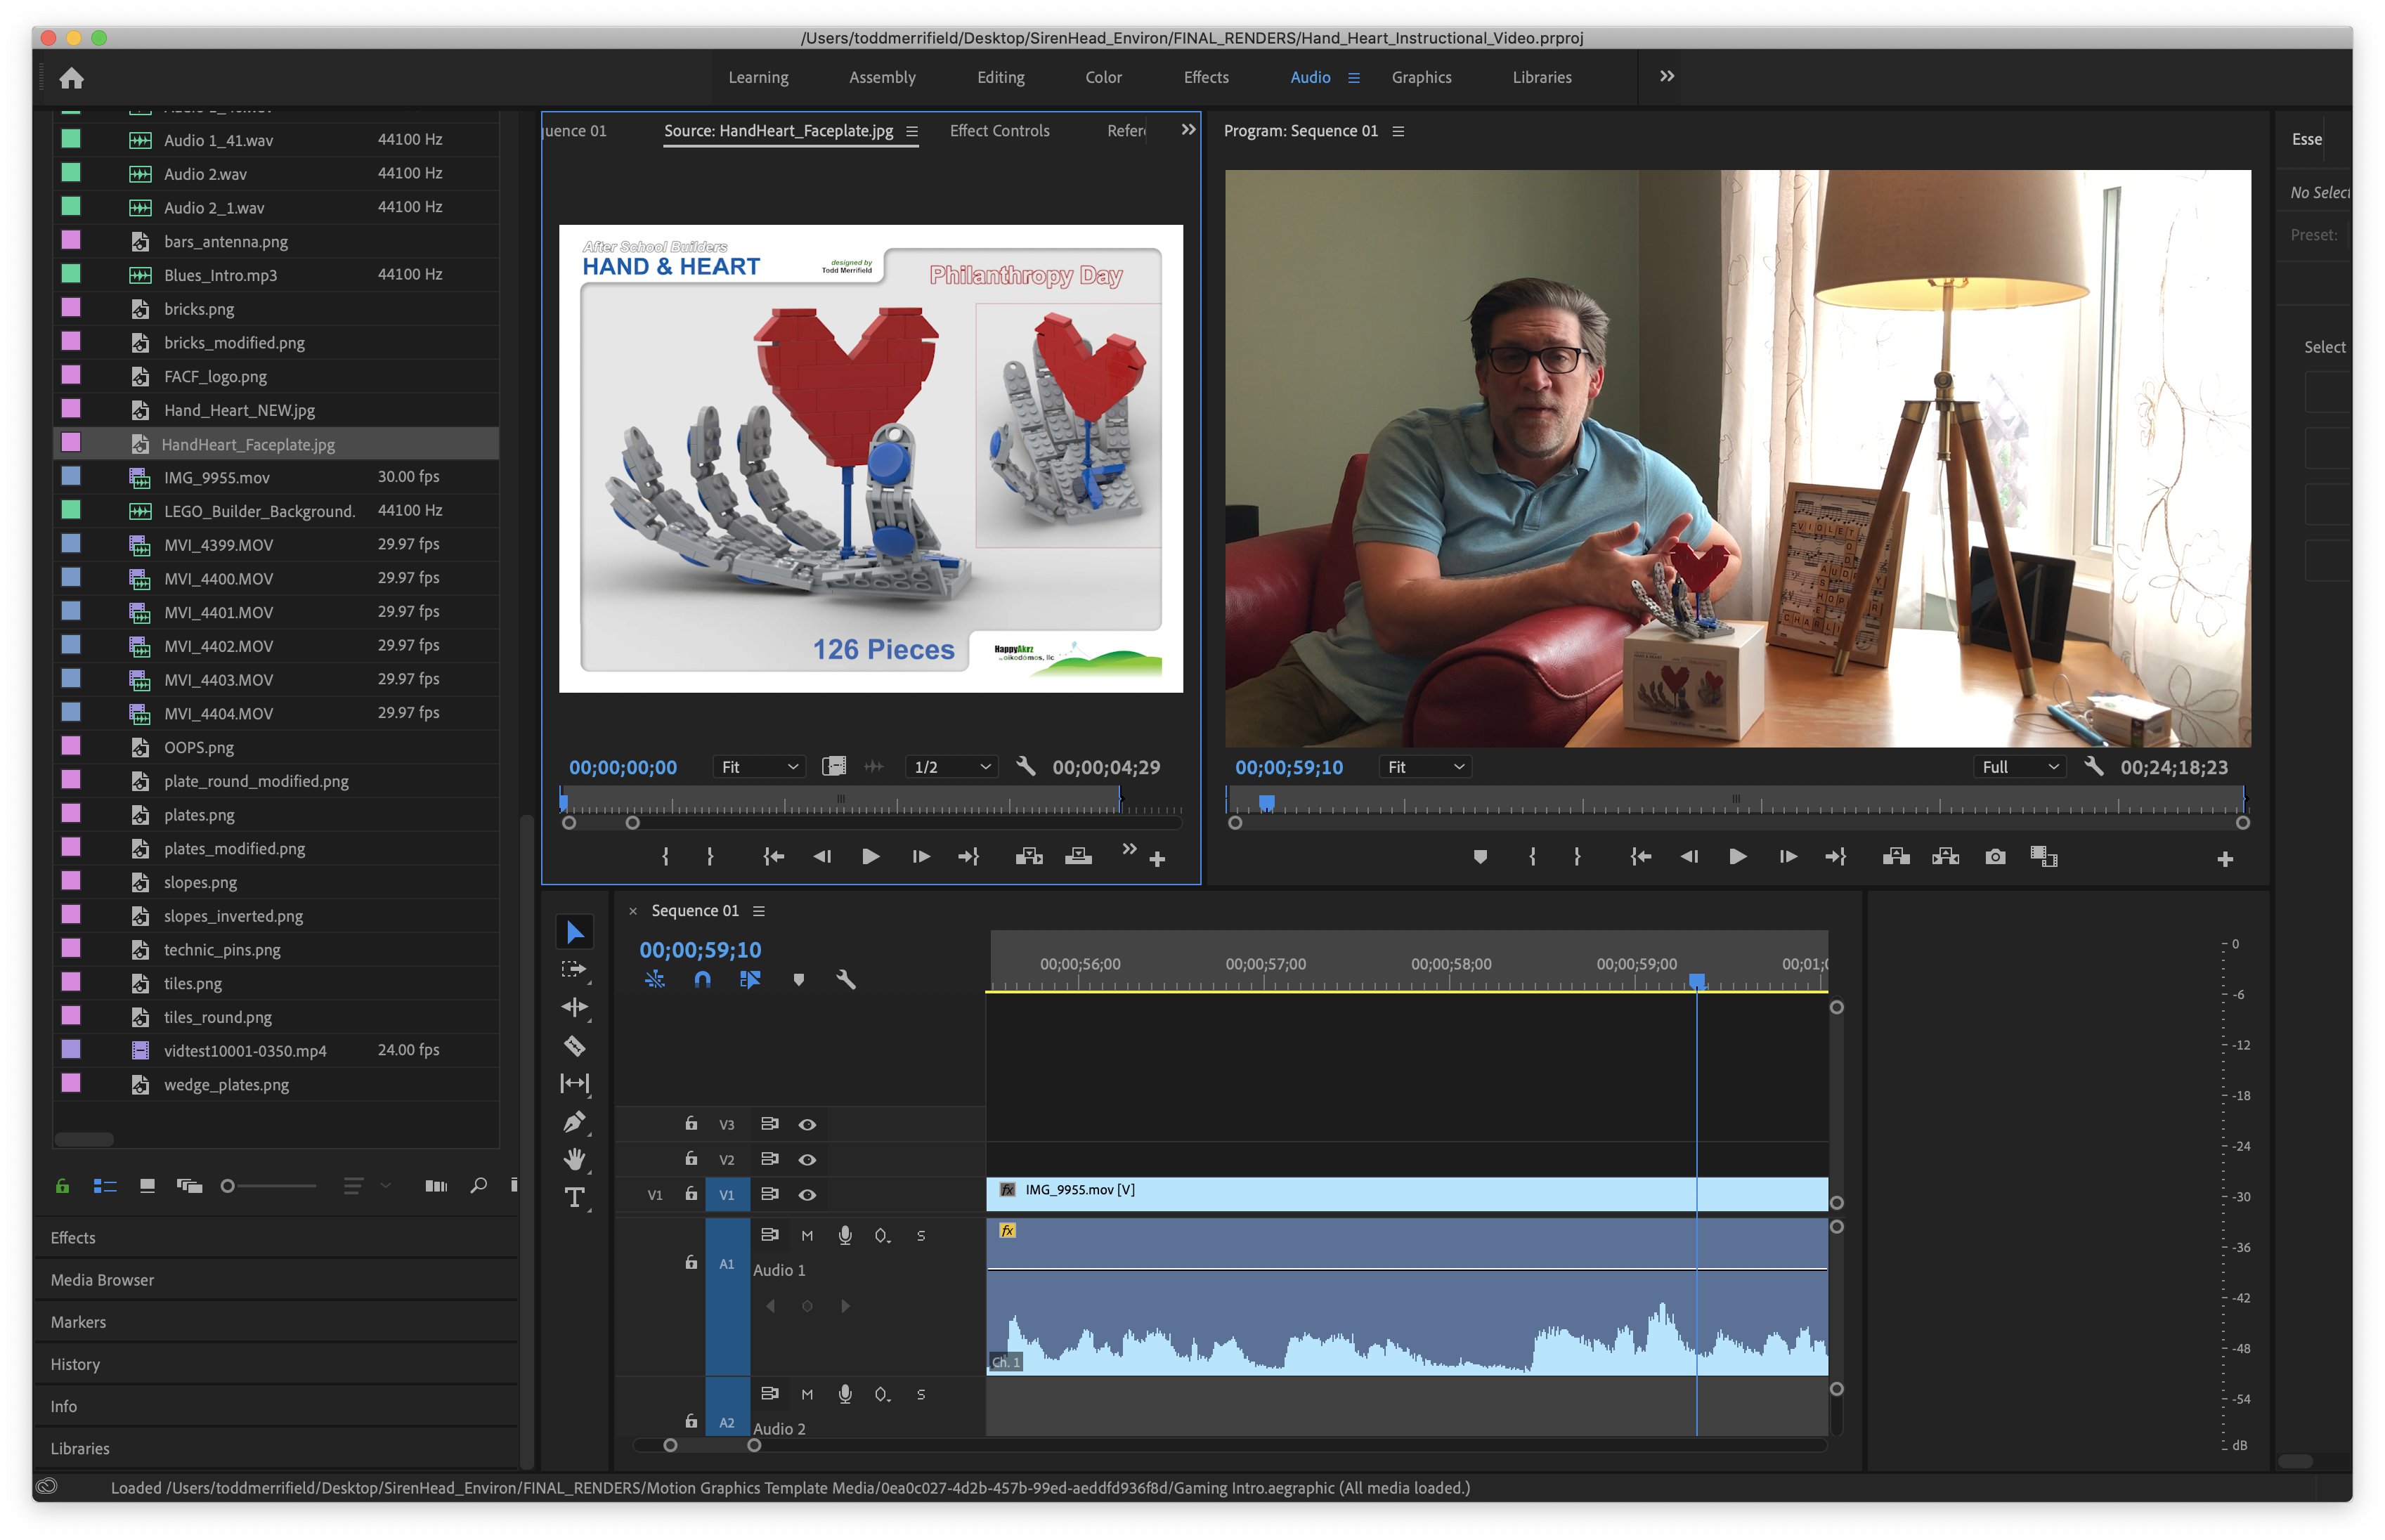
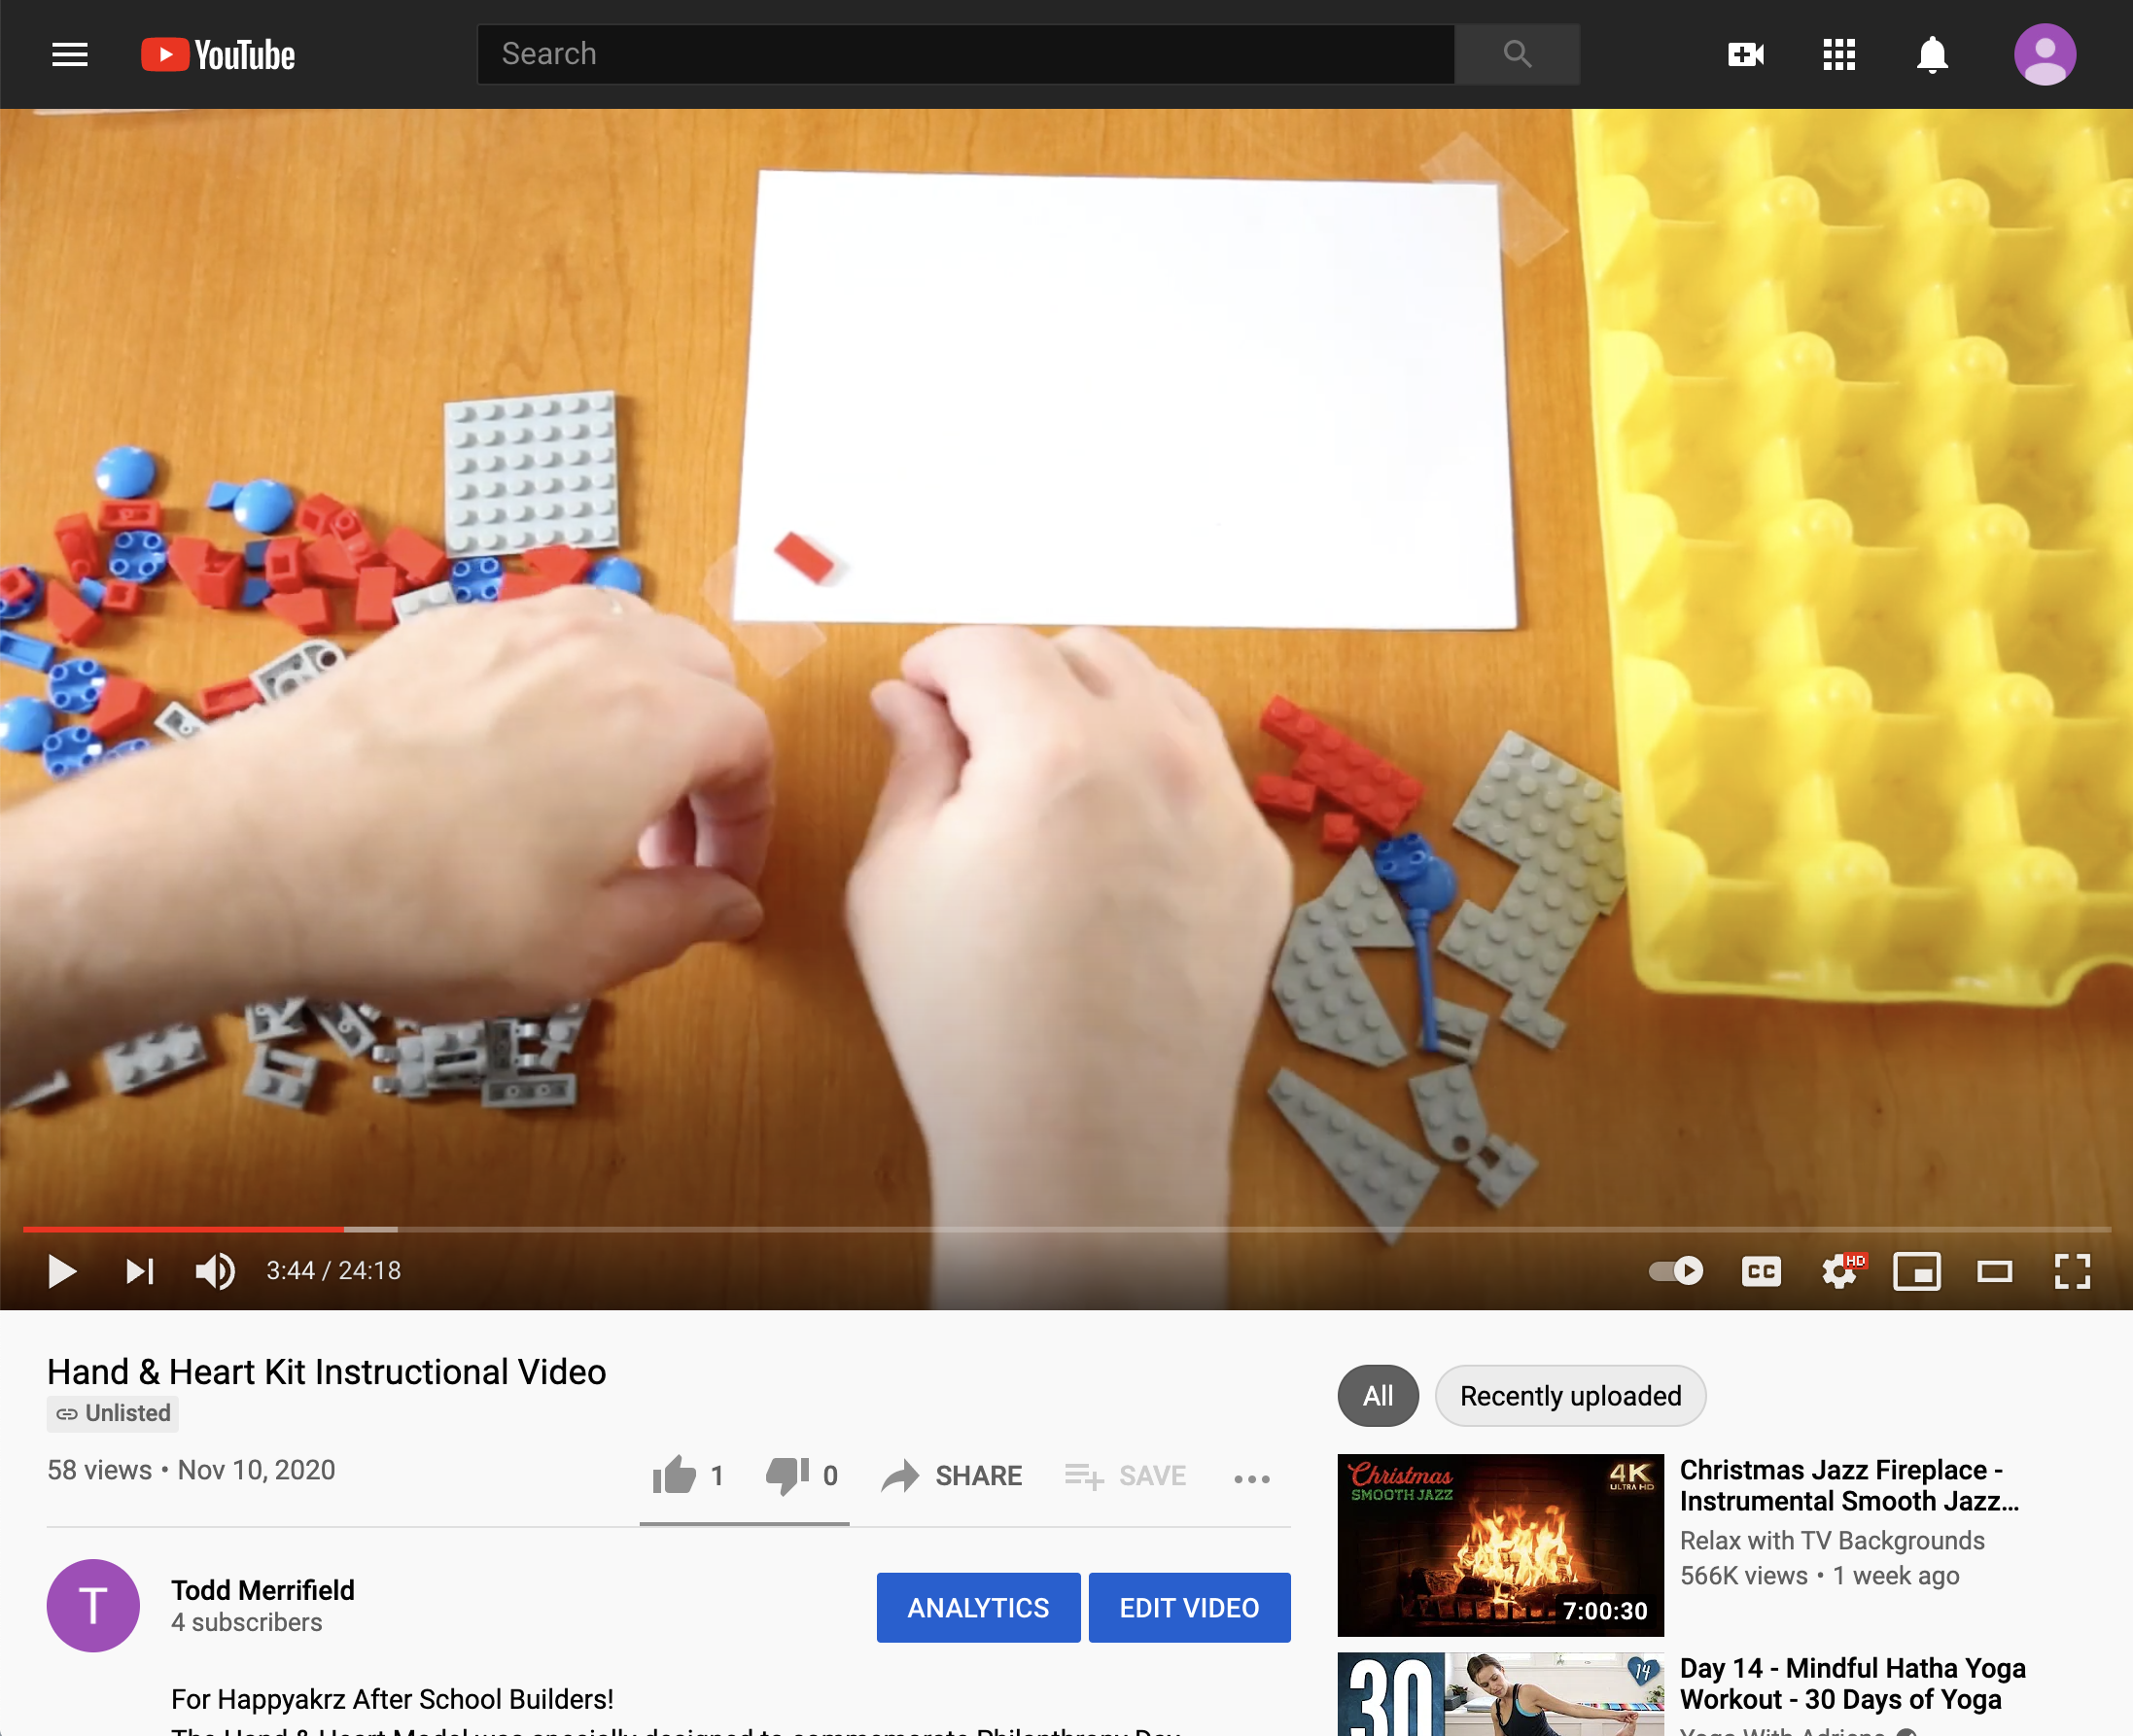
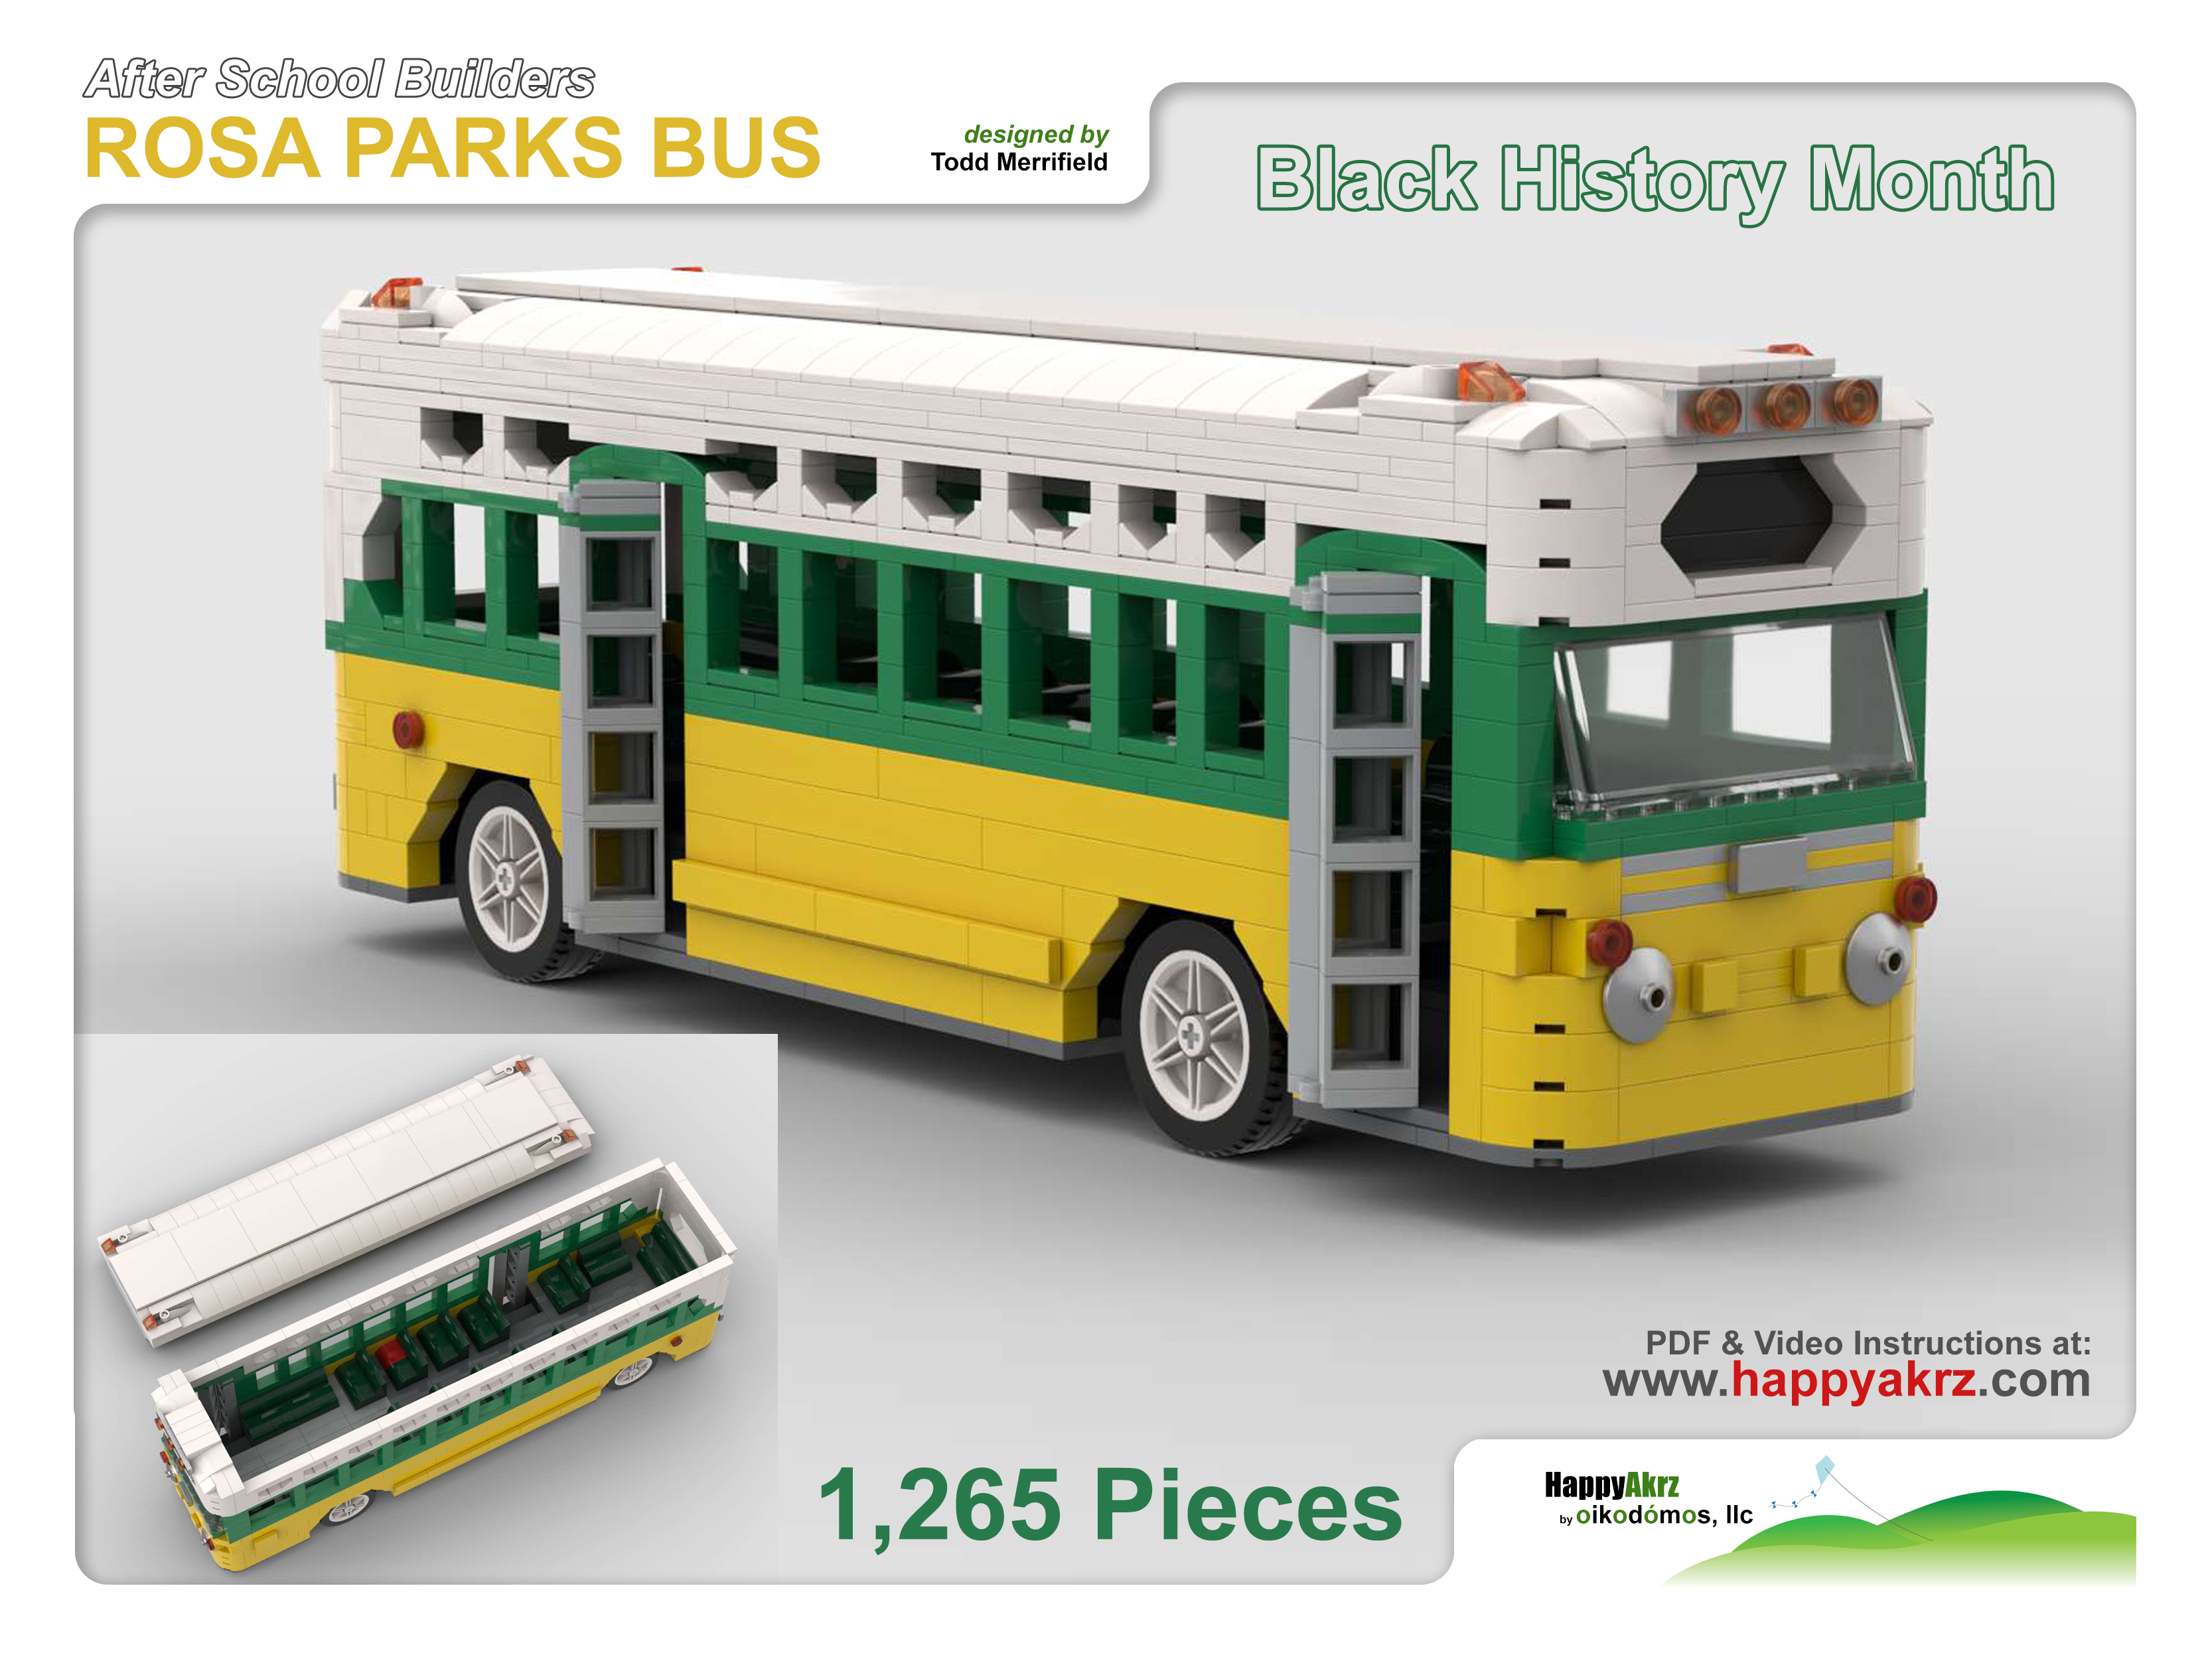
Recording Video InstructionsThe first opportunity to actually build the kit for the first time is during the recording of the video instructions. Setting up my phone to record a step-by-step build is a fun way to not only guarantee that the model is buildable with real parts, but also gives the students a second method of learning how to assemble each kit. Once I finish the recording, I then import the video into Adobe Premiere and create a full-length presentation with voice-over and on-screen step-by-step direction. When the full video is complete, I upload the file to my YouTube.com channel and link it to this website. During this process, I also use my graphic design background to develop "faceplates" for each build (simple marketing images) that become the cover of the PDF Instructions, the video intro, as well as the stickers for the eventual packaging of each kit. |
|
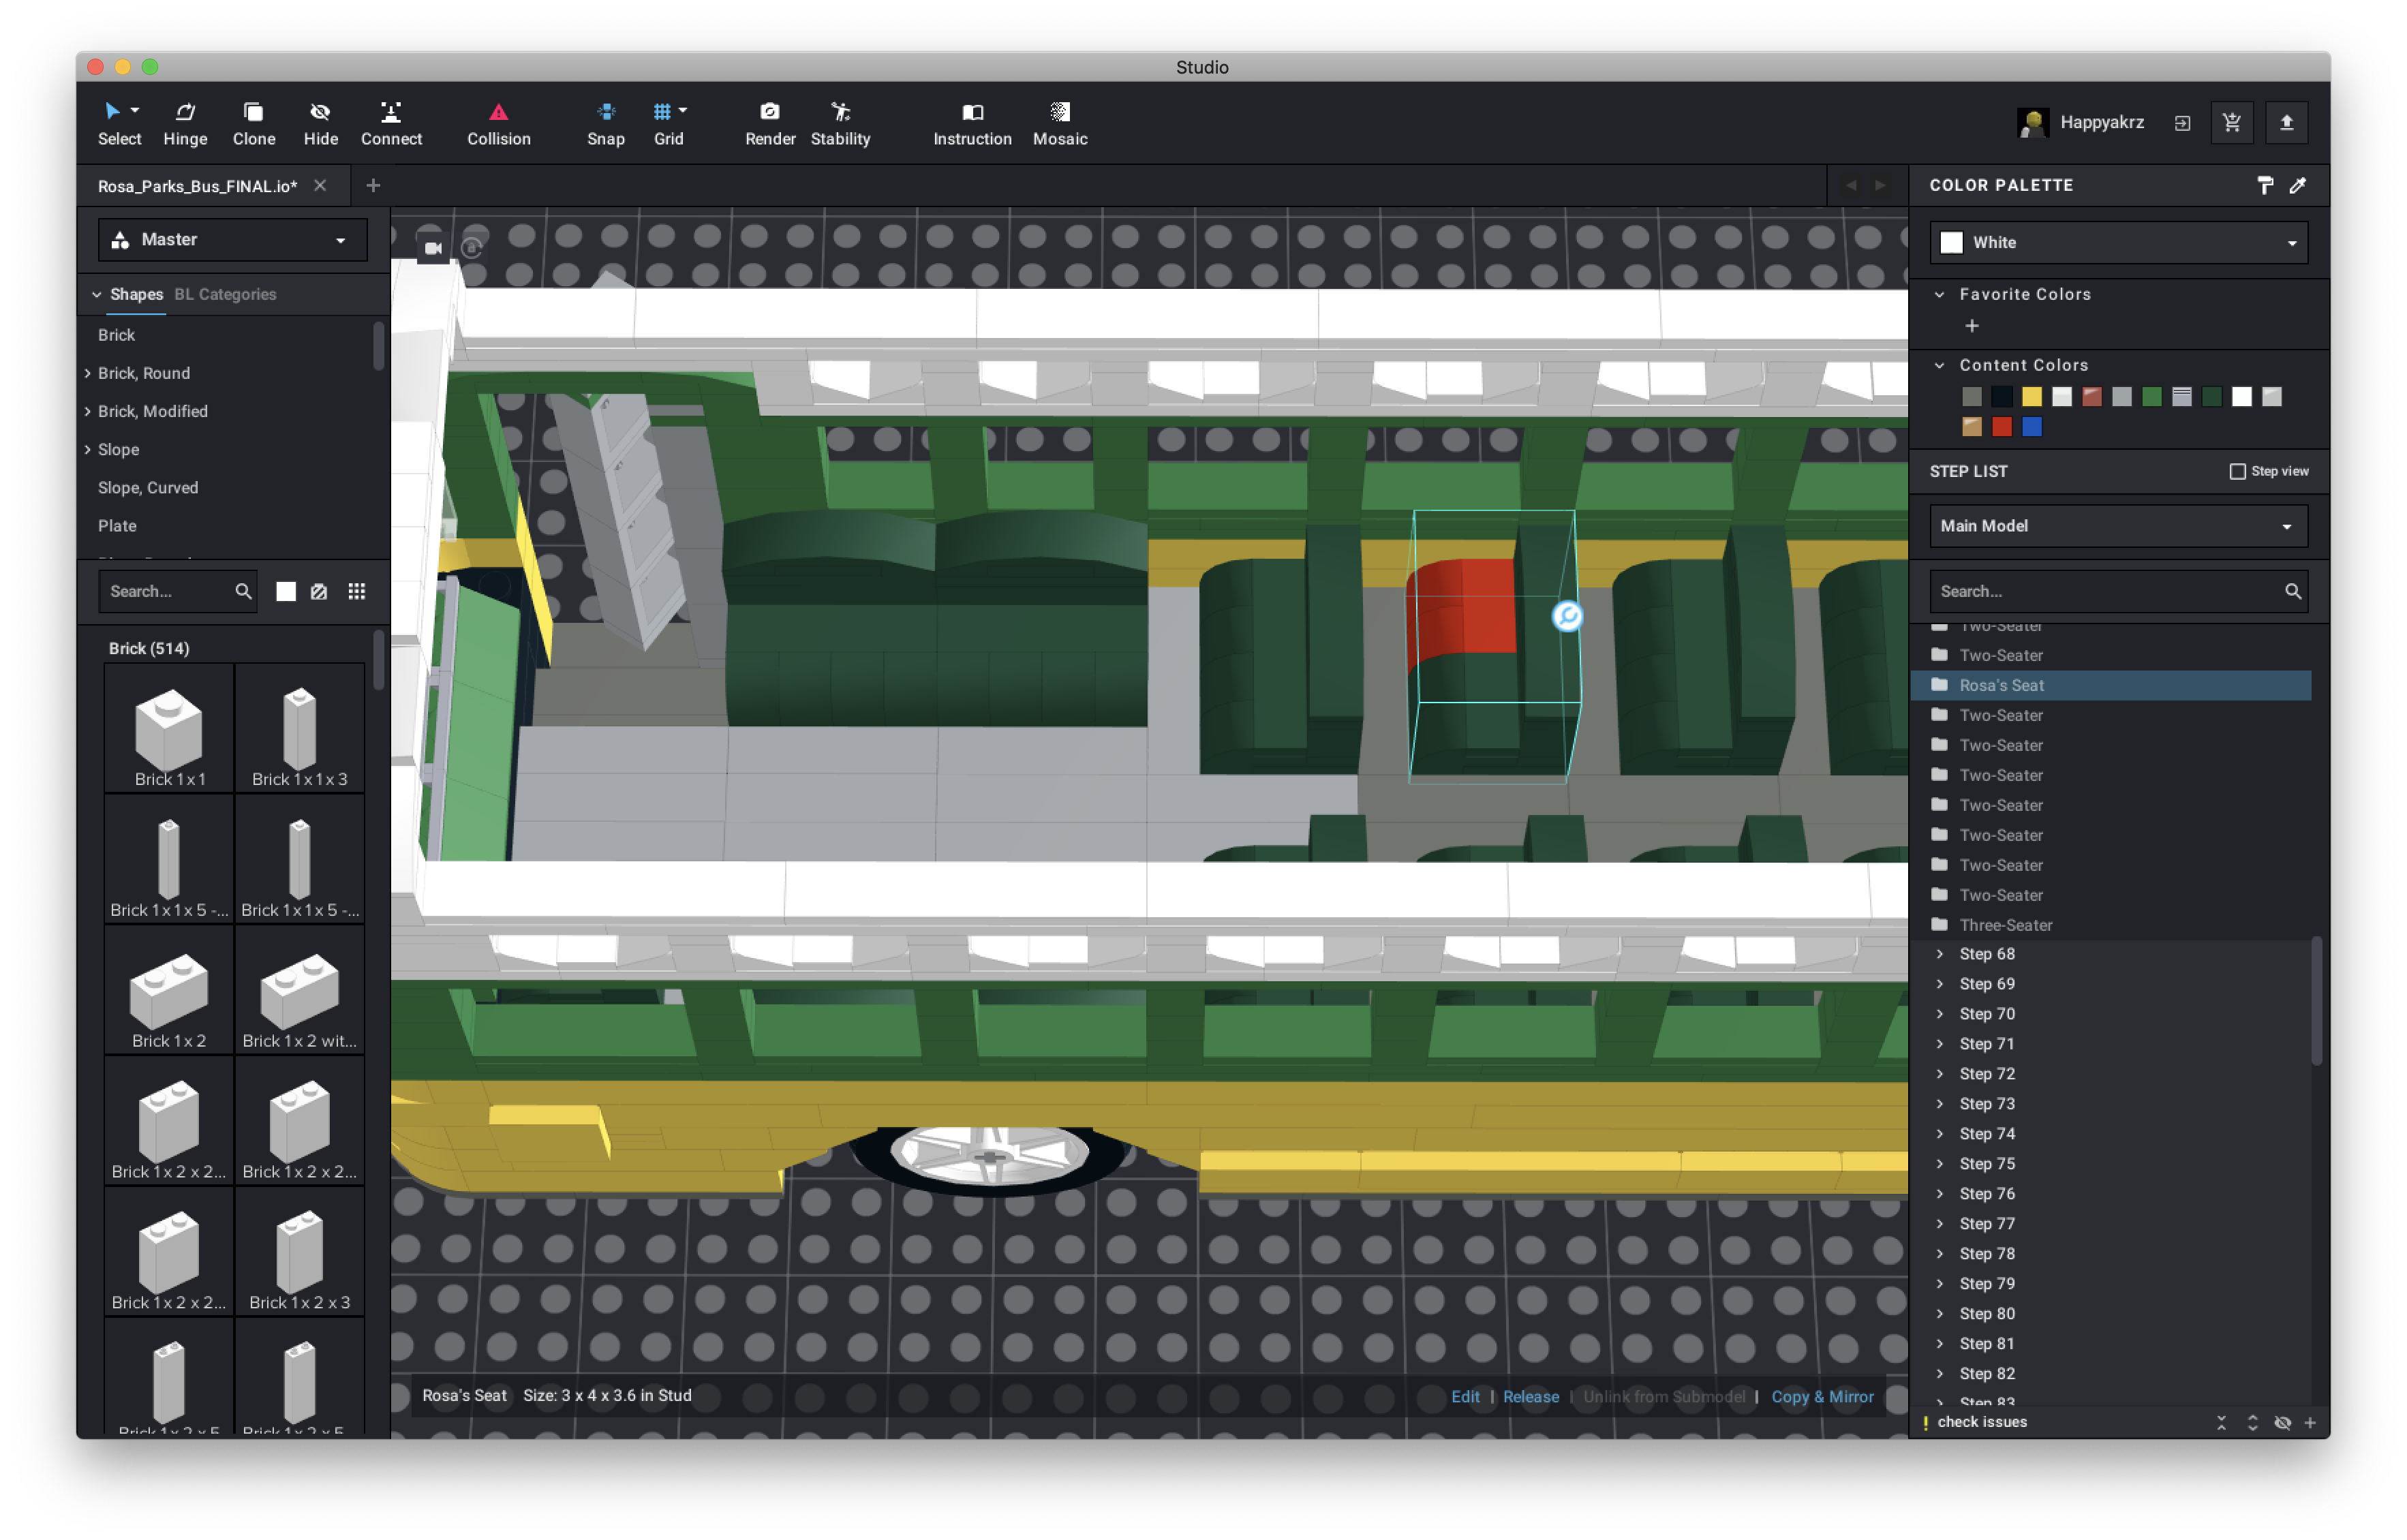
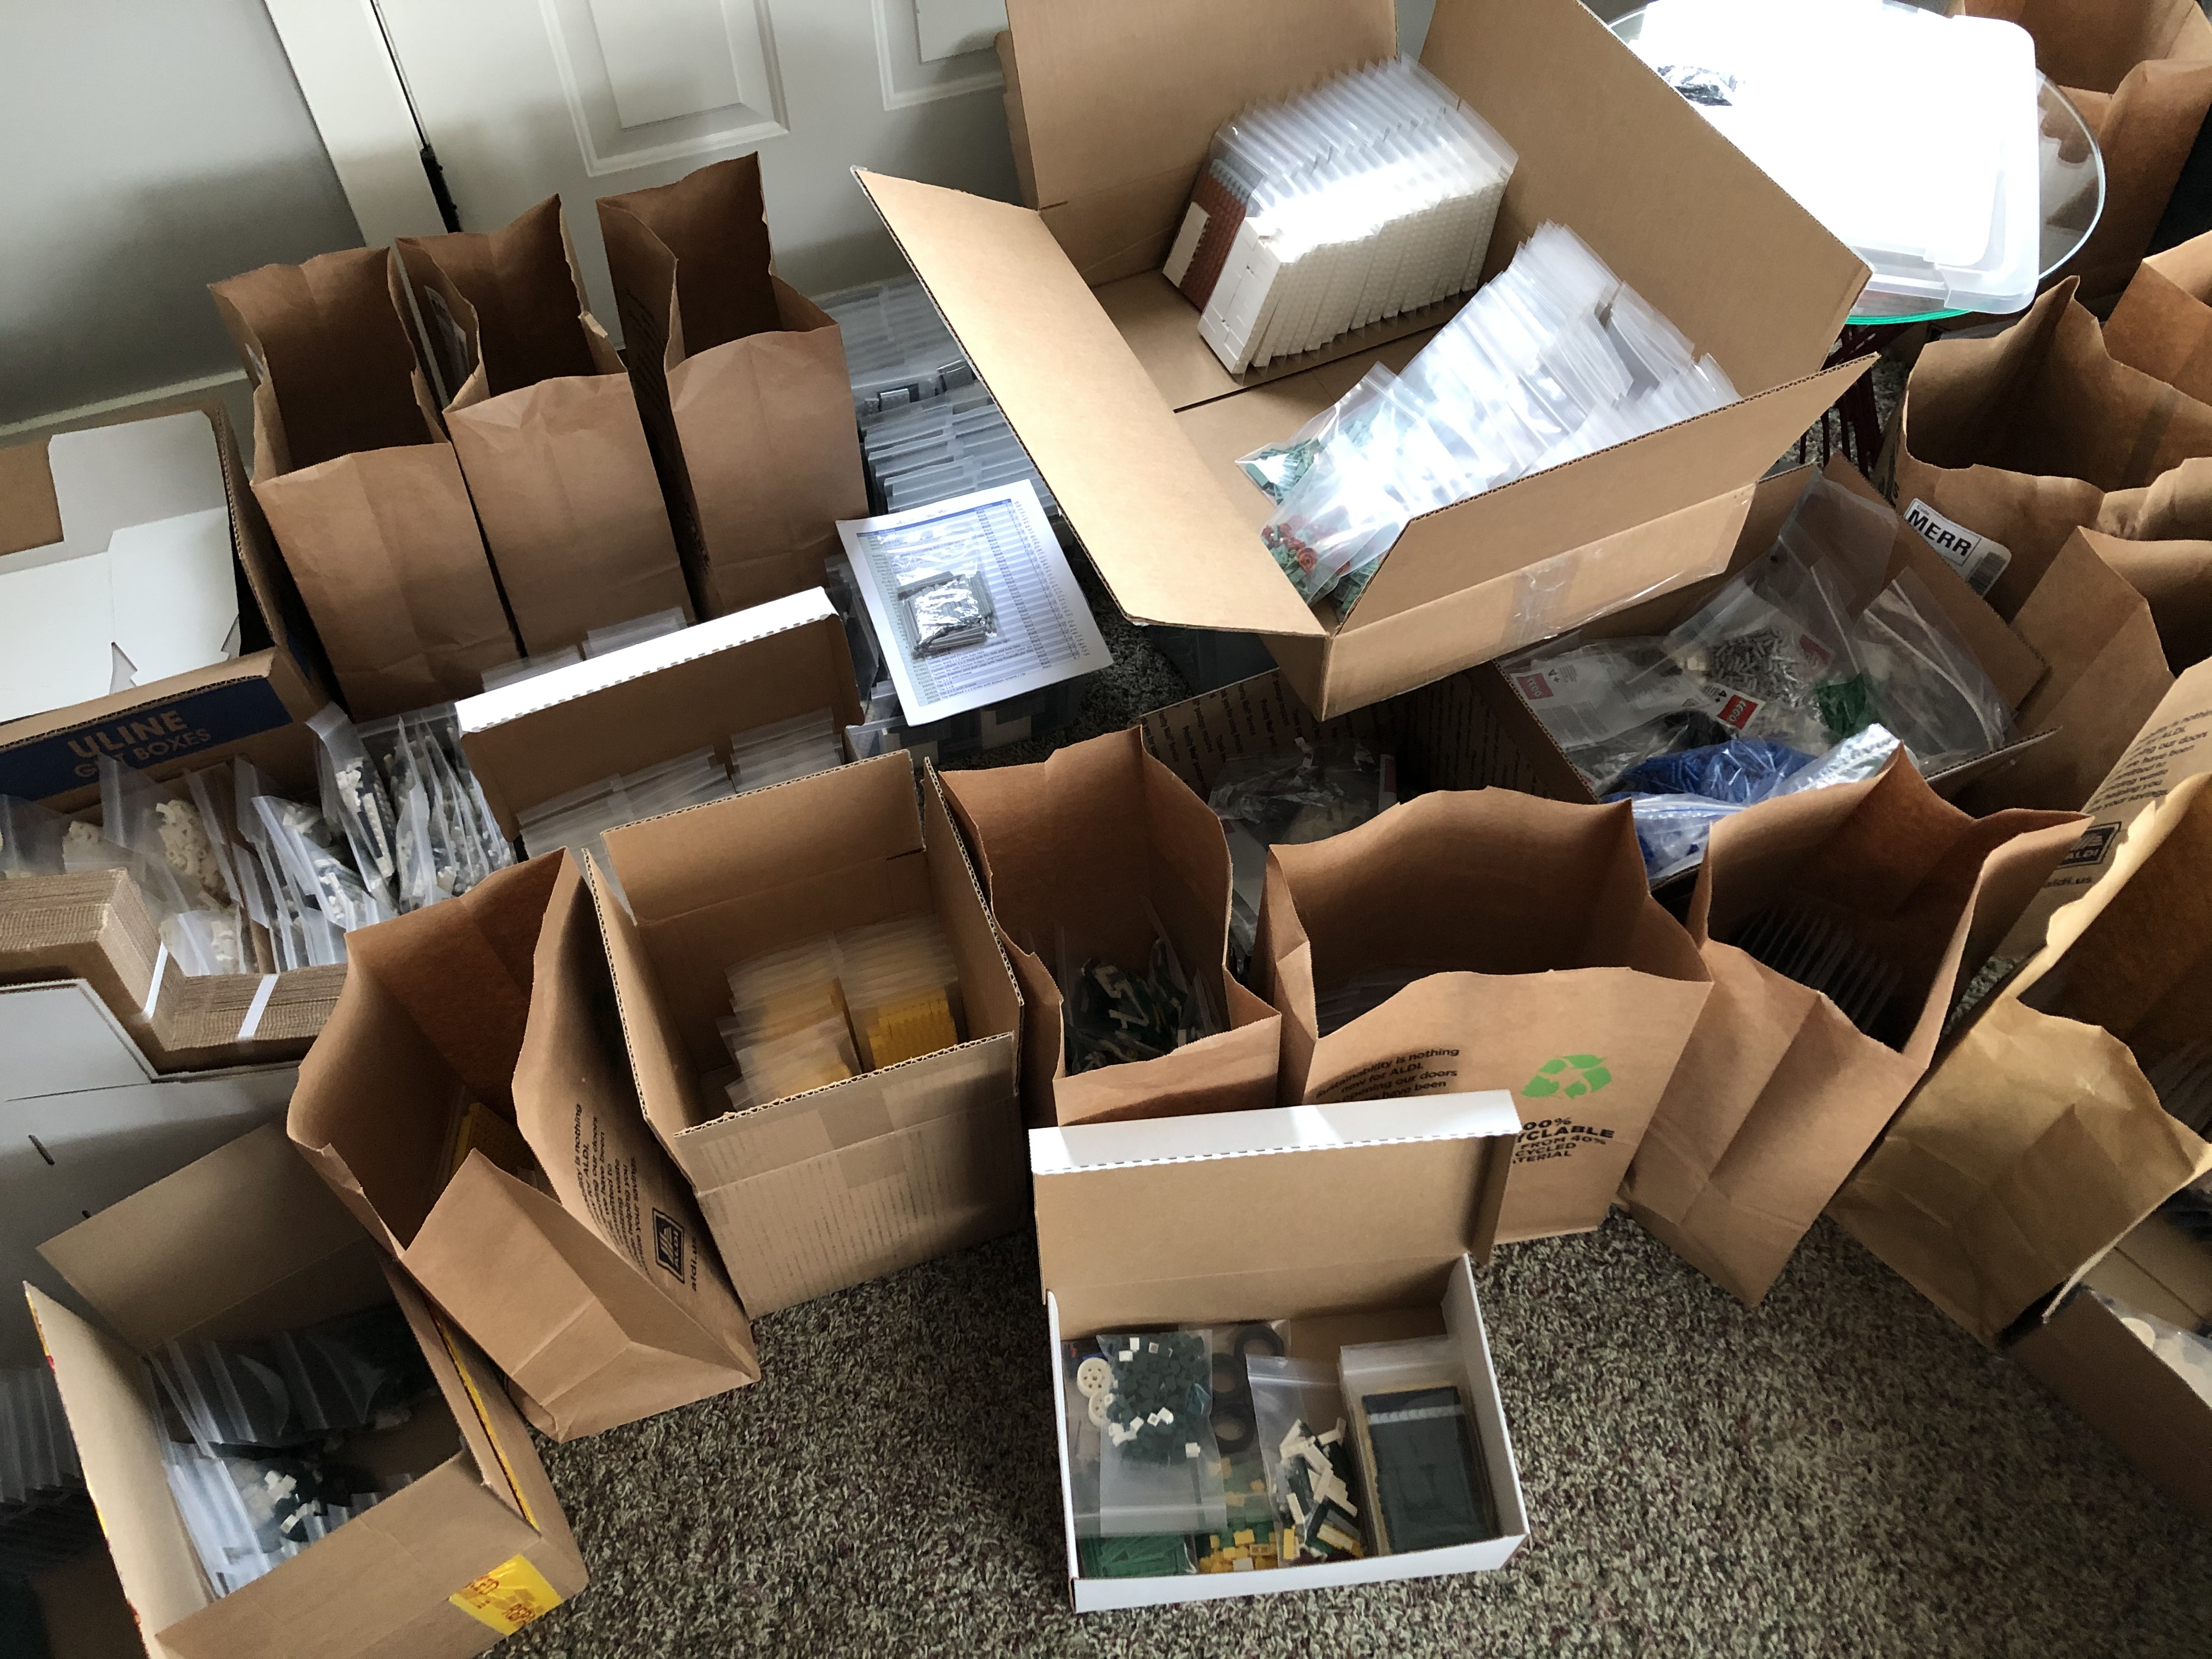
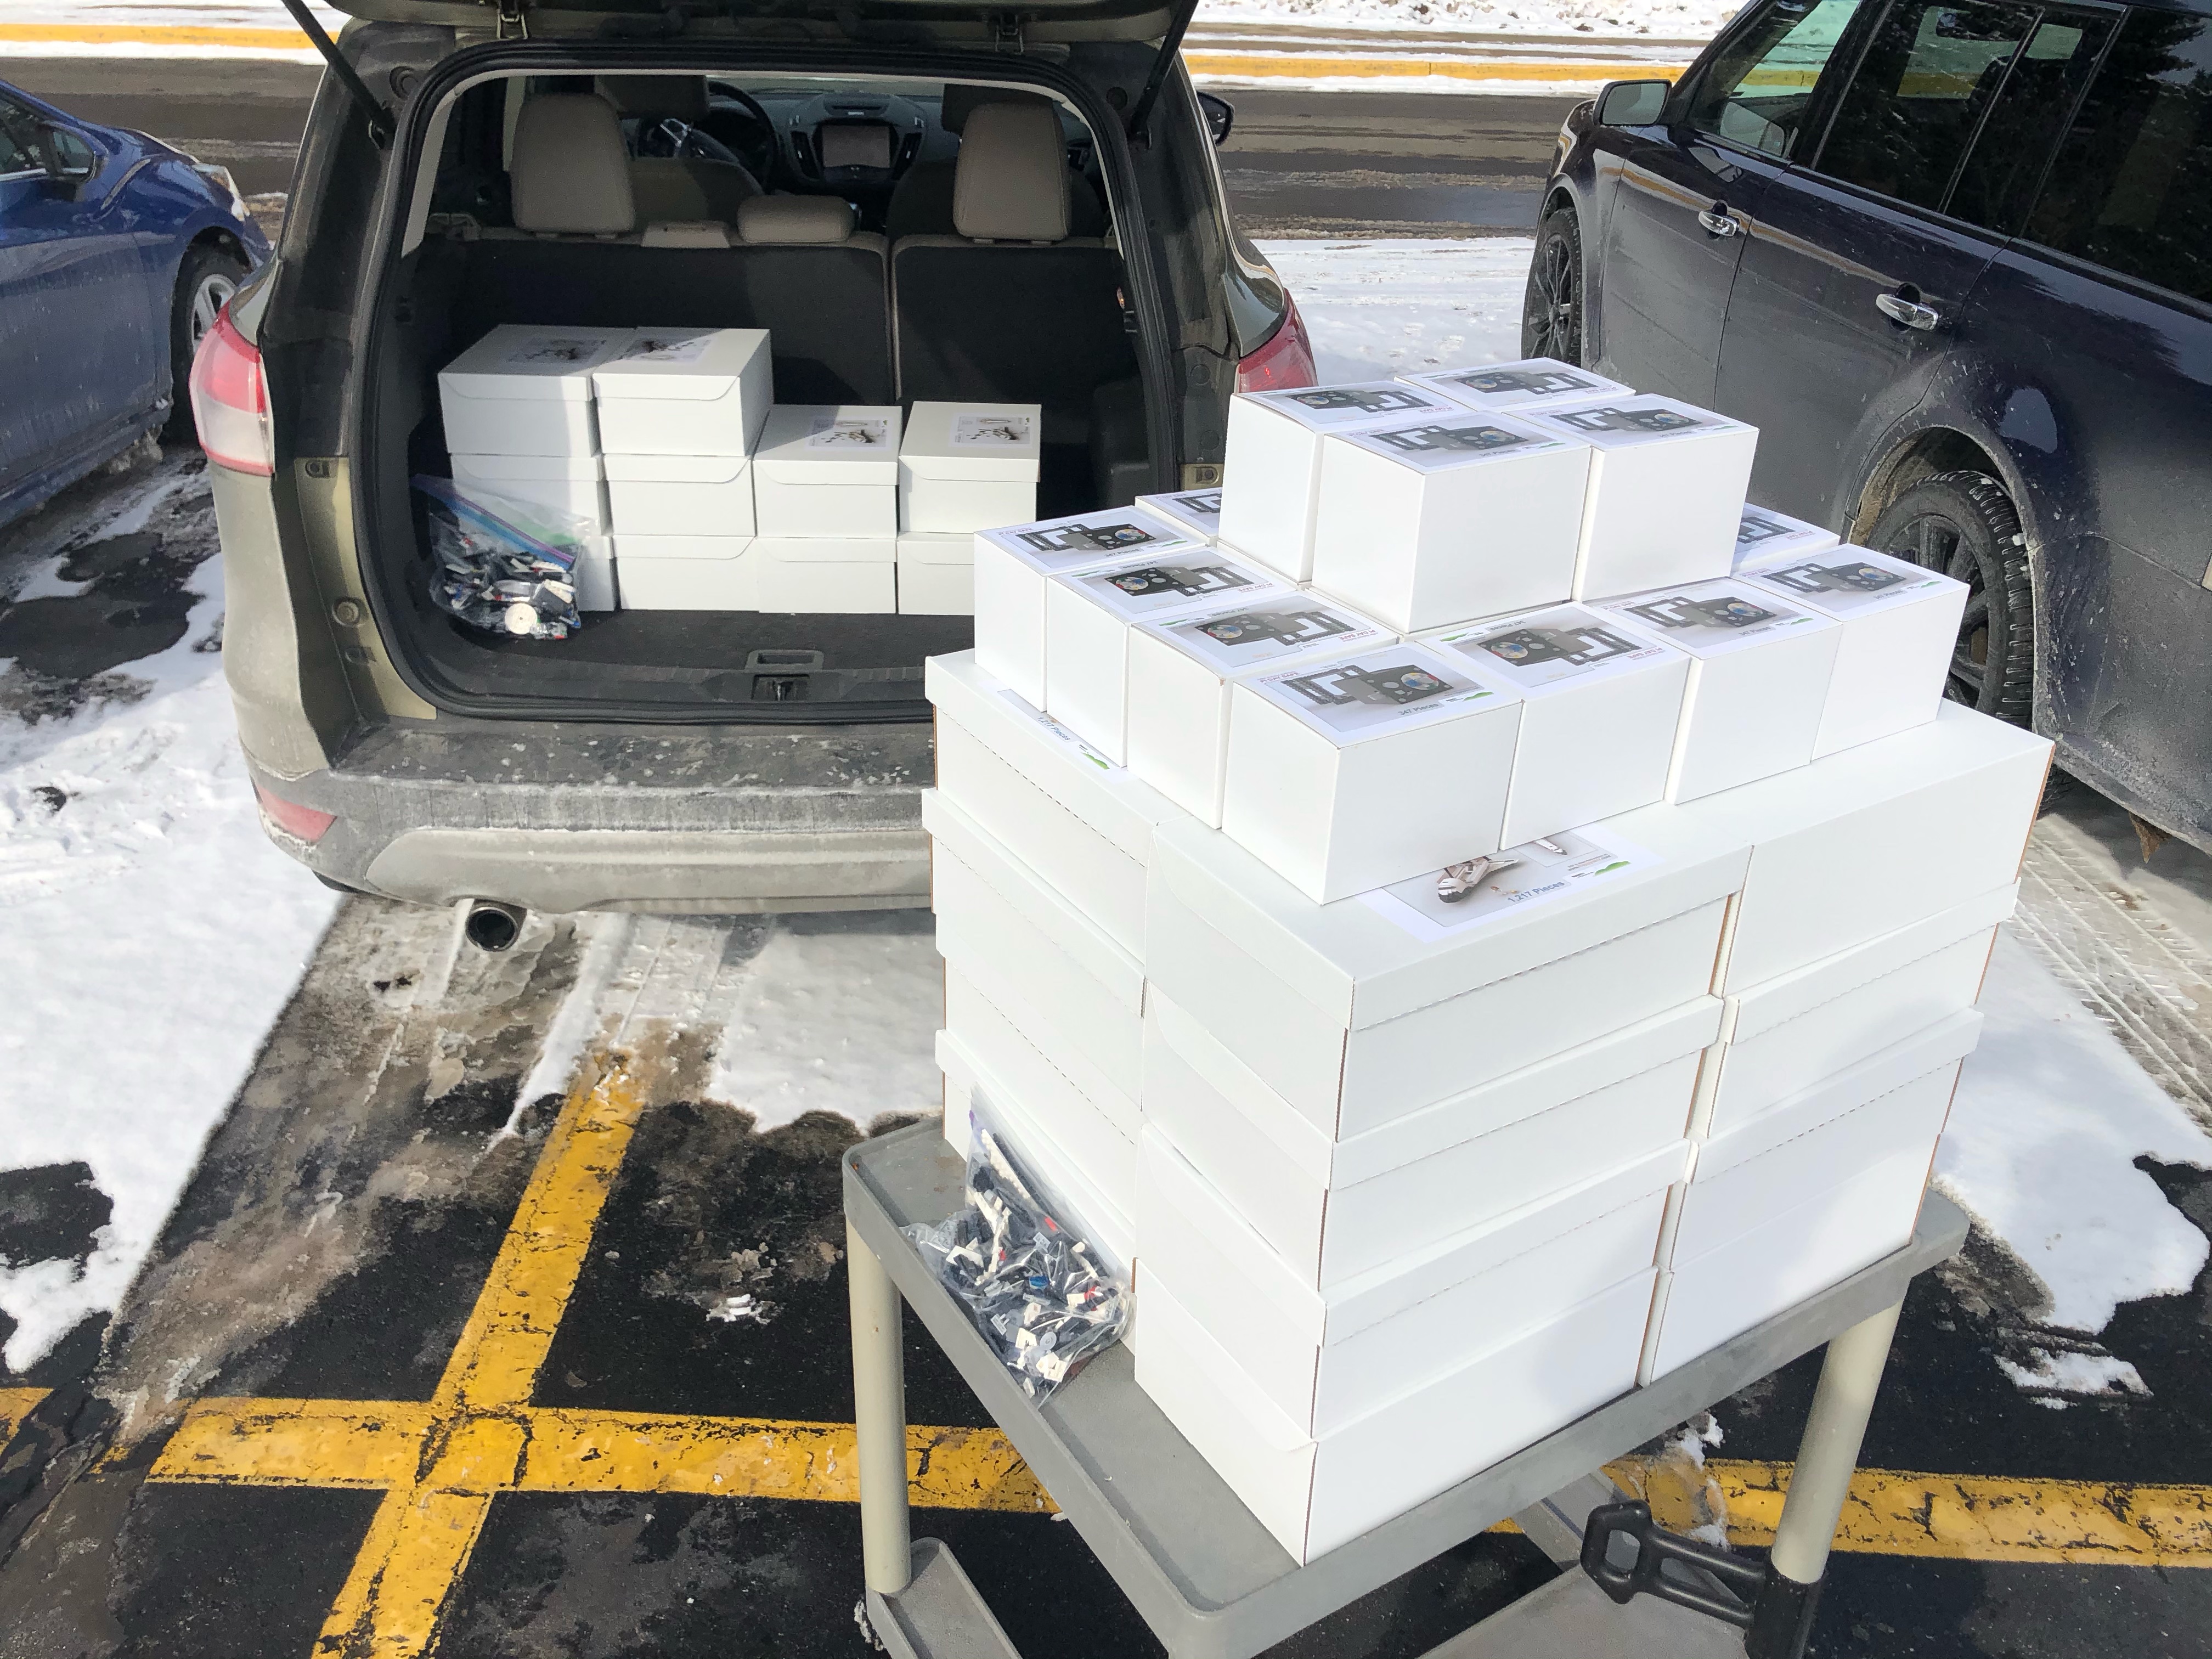
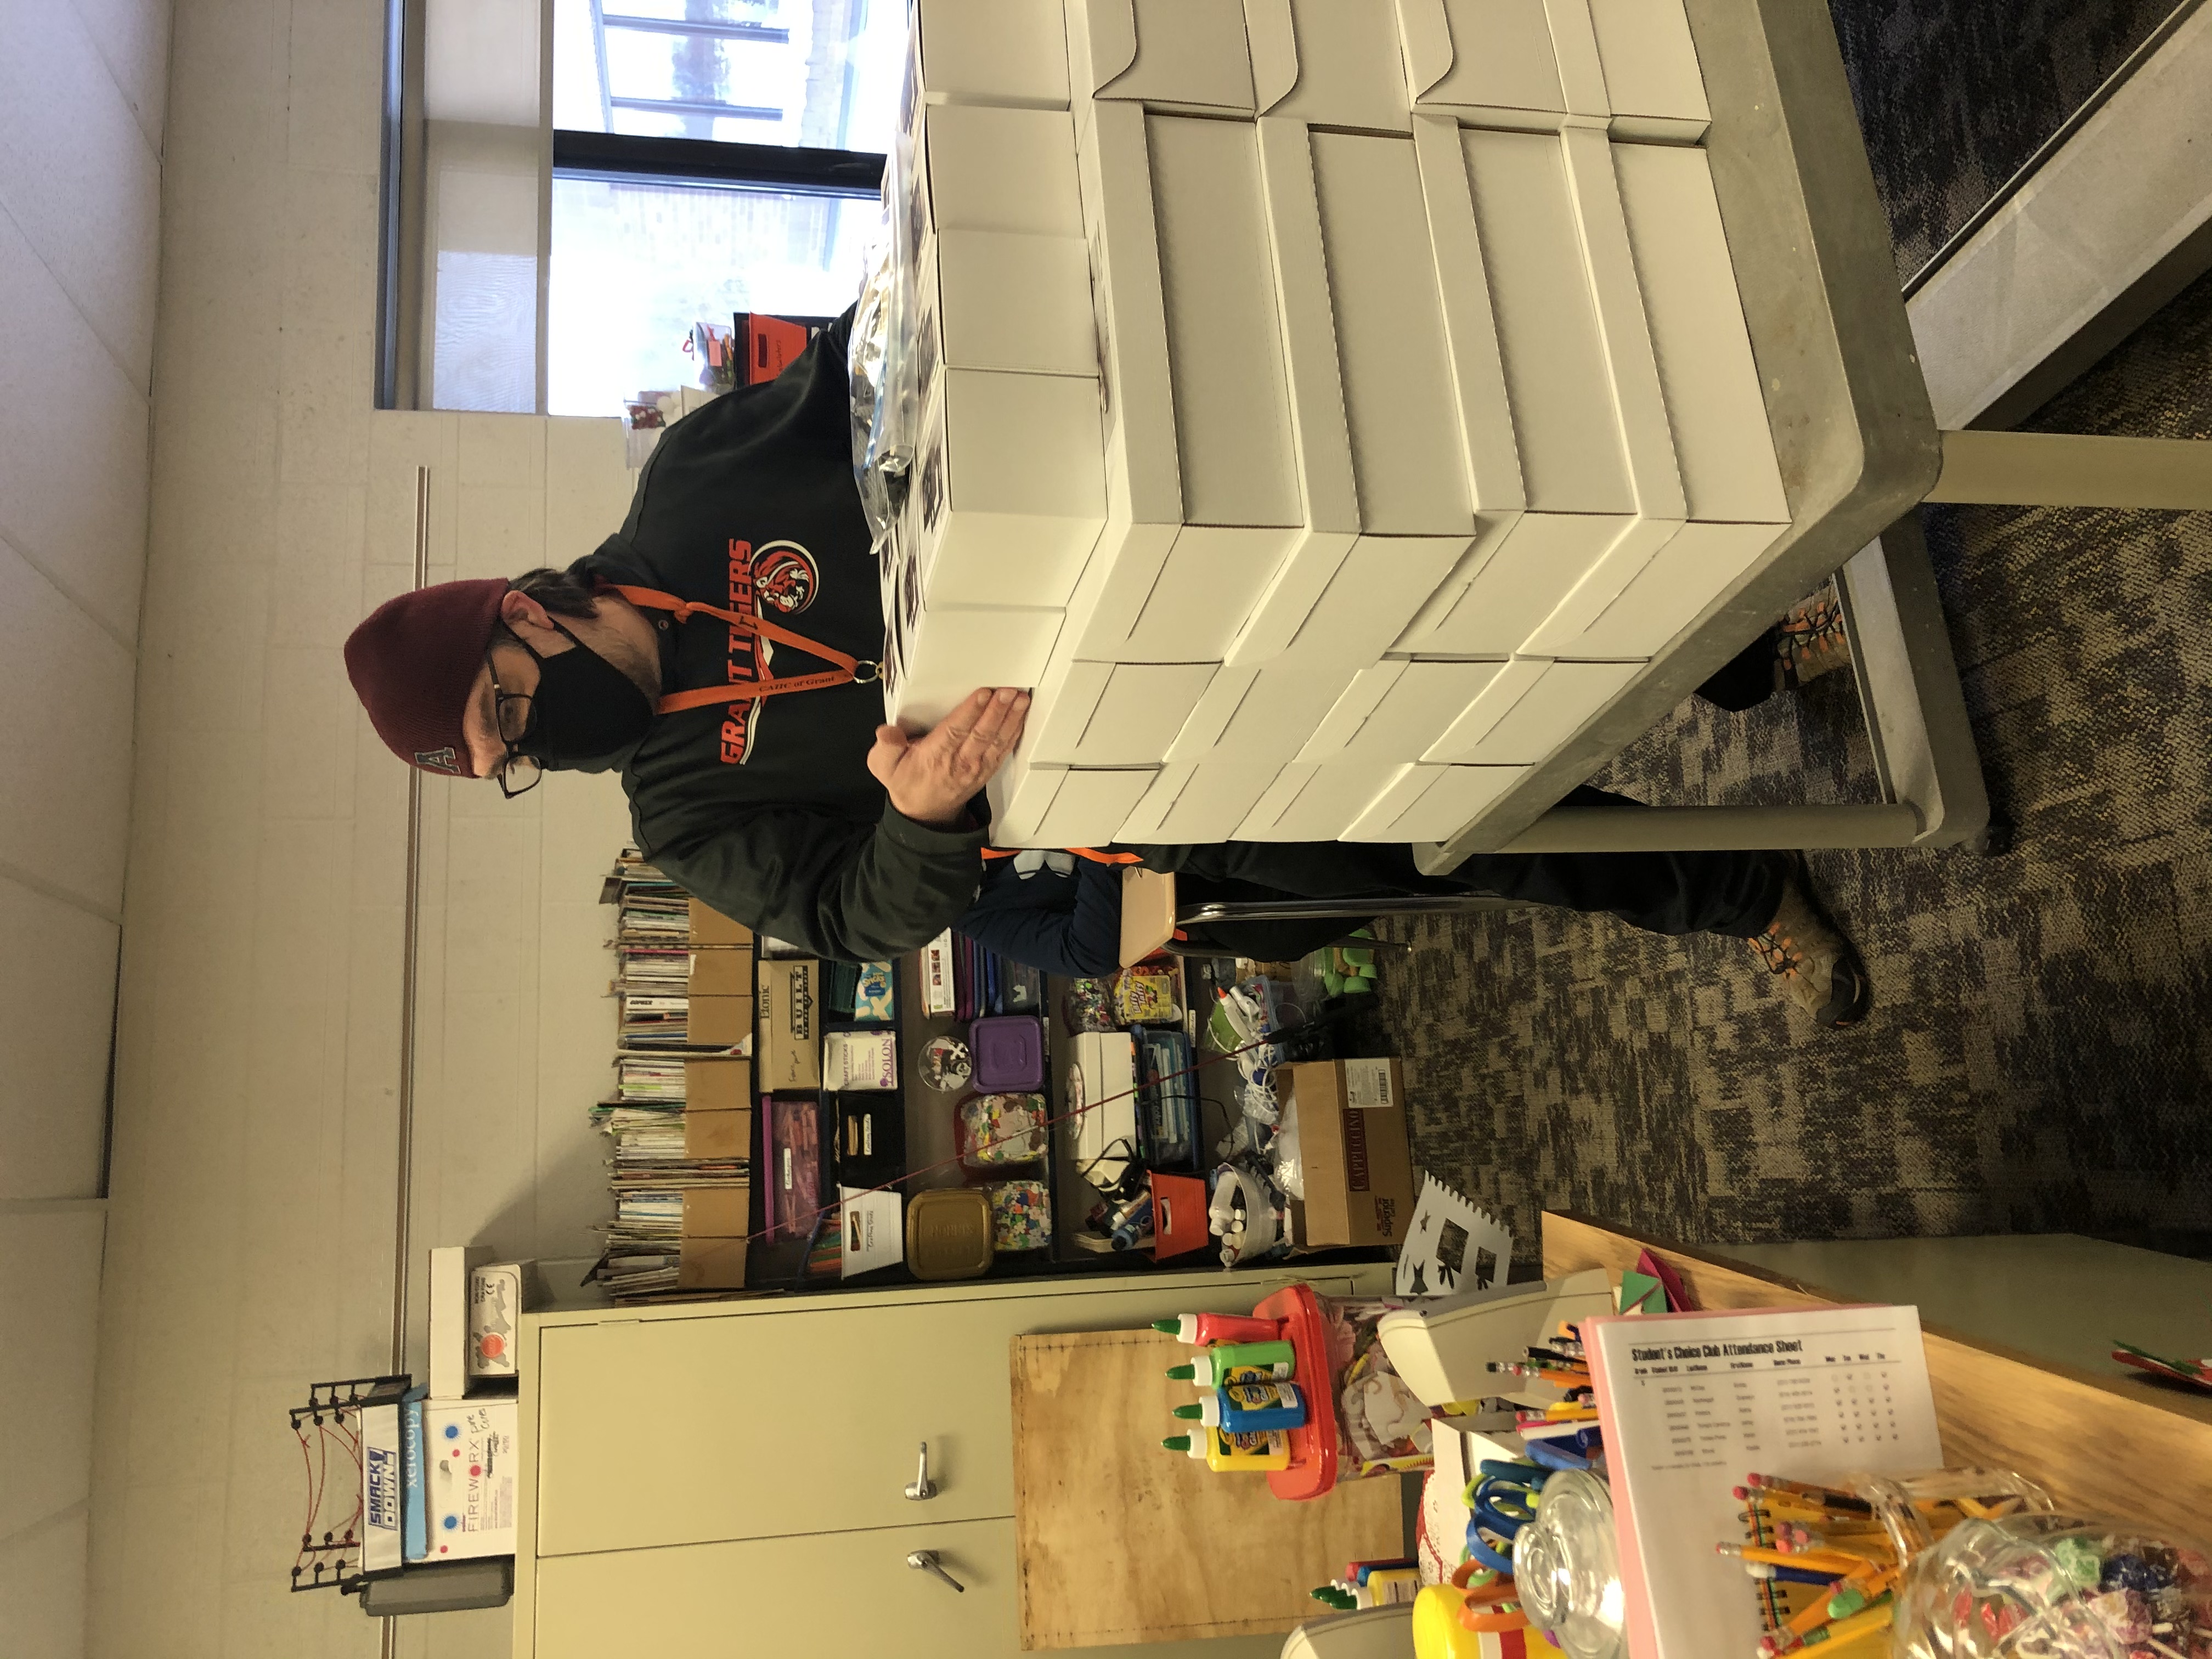
Final Packaging & DeliveryWhen we're sure that everything has been sorted and bagged properly, the bags of parts get boxed into completed kits. Labels get affixed to the lids of each box, and any additional information that is specific to that kit (informational or educational sheets) gets added to the package. Packing the boxes into the car is like loading Santa's sleigh -- it's so exciting deliverying the kits, knowing how much fun the kids are going to have while building. It's also very satisfying to know that there is learning taking place at the same time -- learning about the creative process of LEGO building, but more importantly, learning about the themes around which each kit is developed. For this year, I had particular fun in the development of the Space Shuttle Challenger and the Rosa Parks Bus as these are two kits that have the ability to teach the students about very important moments in our history. |


|
|
Growing the ProgramI am so thankful for the opportunity to offer this program to the students of Grant Public Schools and appreciate the philanthropic efforts of the Fremont Area Community Foundation and other financial supporters. My hope is that as we move into future school years, we can continue to grow the program, not only in terms of Grant students, but with the potential additional of other school districts in the Newaygo County area. Particular thanks to Stephanie Dood for her fantastic grant writing and encouragement throughout this year! Without you, this entire endeavor wouldn't have been possible! |
||
Sitemap
Main Page | The KITS | Behind the Scenes | Contact Us | The ASB Store |  Warning: The Happyakrz After School Builders program is intended for older children (4th through 8th grades) and includes small parts
that are small enough to choke a small child. Please be aware and store these parts away from small children.
© 2020-2022 Oikodómos, LLC. All Rights Reserved.
Happyakrz After School Builders™ & Happyakrz™ are trademarks of Oikodómos, LLC.
LEGO™ is a registered trademark of The LEGO Group.
Oikodómos, LLC. and Happyakrz After School Builders are not affiliated with, sponsored by, or endorsed by The LEGO Group.
Warning: The Happyakrz After School Builders program is intended for older children (4th through 8th grades) and includes small parts
that are small enough to choke a small child. Please be aware and store these parts away from small children.
© 2020-2022 Oikodómos, LLC. All Rights Reserved.
Happyakrz After School Builders™ & Happyakrz™ are trademarks of Oikodómos, LLC.
LEGO™ is a registered trademark of The LEGO Group.
Oikodómos, LLC. and Happyakrz After School Builders are not affiliated with, sponsored by, or endorsed by The LEGO Group.
|
||